Author Archive
Hi,
During this time being stuck at home I have been very bored and do a lot of nothing. I have been sitting around and thinking because I am sick of staying at home. Usually I will go for a walk or bike ride during the day but sometimes it rains. Also I have tried to do some baking and cooking but that is hard because I have very few ingredients for baking. I just hope that we are able to go back to a regular Schedule very soon being being stuck at home is getting very annoying.
Bye!
– Avery
Hello everyone,
Since we cannot be at school currently I need to find some tools and materials inside of my house that I can use to create things at home.
I was able to find these tools:
– pencil
– eraser
– ruler
– scissors
– iPad
– screwdriver
– screw
– hammer
– nails
I was able to find these materials:
– cardboard
– paper
– toothpicks
– legos
– glue
– tape
– rubber bands
– paper clips
Those are the materials that I was able to find in my house. I am very excited to see what we will be doing with them soon.
Bye!
– Avery
Hello everyone,
This week I finished reading my book for English class. I also face timed my friends since we couldn’t hang out because of coronavirus. I am a little upset because all of my activities and sports were cancelled so I had absolutely nothing to do. My whole family except for my dad is home so we all had nothing to do. It gets a little boring staying at home all day with nothing to do even though it is instead of school. I am excited to go back to school and I hope I will be able to soon!
bye!
– Avery
Hello everybody,
This week I cut our front, back, and two sides of my box. That means that I am done cutting all of the pieces. I also had to sand them because they had tons of splinters on them. I was not able to sand the top and bottom of my box but I did the rest. My box is looking pretty good but the pieces aren’t all exactly the same size so I might need to sand it a little more so the pieces all fir together nicely. In order to sand the box we used a belt sander. It is a automatic sander where you need to touch your pieces to the rough sand paper as it is moving, and it will sand the piece of wood and make it perfectly smooth. it was much easier to do than I thought and it took a very short amount of time.
This is a picture of all of the sanded pieces assembled in a box shape:

Hello everyone,
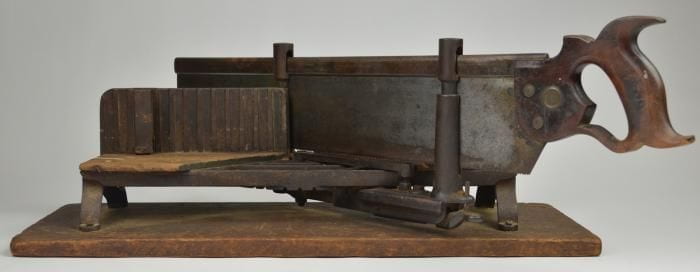
This week we started to mesure and cut the pieces of our boxes. First we got a big piece of wood and we had to measure out the size if our top and bottom to cut it out. First we learned how to use a hand saw but I never got to use it because I wasn’t ready for it. The next day we learned how to use a miter box saw. It is a saw placed directly in the middle of a bed of wood, which the wood goes on top of.
This is a miter box saw looks like:

After we cut the top and bottom of the wood, we had to figure out the dimensions of the sides. Since the top and bottom are also 1/2 an inch tall, you need to subtract 1 inch altogether. So I measured out all of the sides. My sides were all 2 inches tall instead of 3 inches because I subtracted the 1/2 inches for the top and bottom. Next I think that we will start cutting our sides. Thanks for reading my blog!
Bye!
– Avery
Hello everyone,
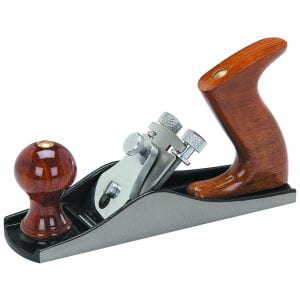
This week in class we continued to work on some TinkerCad designs. I made a design of my name but it will not be printed because I think that I made it too big. Next we designed what our box would look like since we are going to make a box out of wood. We got to plan the size, color of the box, and the color of the felt inside the box. I like how we aren’t all making the same box and they will all be different. Next we had to figure out exactly how many pieces of wood that we would need and all of the other materials. That was kind of hard because we needed to know the measurements of all of the pieces of wood. Than we learned how to use a hand planer and we used them to cut wood. It was difficult at first but it became easier.
This is what a hand planer looks like:
Hello everyone,
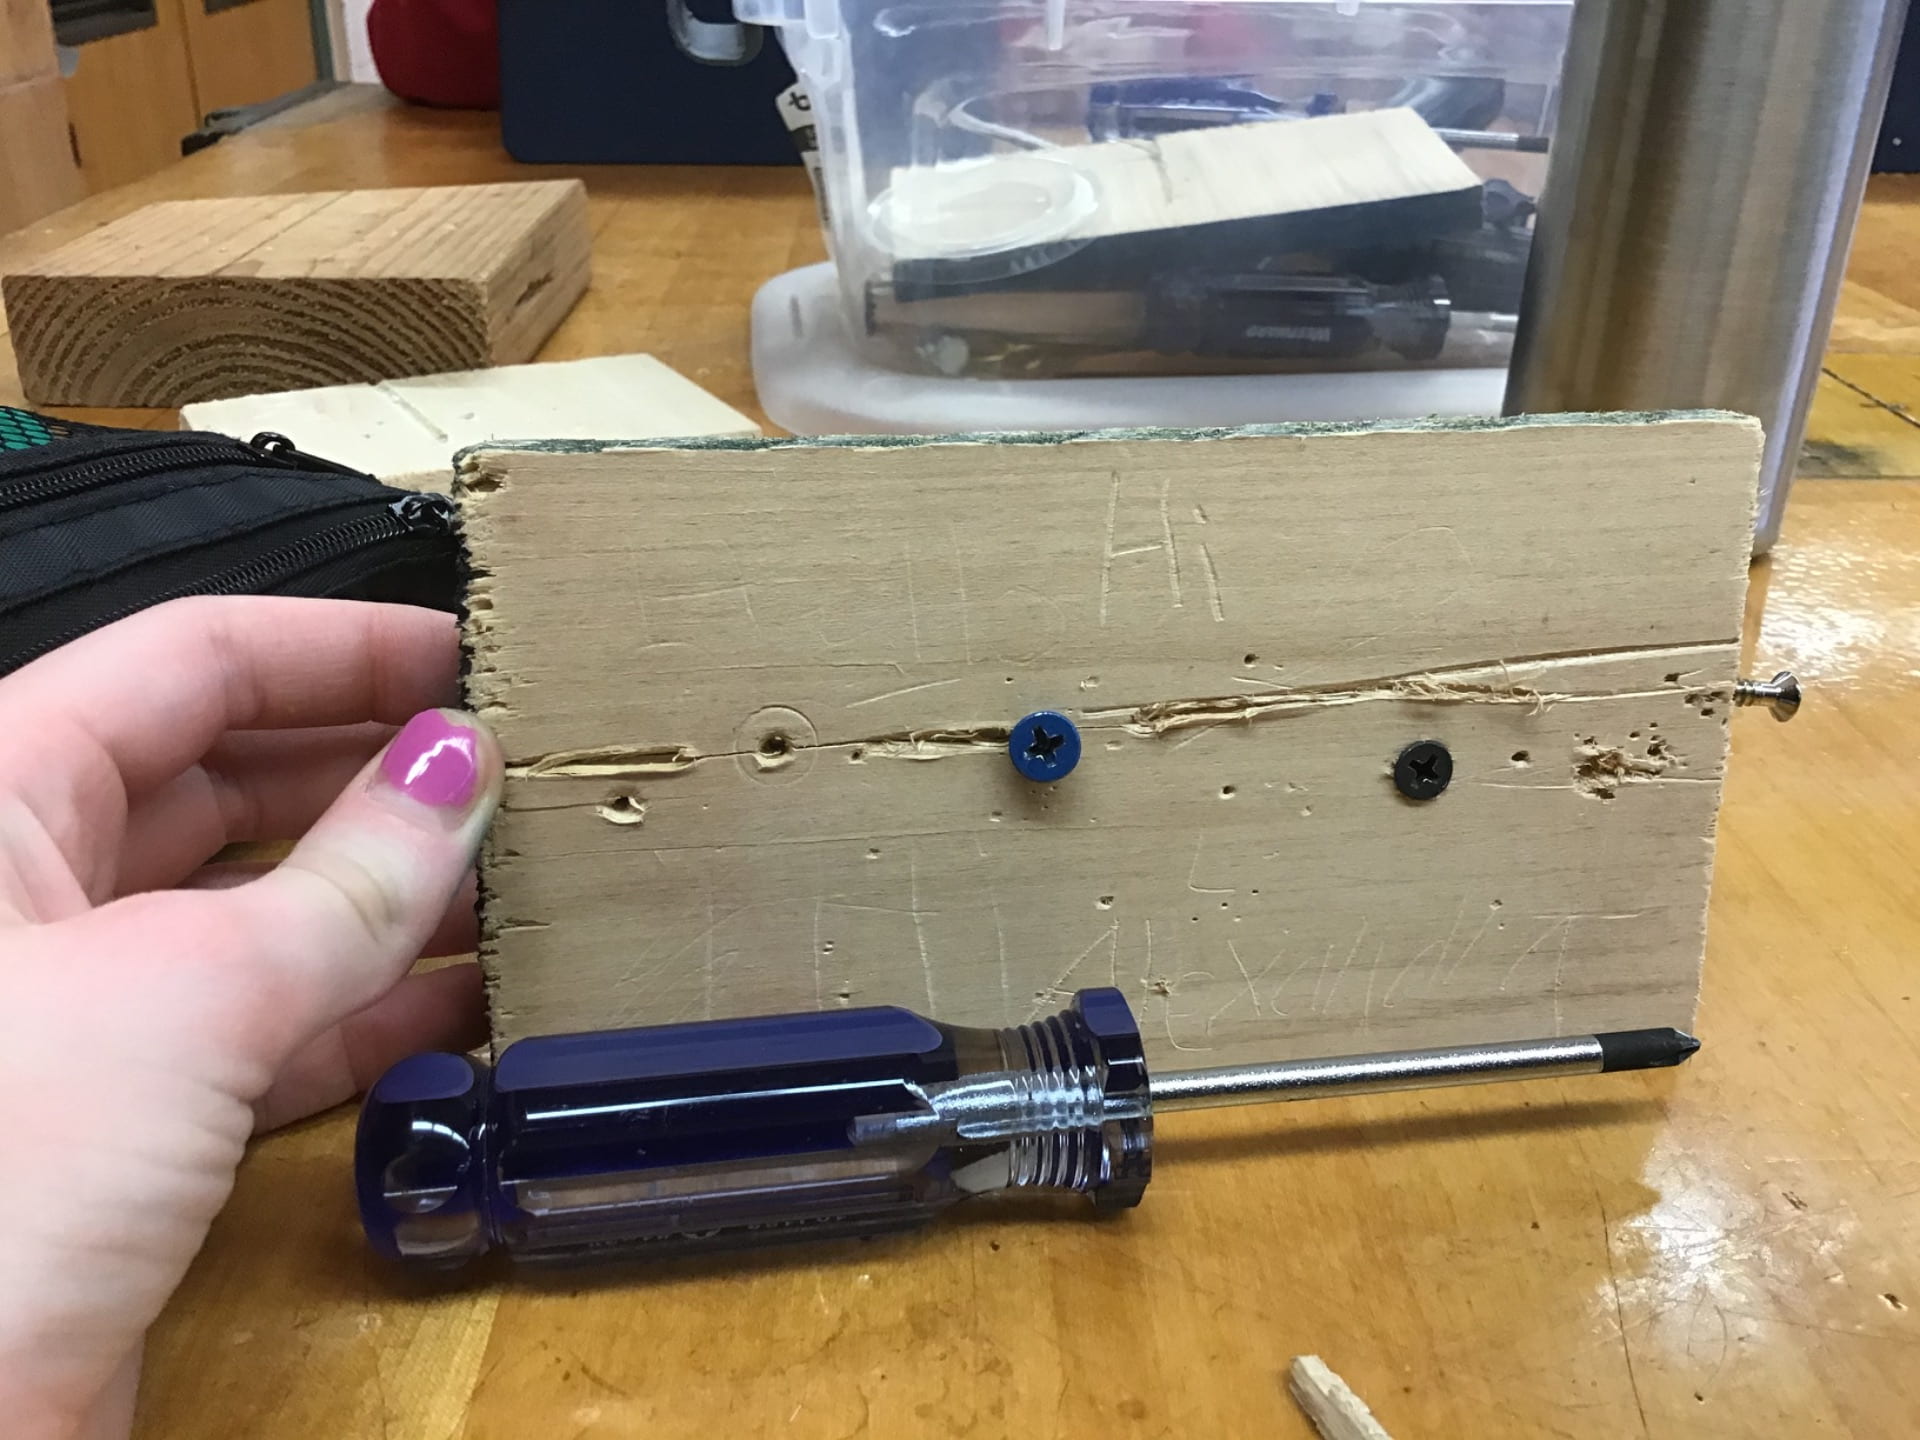
Yesterday in technology we worked on learning how to screw nails into wood. It was kind of hard to get the screw in because it was hard wood, and we had to punch the hole and screw it all the way in. I had trouble getting the screw deep inside the wood. I found that taking the screw out of the wood was much easier then putting it in. These are the tools and materials that we used for this activity:

We also used a tool called a vice which helped us to hold on to the piece of wood, while we screwed in the nail. I found that very helpful because before the wood was spinning around while I tried to put the nail in, but the vice helped keep it in place. The screwdriver was helpful to screw in the nail but I could not figure out how to always make it work. I felt that it was easier to screw in the bigger screws because when I tried to use the smaller one it would always fall or not screw in all of the way. I also found it easier to use a bigger piece of wood, because the bigger ones were softer than the smaller pieces of wood.
I had fun learning to screw nails into wood and I am excited to see what we will do next.
Bye!
– Avery
Hello everybody,
For the past few weeks I have been working on my automata in technology. An automata is a simple machine that uses cams and followers to make something go up and down, spin, etc. For my automata, I am making a penguin which goes on top, spin and go up and down. I will also make the wings flap.
First to make this, you have to start by making a box without sides, to a certain length, width, and height. Then we have to stabilize the box with little triangular pieces of cardboard so the box was not floppy. After we did that we had to put our cam and followers in. To do that we needed to poke holes in the right place to put the axle in, and we had to make cams and put them on the box. After that we had to add the follower. First to do that, you have to poke a hole in the top and put in the axle, then make a follower. After you finish that you have to glue some things together and then you are done with the base. For my top I am making a penguin go up and down, and the wings are going to flap down, and up. Today, I just finished cutting out the penguin and attaching it to my box, and tomorrow I am going to make the bottom blue and then I am done.
I had a lot of fun building my automata and I am excited to finish it tomorrow.
Bye!
– Avery
Hello everyone,
At the beginning of making the flashlights my teacher told us a story about these boys that were stuck in a cave for nine days and it was dark in the cave. So that led us to trying to make water proof flashlights. I did not know if my flashlight was water proof, I just had to try and put everything in tightly and hope that it would work. Last night I went home and tested in under my sink. It was water proof! It is so cool. Making the flashlight was so much fun. I never really thought about what goes into making such a simple thing like a flashlight because all it does is turn on a light, and turn it off. It turns out that a lot of work actually goes into making a single flashlight. There has to be a battery and a switch and certain positive and negative wires. The positive and negative wires or sides on the battery were probably the most confusing and hardest to remember part. The reason is that they all had to go on certain sides and then I might forget what side they went on and I had to go back and ask someone, which could take a while. Overall I had a lot of fun making my flashlight.
Bye!
– Avery
Hello everybody,
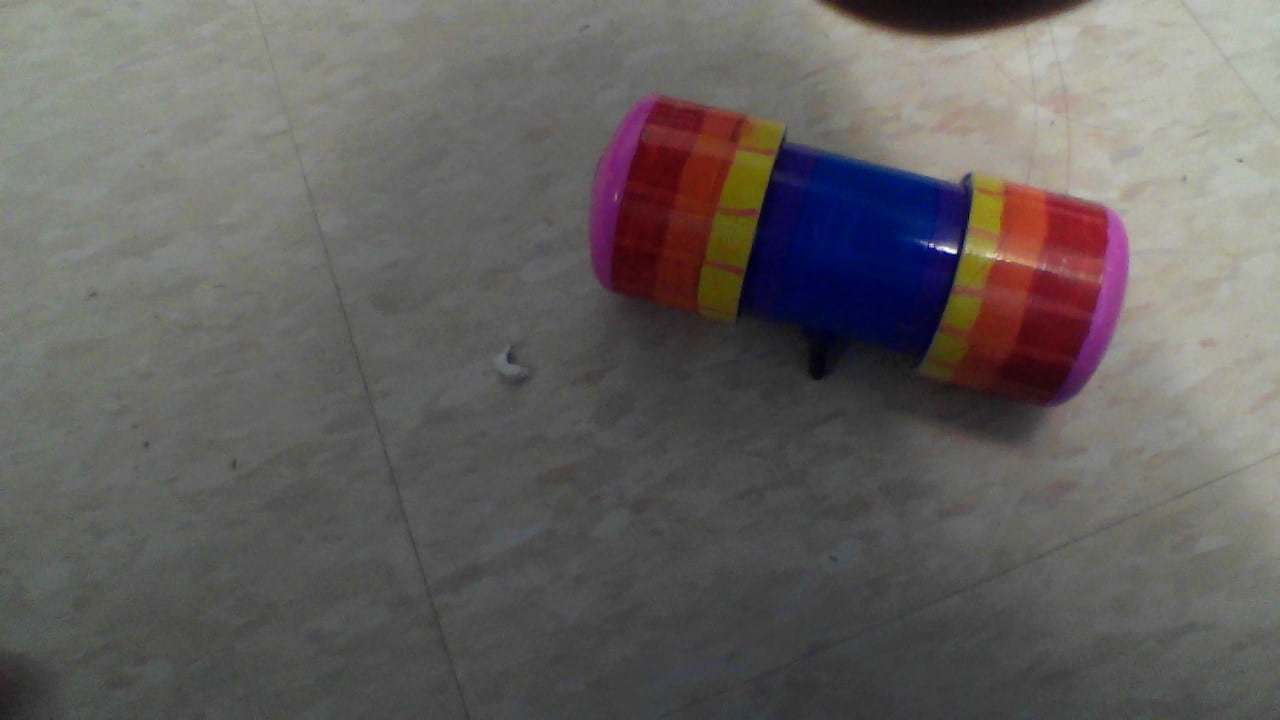
I just finished my flashlight! It has been such a long process, but it was all fun. At the beggining, we had to learn how to draw out the shapes of the pieces on a piece of big graph paper. After we finished that we moved onto making our diagrams for the flashlight. It had to be excactly to scale and every curve had to be right. Then we had to draw the wires and measure them to make them the right size. We were able to do that by using a story line. Next we could finally begin with the actual flashlight. I finished my diagram in abut two days, but it took some people about a week. To start the actual flashlight, first I cut the wires and skinned the edges of them off to make it easier to solder them. Then, since none of the soldering irons were open, I cut my pipe. I used a saw and cut it three and a half inches. The next day the solders we ready, but I lost all of my wires! So I had to cut them and skin them all over again. Once I did that I was able to solder. After I soldered I got all of the pipes and wires together, and I cut holes in the pipes where the switch and the lights would go. Then I put the wires in and sealed it up and I was finished making it! Finally, I drew on it to make it look pretty. Overall, I had a lot of fun making my flashlight and I learned a lot.
Bye!
– Avery
P.S. This is a picture of my finished flshlight: