Maglev Post #3

Final maglev train that can carry 15 weights safely and efficiently across the track.

The improvement I made to my maglev train was that on the tracks, I put two more strip magnets on top of each of the strip magnets already on the tracks. I didn’t put more strip magnets, or any other type of magnets, on the train. I didn’t because in an experiment, we put two ring magnets on a pencil with the north and north facing each other so that they levitated, and when I put another magnet on the bottom, the magnet on the top levitated higher. When I put  a magnet on the top too, it remained it’s normal height.


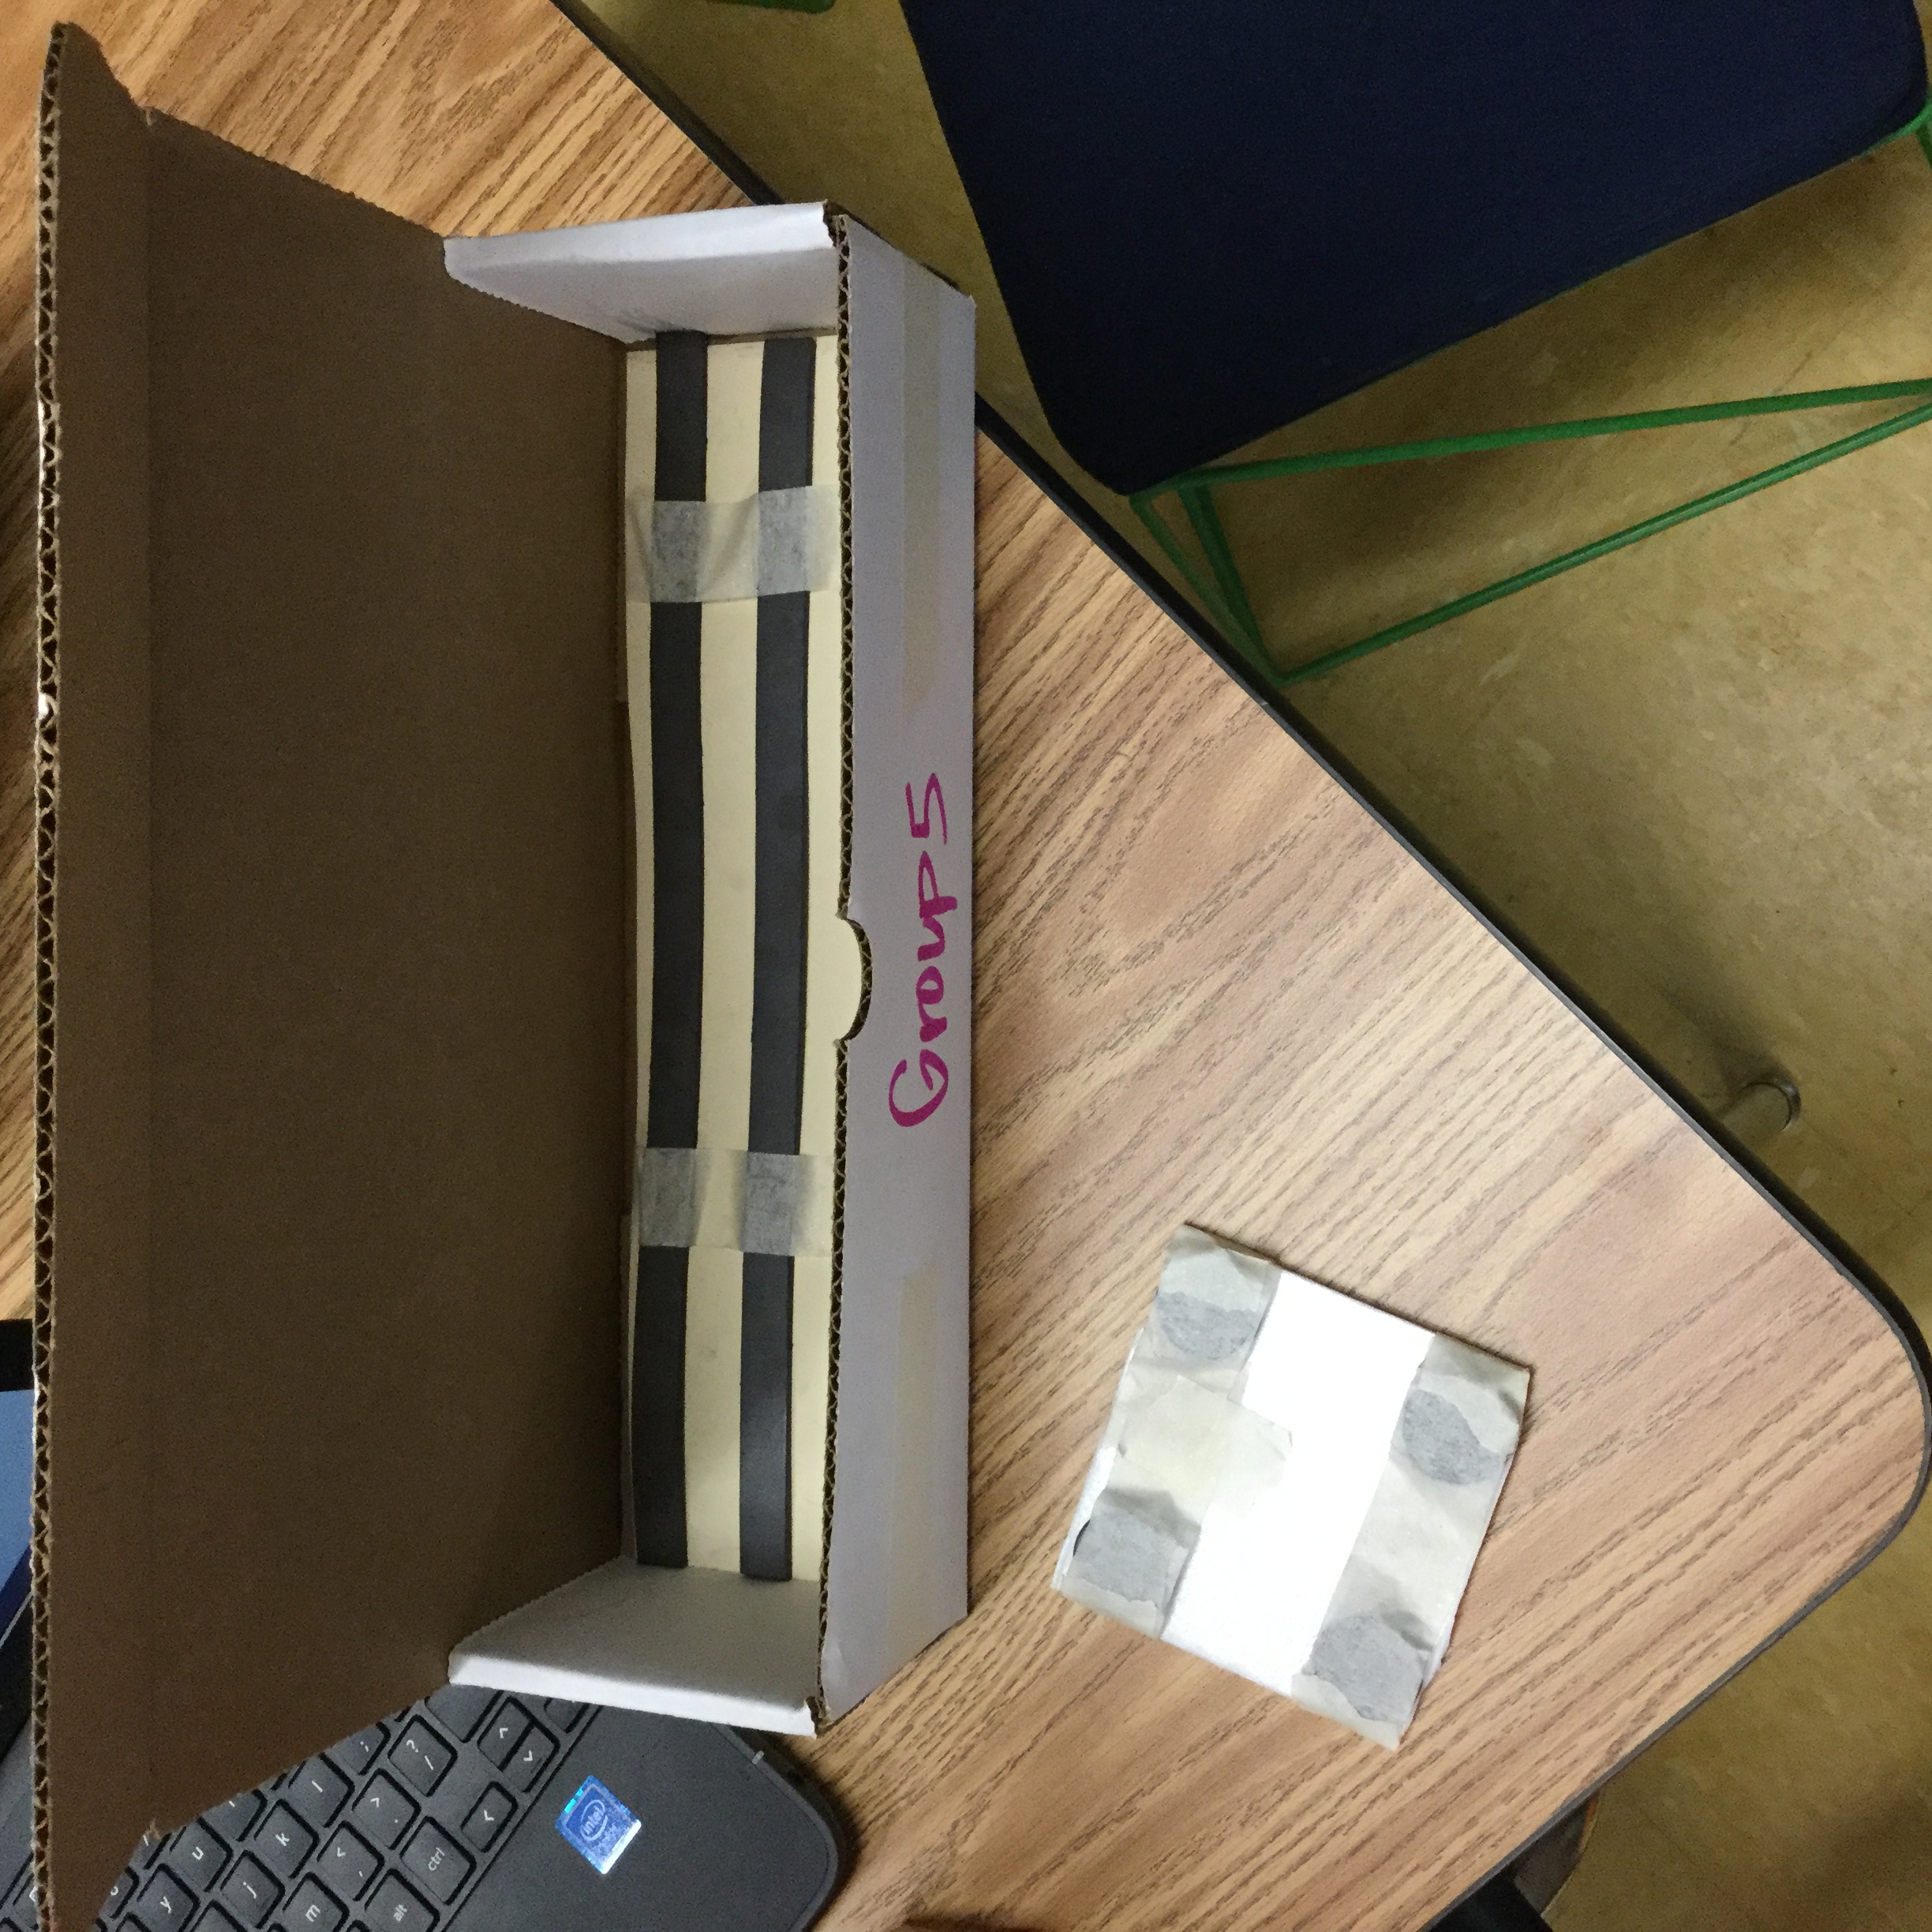
My final track and train has two rows of strip magnets with three strip magnets on each row. On the train, there are two rows of strip magnets with one strip magnet in each row. I think this train was successful because there were more magnets on the track than on the train. The train levitated higher because the magnetic field was bigger. Since there are more magnets on the tracks, those magnets are stronger, so the train can carry more weight.


From this process, I learned that maglev trains levitate because the magnets that are used to build the train, have the same poles facing each other. I learned that if the same poles are facing each other, then the magnet on the top, levitates. I learned that in the EDP, you can’t just start building right from scratch. You have to go through the ask, imagine, and plan stages first. I learned that when you are working with a group, you have to take turns to share your ideas. If you do not take turns, then no one will hear anyone’s ideas, and you will not get anything done.

Maglev Post #2

What we did today that worked was we got the train across the track! We put two strip magnets on the edges of the track. That allowed the train to run smoothly. On the train, we put two strip magnets aligned with the strip magnets on the track. Before we tested it, we made sure that the all of the magnets had the same pole facing each other.

What we did today that failed was that the edges of the magnets on the train, attracted to the edges on the magnets on the tracks. Because of that, I learned that even the edges of the strip magnets are magnetic. To fix the error, we moved the magnets on the tracks toward the middle of the tracks a tiny bit. This aligned the magnets on the train to the magnets on the tracks perfectly!


In our next design, we are putting weights on our trains. We have to improve our train so that it works with weights on it. My goal for next session is to put more strip magnets on top of the other strip magnets on the tracks. This way, the force of the magnets on the bottom will be stronger. Hopefully, it will work and be able to hold the weights!

Maglev Post #1

A maglev train is a train that “floats” or levitates. This is possible because if you face two like poles towards each other that causes them to repel. Therefor, the magnet on the top, levitates. My group’s idea was that we could put three strip magnets on the track, and a disc magnet on each corner of the train.

What I did today that worked was that the train levitated above the tracks. This means that the magnets were facing each other the right way. What I did today that failed was that when I gave the train a little tap, it moved a little bit, but then stopped. We need to find a way to get the train all the way across the track.


My experience working with my group was good. We all did a great job of taking our turns of sharing our ideas.What was challenging for my group was agreeing on our final idea. Eventually, we came up with our idea. Overall, I think my group did a good job!