This week we learned how to make flashlights. We learned how to make a blue print using exact measurements. This was really fun because we got to use cool tools and we got to draw the interior of the flashlights.
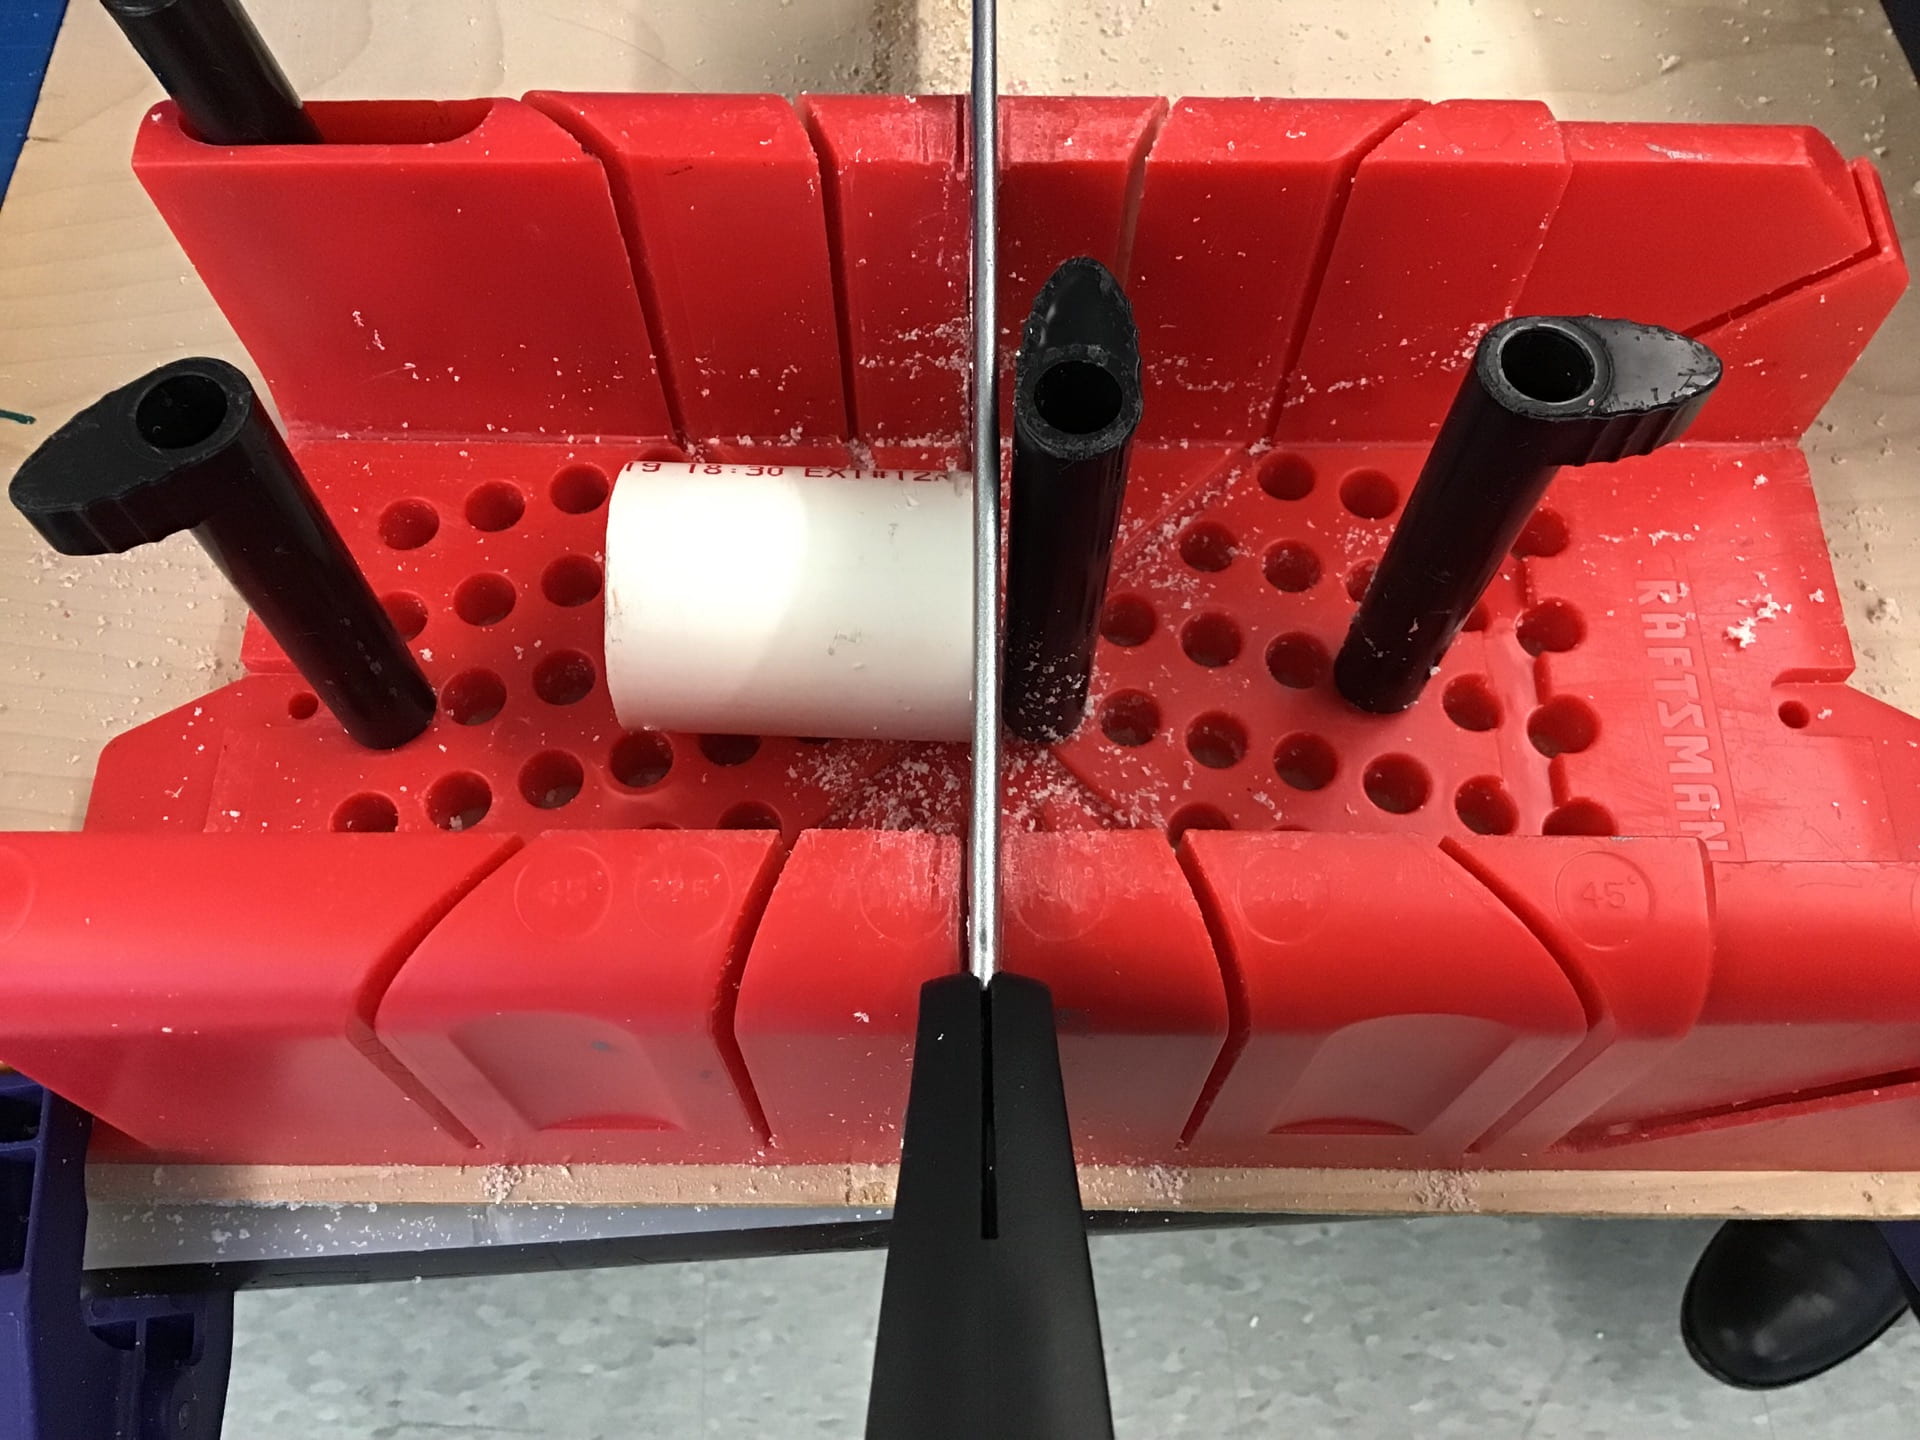
After we drew and measured the pipes we would use, we cut the pipes. Below is the tool that we use to cut the pipes:
Then we had to drill two holes, one for the light one for the on and off button.
Below is the is the area that we make the holes:

I attached all the pipes. And this is what I have:
I will make the switch next post.