Computer Technology blog #1
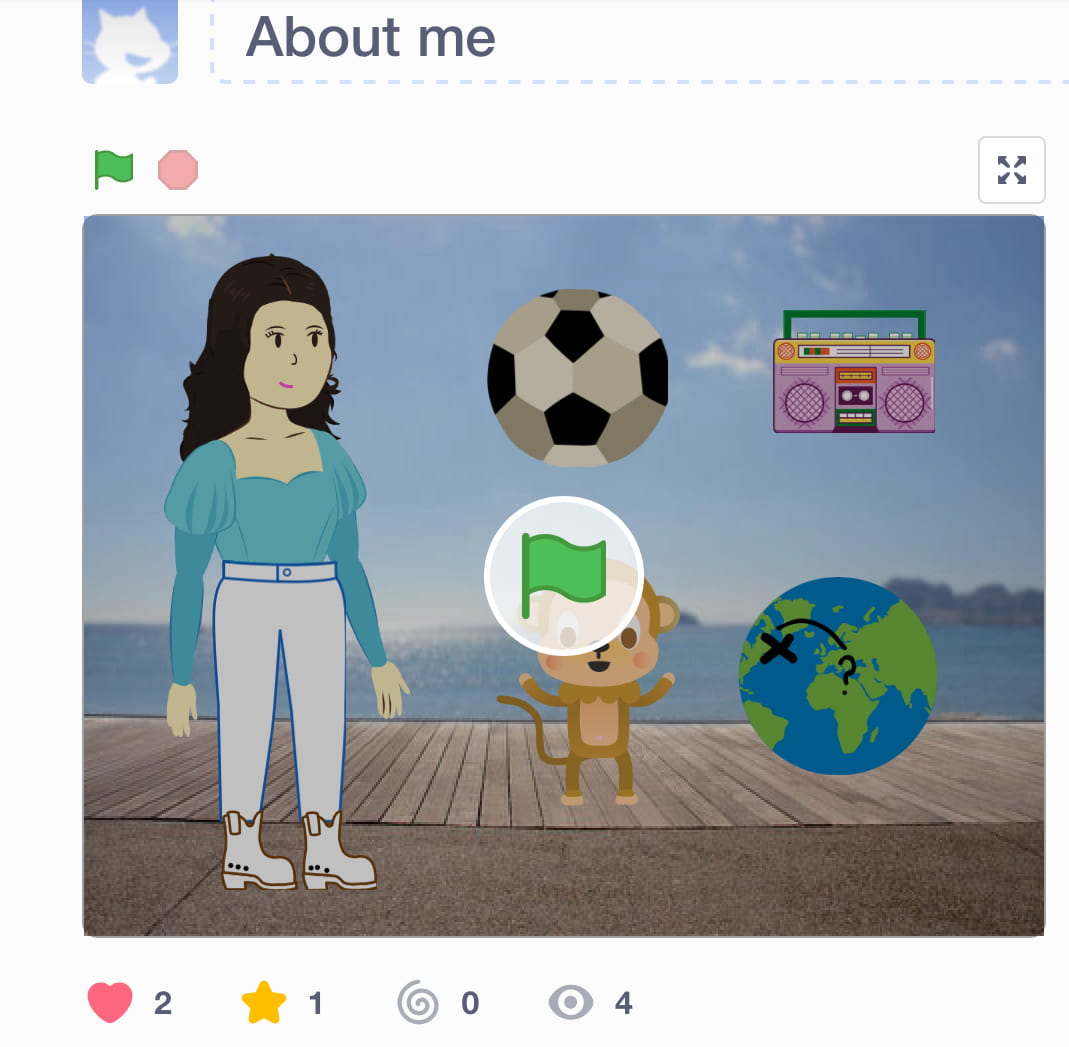
We did a project on scratch, that breaks the ice. It is called “About me”
I never used scratch before, but this project was really fun. I liked creating my character, and customizing my background and the costumes. I also liked expressing myself in a cartoon.
This is a picture of what my project looked like: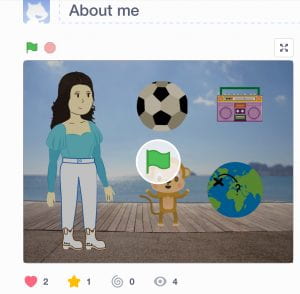
The only thing that I slightly disliked was that I felt there weren’t a lot of sprites. And I couldn’t find the sprites for some animals and objects, for example I couldn’t find one for skiing.
this is a link to my About me
https://scratch.mit.edu/projects/387563726/
PROTOTYPE
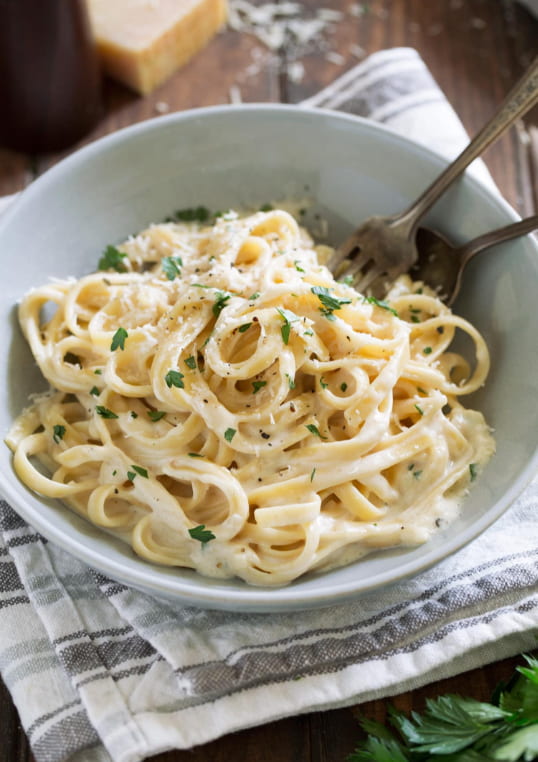
I decided I wanted to make homemade fettuccine with homemade Alfredo sauce. I chose to make this because this is one of my favorite pastas.
Today is Thanksgiving and I made it… It was really good and the rest of my family members thought so as well.
Making Fettuccine with Alfredo Sauce
Here is a picture of me making the sauce:

Here is a picture of the end product on the table:

Making Fettuccine with Ragu
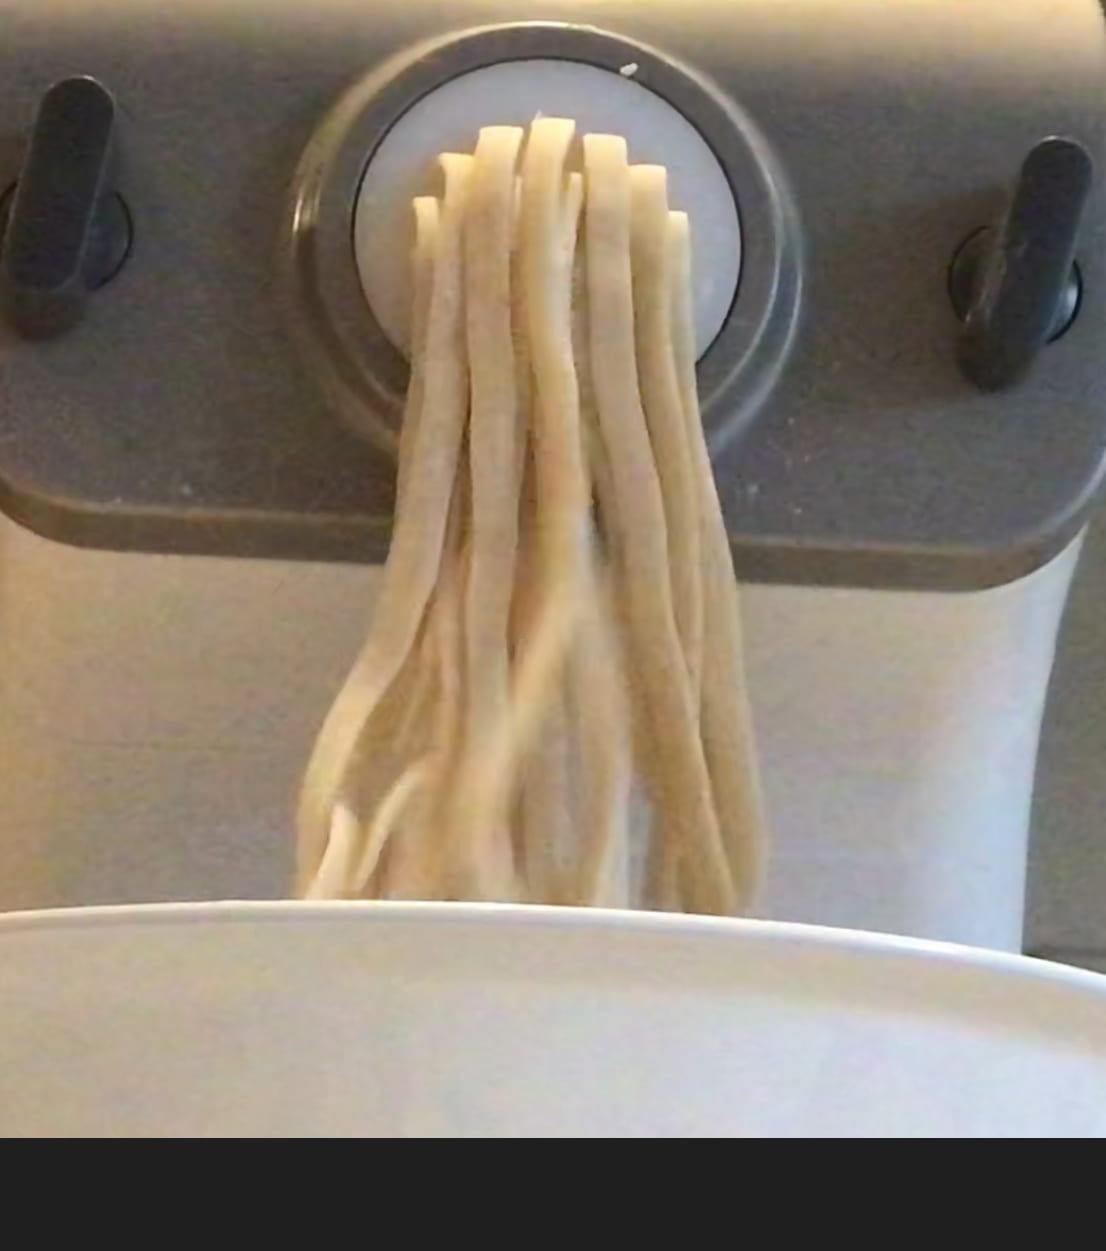
Here is a picture of me making the pasta:

Here is a picture of me making the sauce:

They were both very good although I preferred the Alfredo
Look at my next blog post to see a video and pictures of me making the pasta.
Hope you hade a happy Thanksgiving!
IF people are actually reading this…comment what you ate for Thanksgiving
PLAN
I can’t wait to make pasta. And most important eat it!
My dad will be my expert and I will come to him for any problems. He the cookbooks and old family recipes will help guide me.
I have come up with a plan for my prototype. On Thanksgiving I will make pasta with my dad and it would be one of those many meals for Thanksgiving…
I will post some pictures on Thanksgiving.. I hope we can actually eat it. (it may burn)
I hope it will taste YUMMY!😋!!
I will be making one pasta with two sauces from scratch
– fettuccine with Alfredo sauce (no chicken)
-Fettuccine with ragu (meat based sauce)
See you guys on my next post!! Bye 👋👋👋👋
PITCH
I will share everything on my blog and I will bring both of the pastas, I will be making, to school.
As you know I am cooking pasta from scratch for my passion project. And I cant wait to start cooking! Anyway here are some answers to some questions you might have.
(Q) What will you learn and make? (A) I am making pasta from scratch
(Q) Why do you want to learn and make this? (A) I want to learn this because my dad is Italian and pasta is my favorite food.
(Q)How will you learn and make this? (A) I will first make pasta from scratch with my dad on Thanksgiving, then on another day I will make it by myself according to what he told me.
(Q) What will success look like to you? (A) I will know success when I can make food as well as my dad
PASSION
The topic I am choosing for my passion project this quarterly is cooking pasta from scratch. I chose this topic because I love cooking and , and I love looking and making new recipes- even though they don’t turn out always right.
Most importantly my dad is Italian and i want to learn to cook his culture’s food.
FUN FACT- Pasta came from China🇨🇳➡️🇮🇹
I loved Technology. I liked the projects, what we learned, and the teacher.
My favorite part about Technology was that we got to make things with our own hands(with some help from tools). This made me feel good about what I made.
My favorite project we did in Technology was when we made flashlights. I liked this most because it had many different topics but into one project. For example when we made the flashlight we were doing art, math, blueprints, switches and others.
I wish I could technology all over again, but a part of me also wants to see what the other quarterlies have to offer.

I completed the exterior of the flashlight last week. This week I made the interior of the flashlight (the circuit) and decorated.
To make the switch, I clipped wires according to my blue print. Then I used the soldering station to solder the meters together. I attached a battery holder and an on and off switch.
I showed Mr.Calvert and he then gave me a battery. The flash light worked! I thought it was so cool t0 make some thing useful and productive.
I decided to color my flashlight, because it was-at-that-time it was only white pipes, with sharpie.
The end result was:

I love making and creating things I will miss technology and Mr. Calvert.
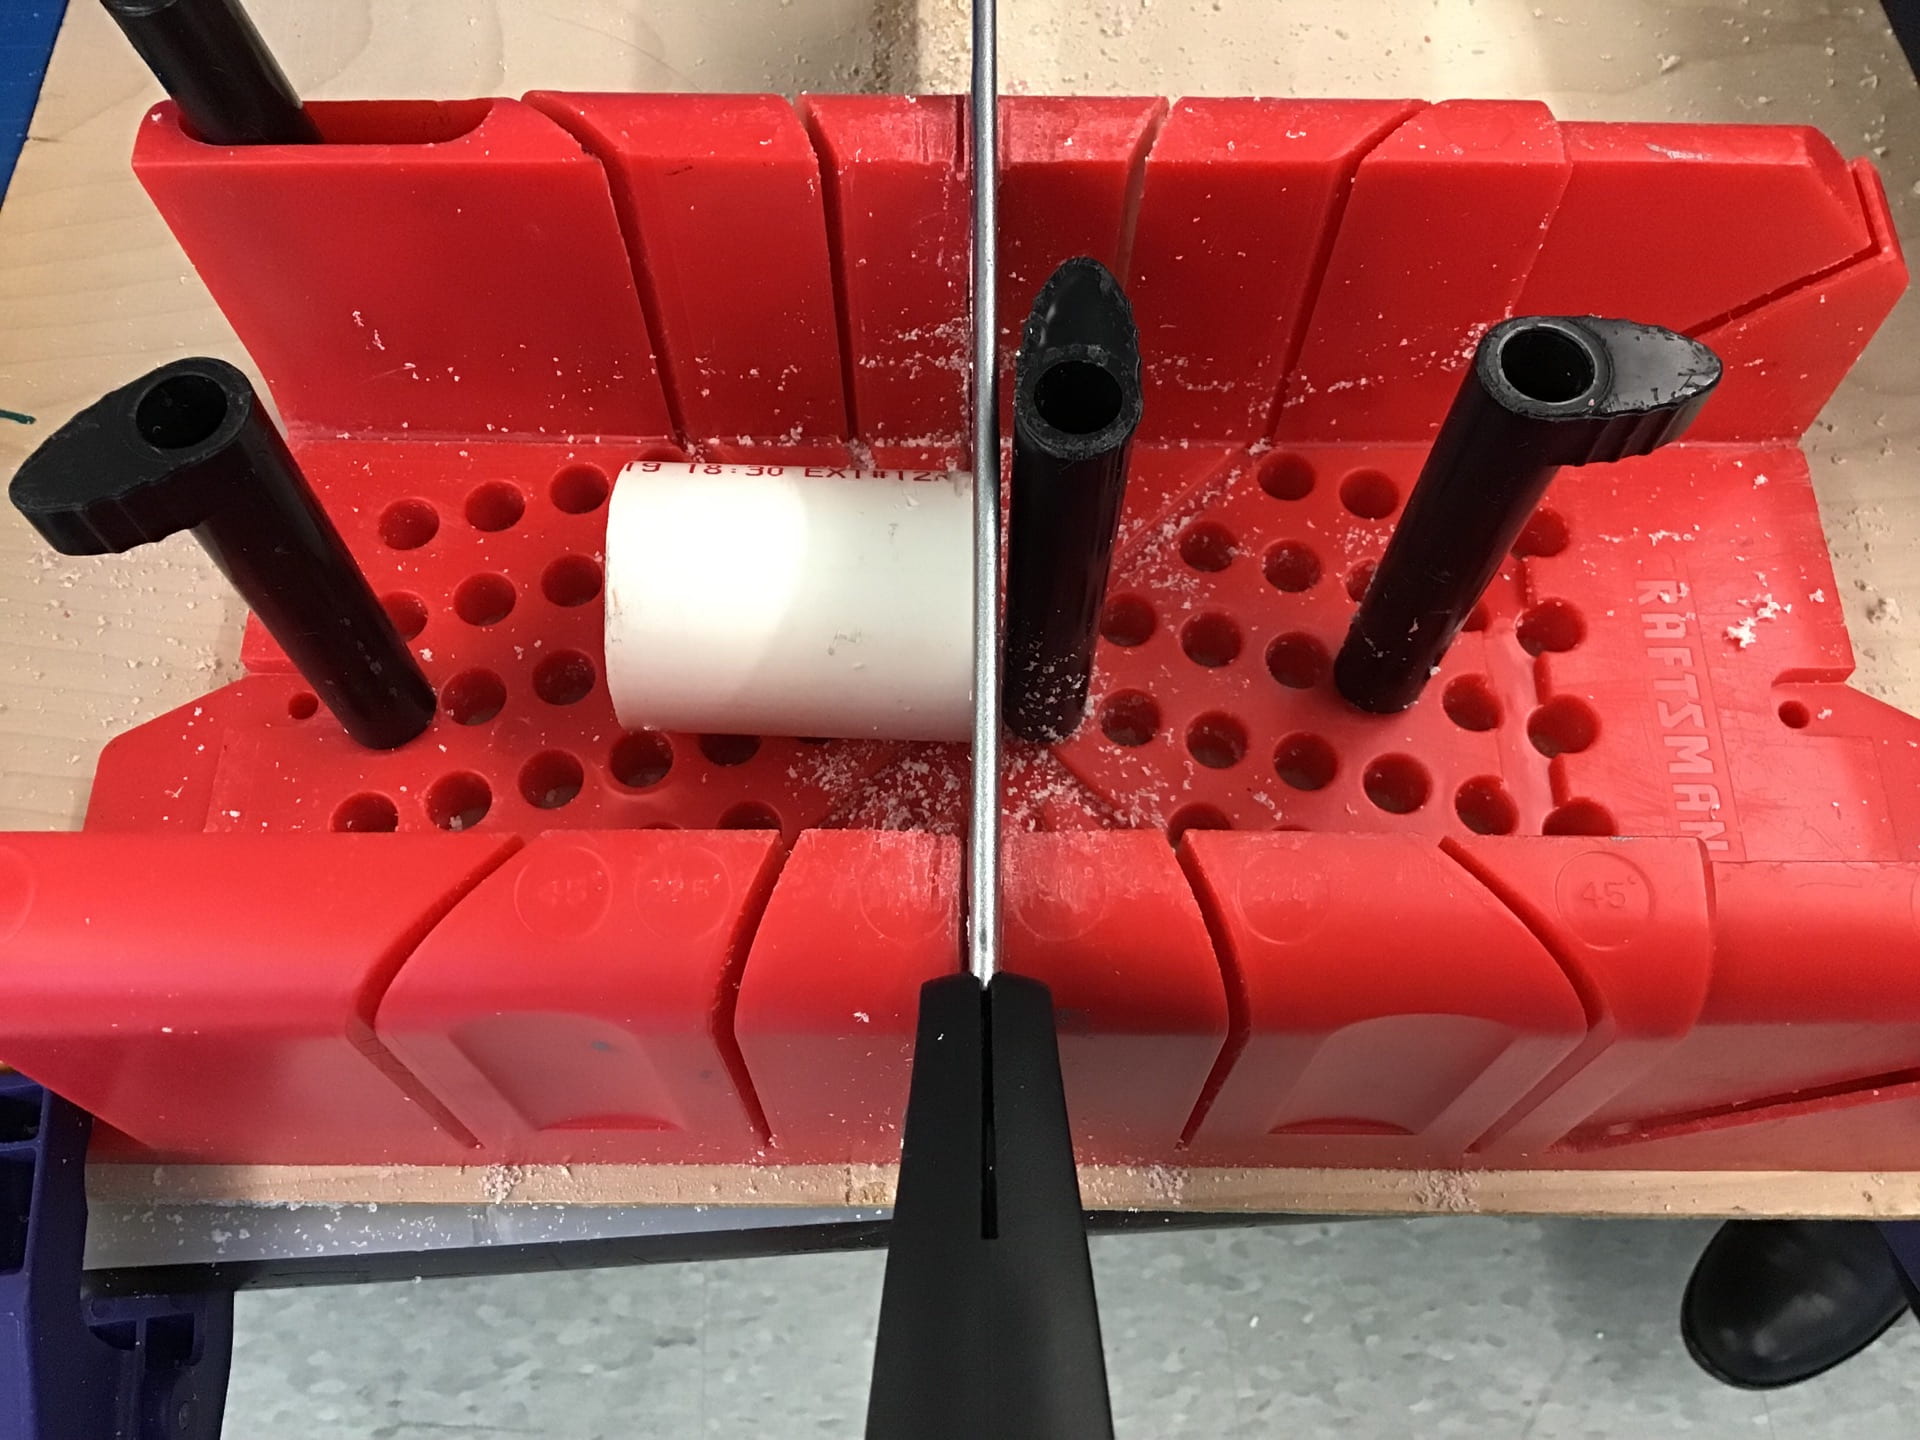
This week we learned how to make flashlights. We learned how to make a blue print using exact measurements. This was really fun because we got to use cool tools and we got to draw the interior of the flashlights.
After we drew and measured the pipes we would use, we cut the pipes. Below is the tool that we use to cut the pipes:

Then we had to drill two holes, one for the light one for the on and off button.
Below is the is the area that we make the holes:

I attached all the pipes. And this is what I have:
I will make the switch next post.
I finished my 3 switches, and so I learned how to make a circuit.
Here is a video of the steps it took to make the circuit
Click This Link
I began making my switch. This is how u make them…
(1). Think of a design that will work with 2 pieces of cardboard toughing each other. For example if you push down on something two pieces of cardboard will touch.
(2) Gather the materials you will use. Materials for use- popsicle sticks, glue, cardboard, rubber bands, tin foil.
(3) Make the switch(anything you want as long as if you push, push, turn, etc. then it would lead to two pieces of cardboard touching.)
(4) Hut glue necessary pieces together.

Hot Glue Station
(5) Make sure that if you push, pull, twist, or flick that it would end up as two pieces of cardboard touching.
(6) take the two pieces of cardboard that are touching and glue aluminum foil on to the pieces.
For this class we had to make 3 of these.