Eli's Blog

Just another Scarsdale Schools Blogs Site

MY FINISHED BOX!

November12

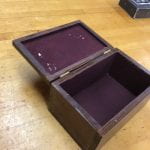
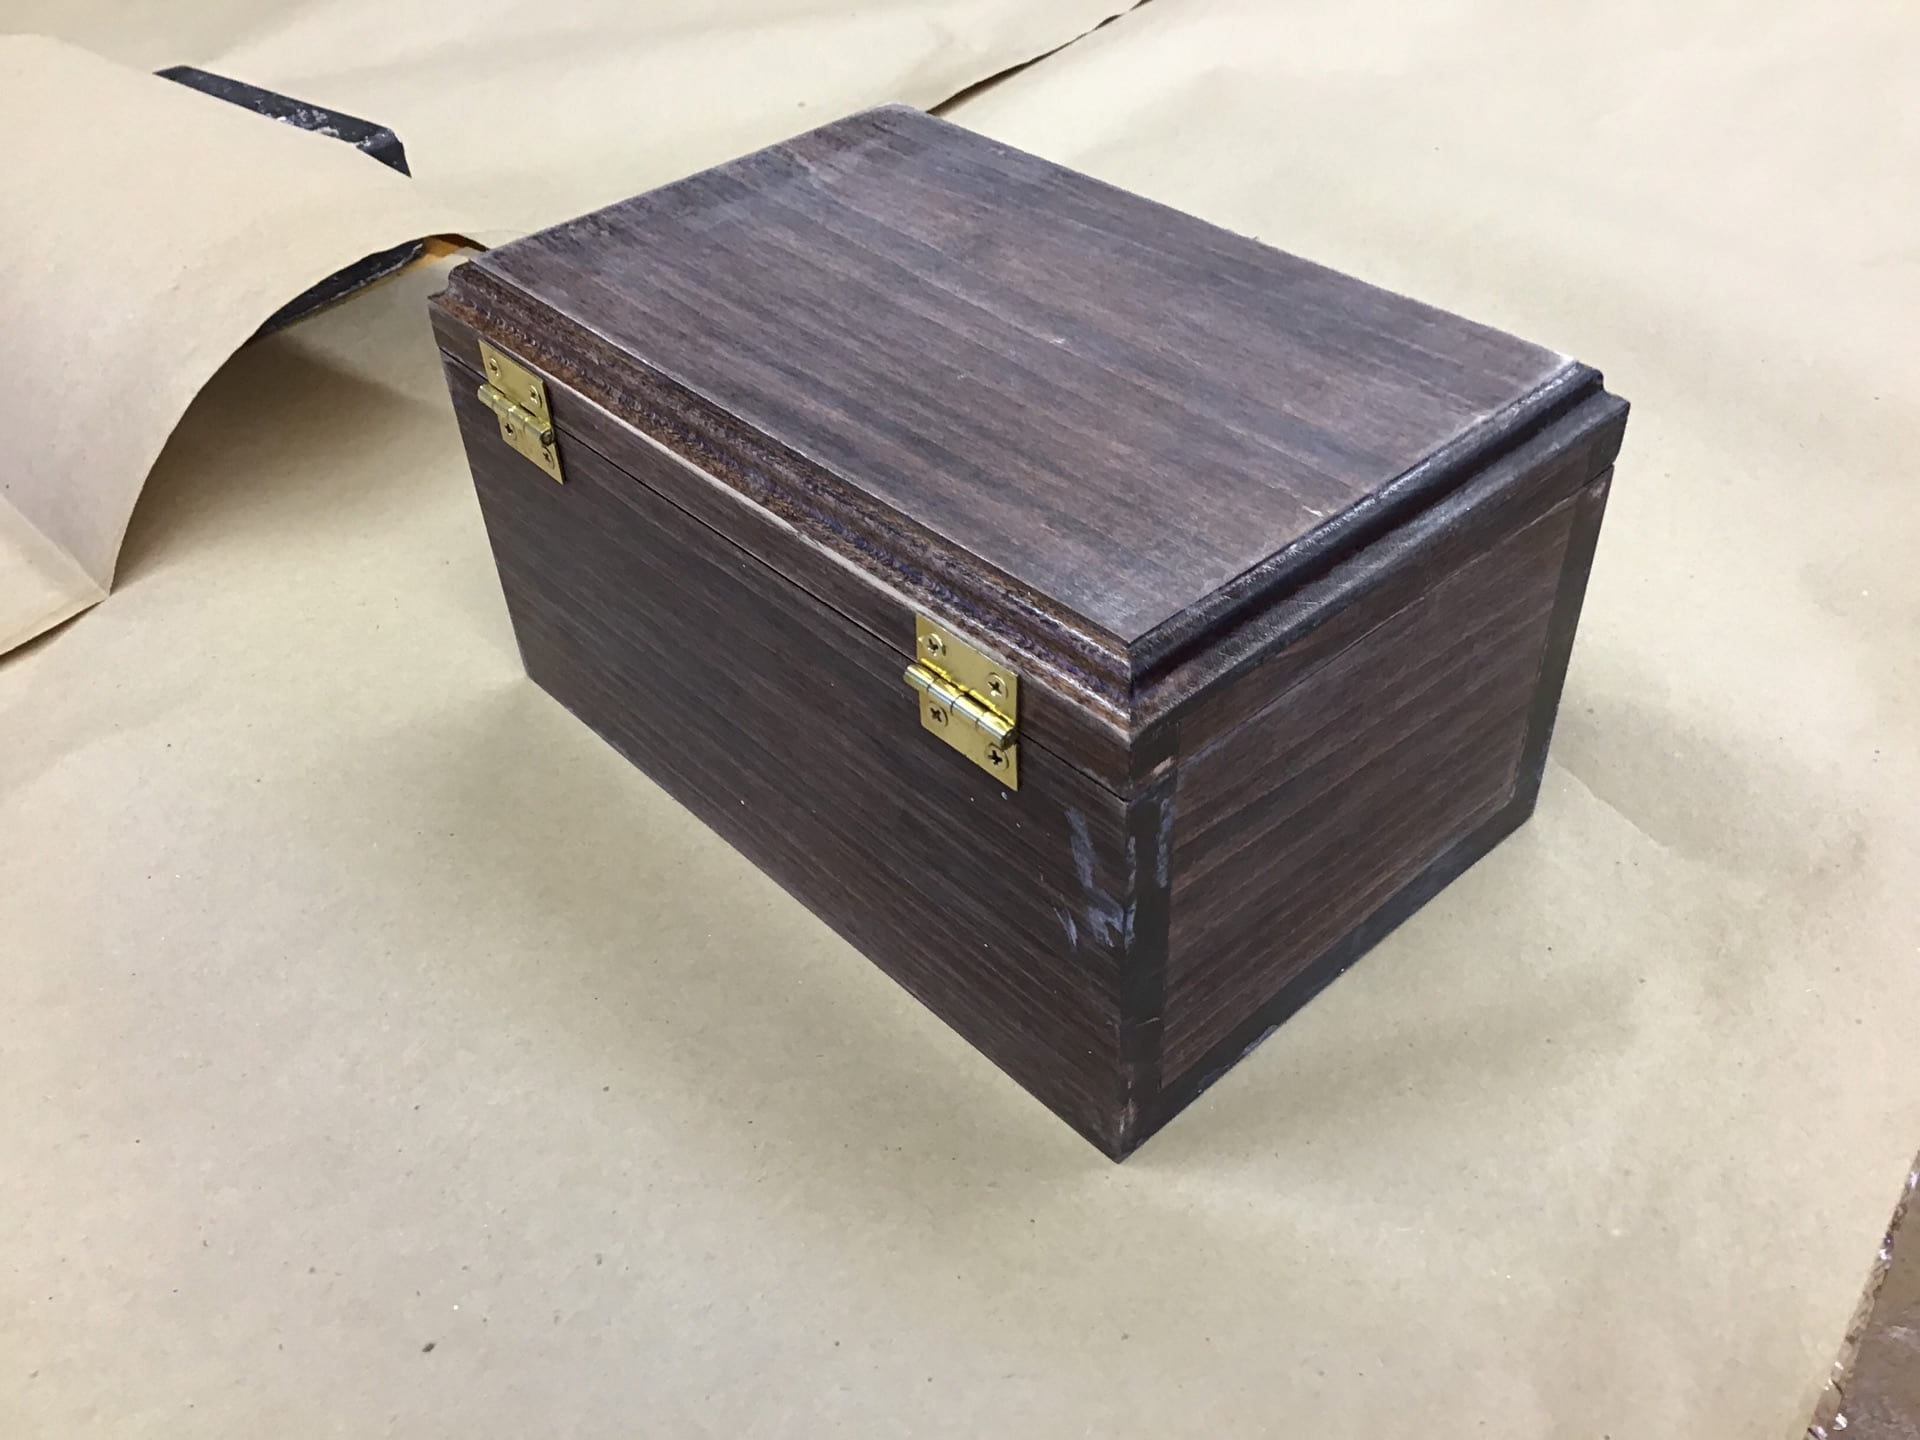
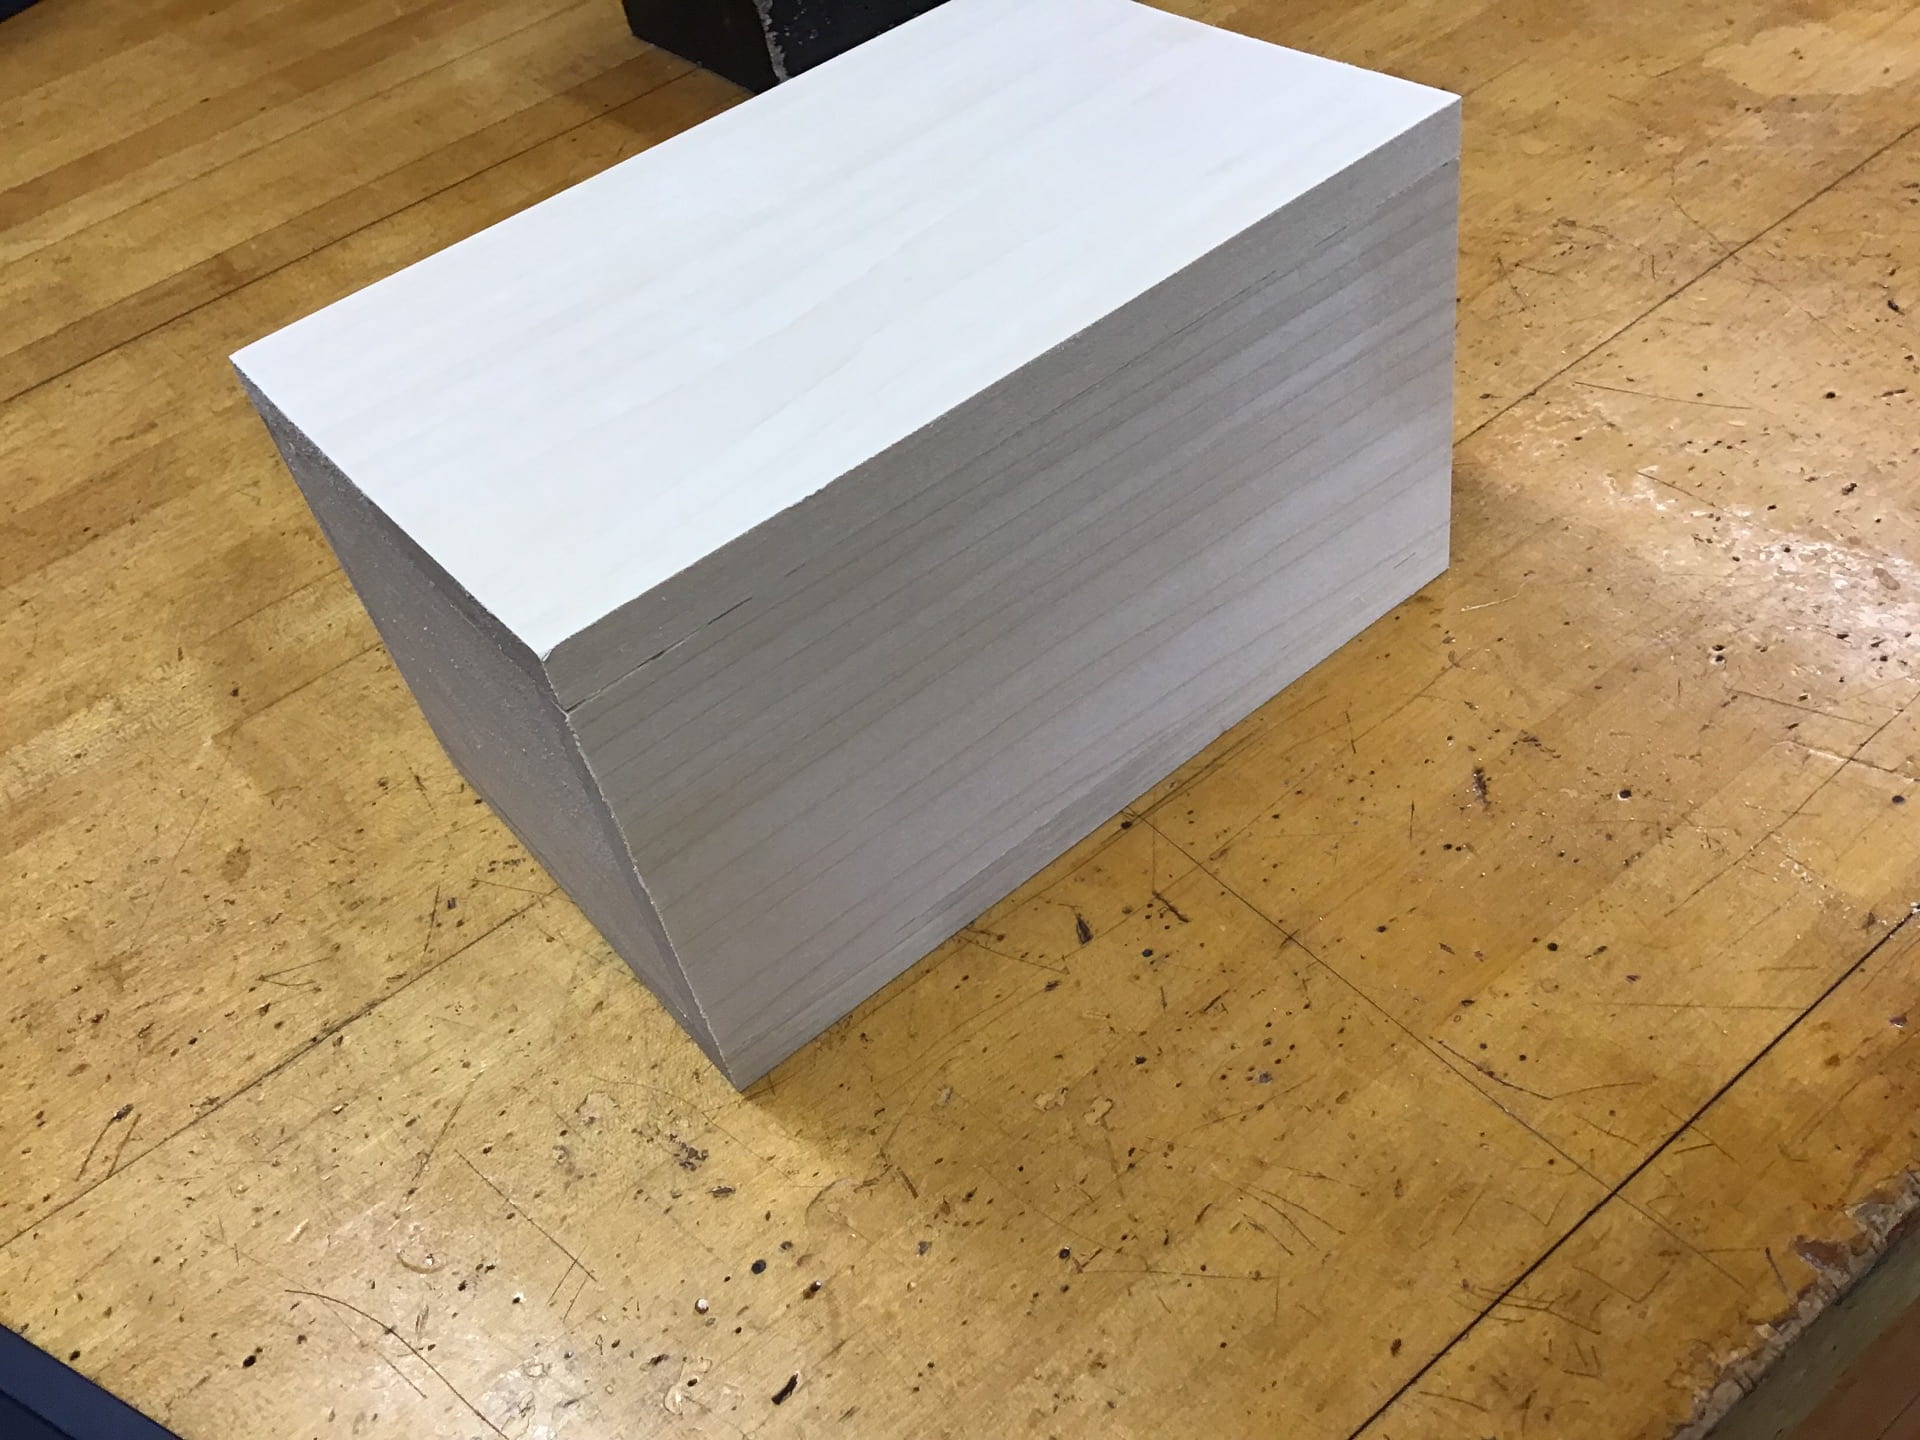
Making my box was such a fun project. Now that the quarter is over I no longer have tech. Here is what the box looked like in the end:

Through the project I have used many tools including:

  • scroll saw
  • band saw
  • palm sander
  • belt sander
  • And more…

I also used many materials including:

  • WOOD
  • stain
  • polycrilic
  • glue
  • And more…

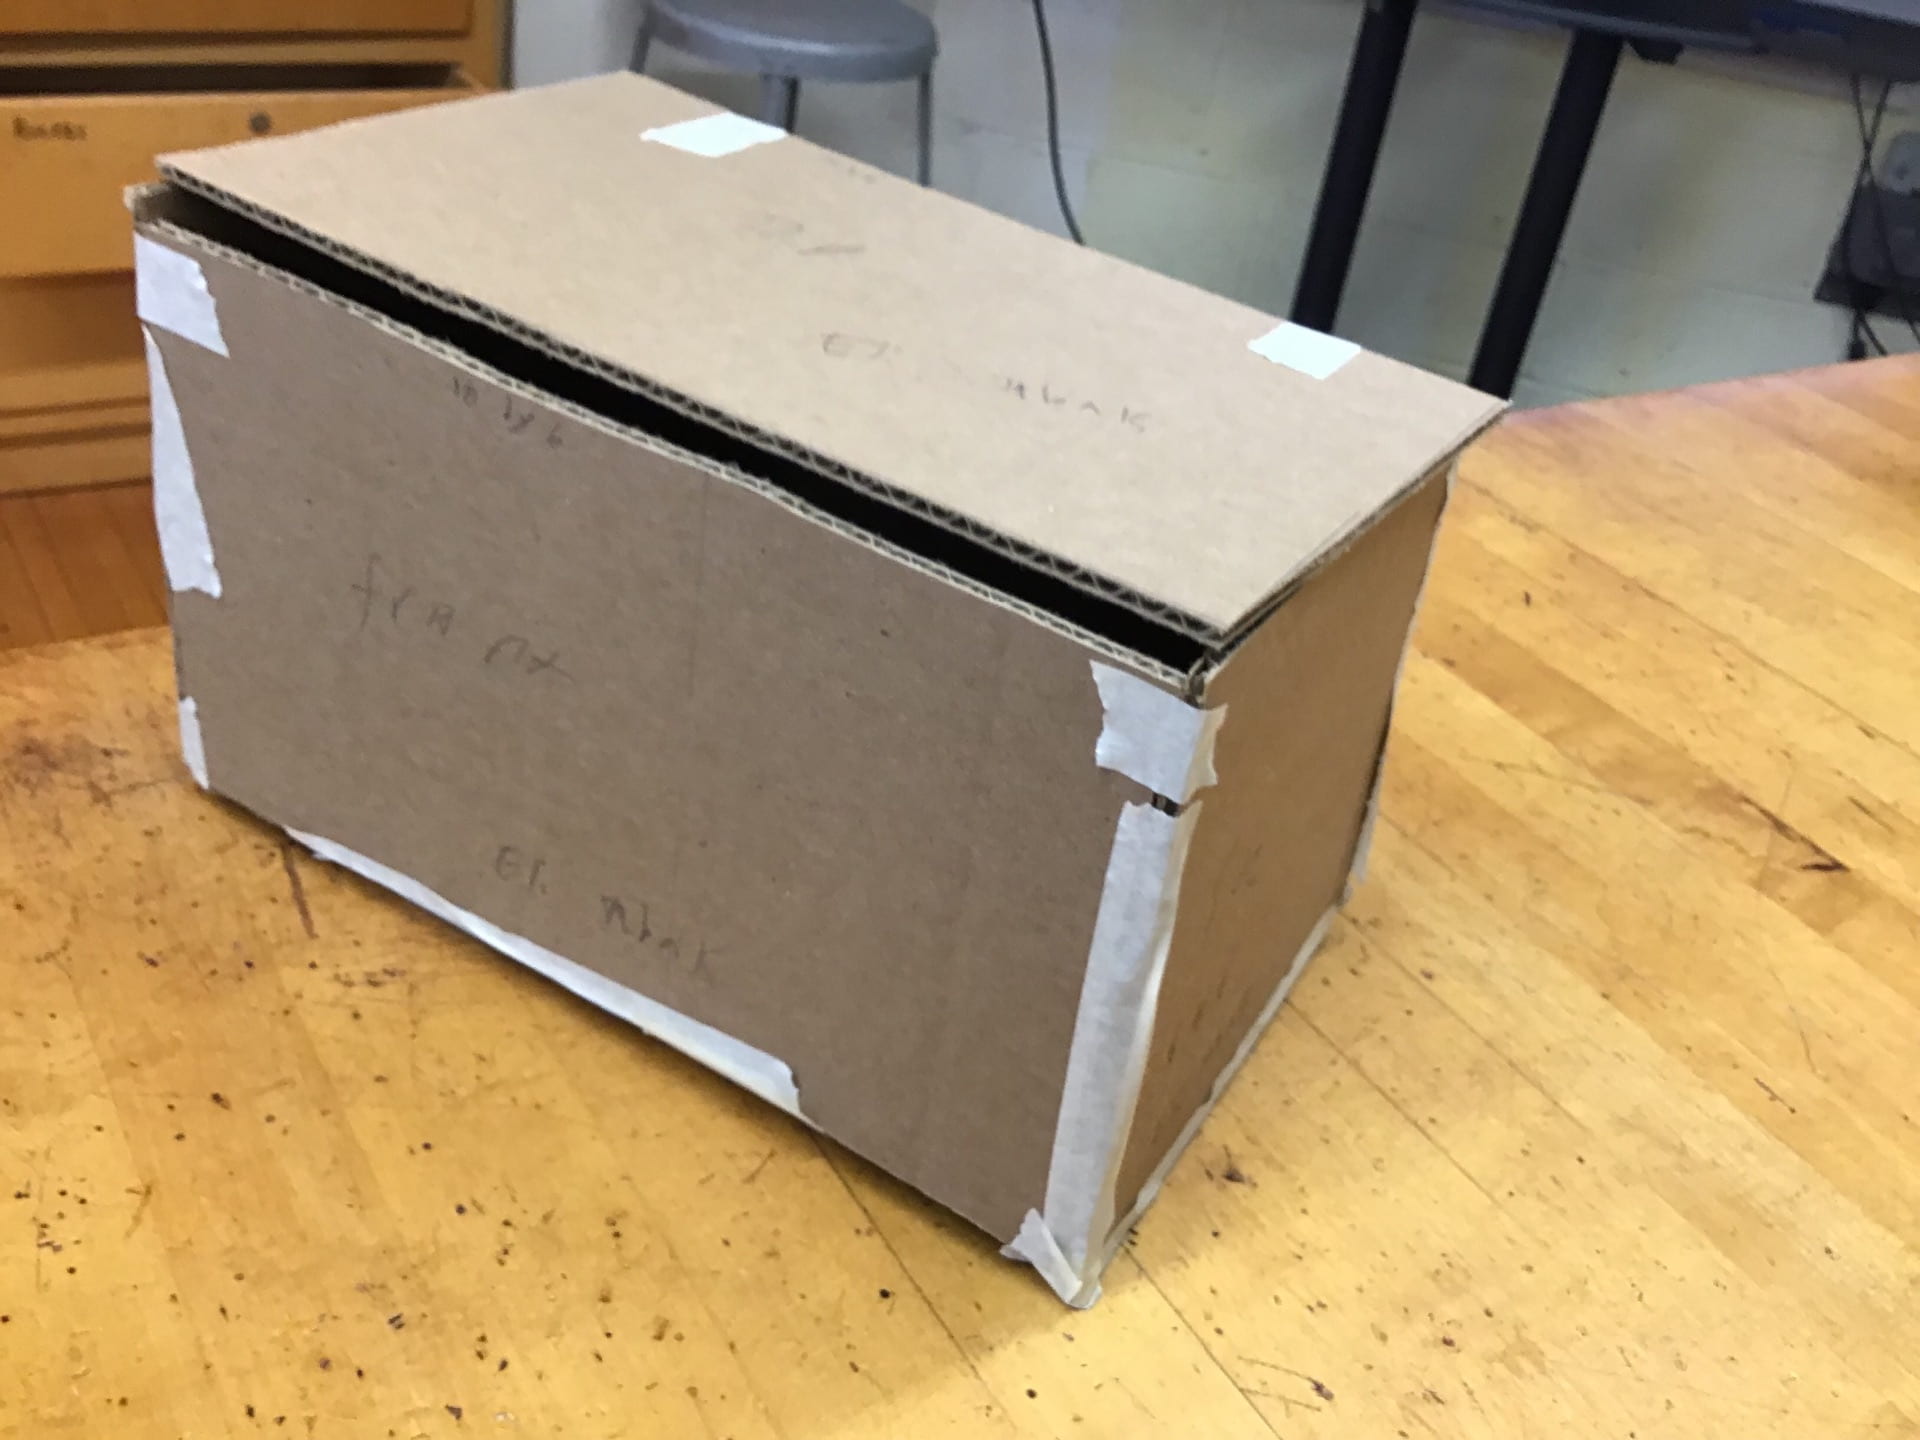
In addition to making the box I also made a cardboard model:

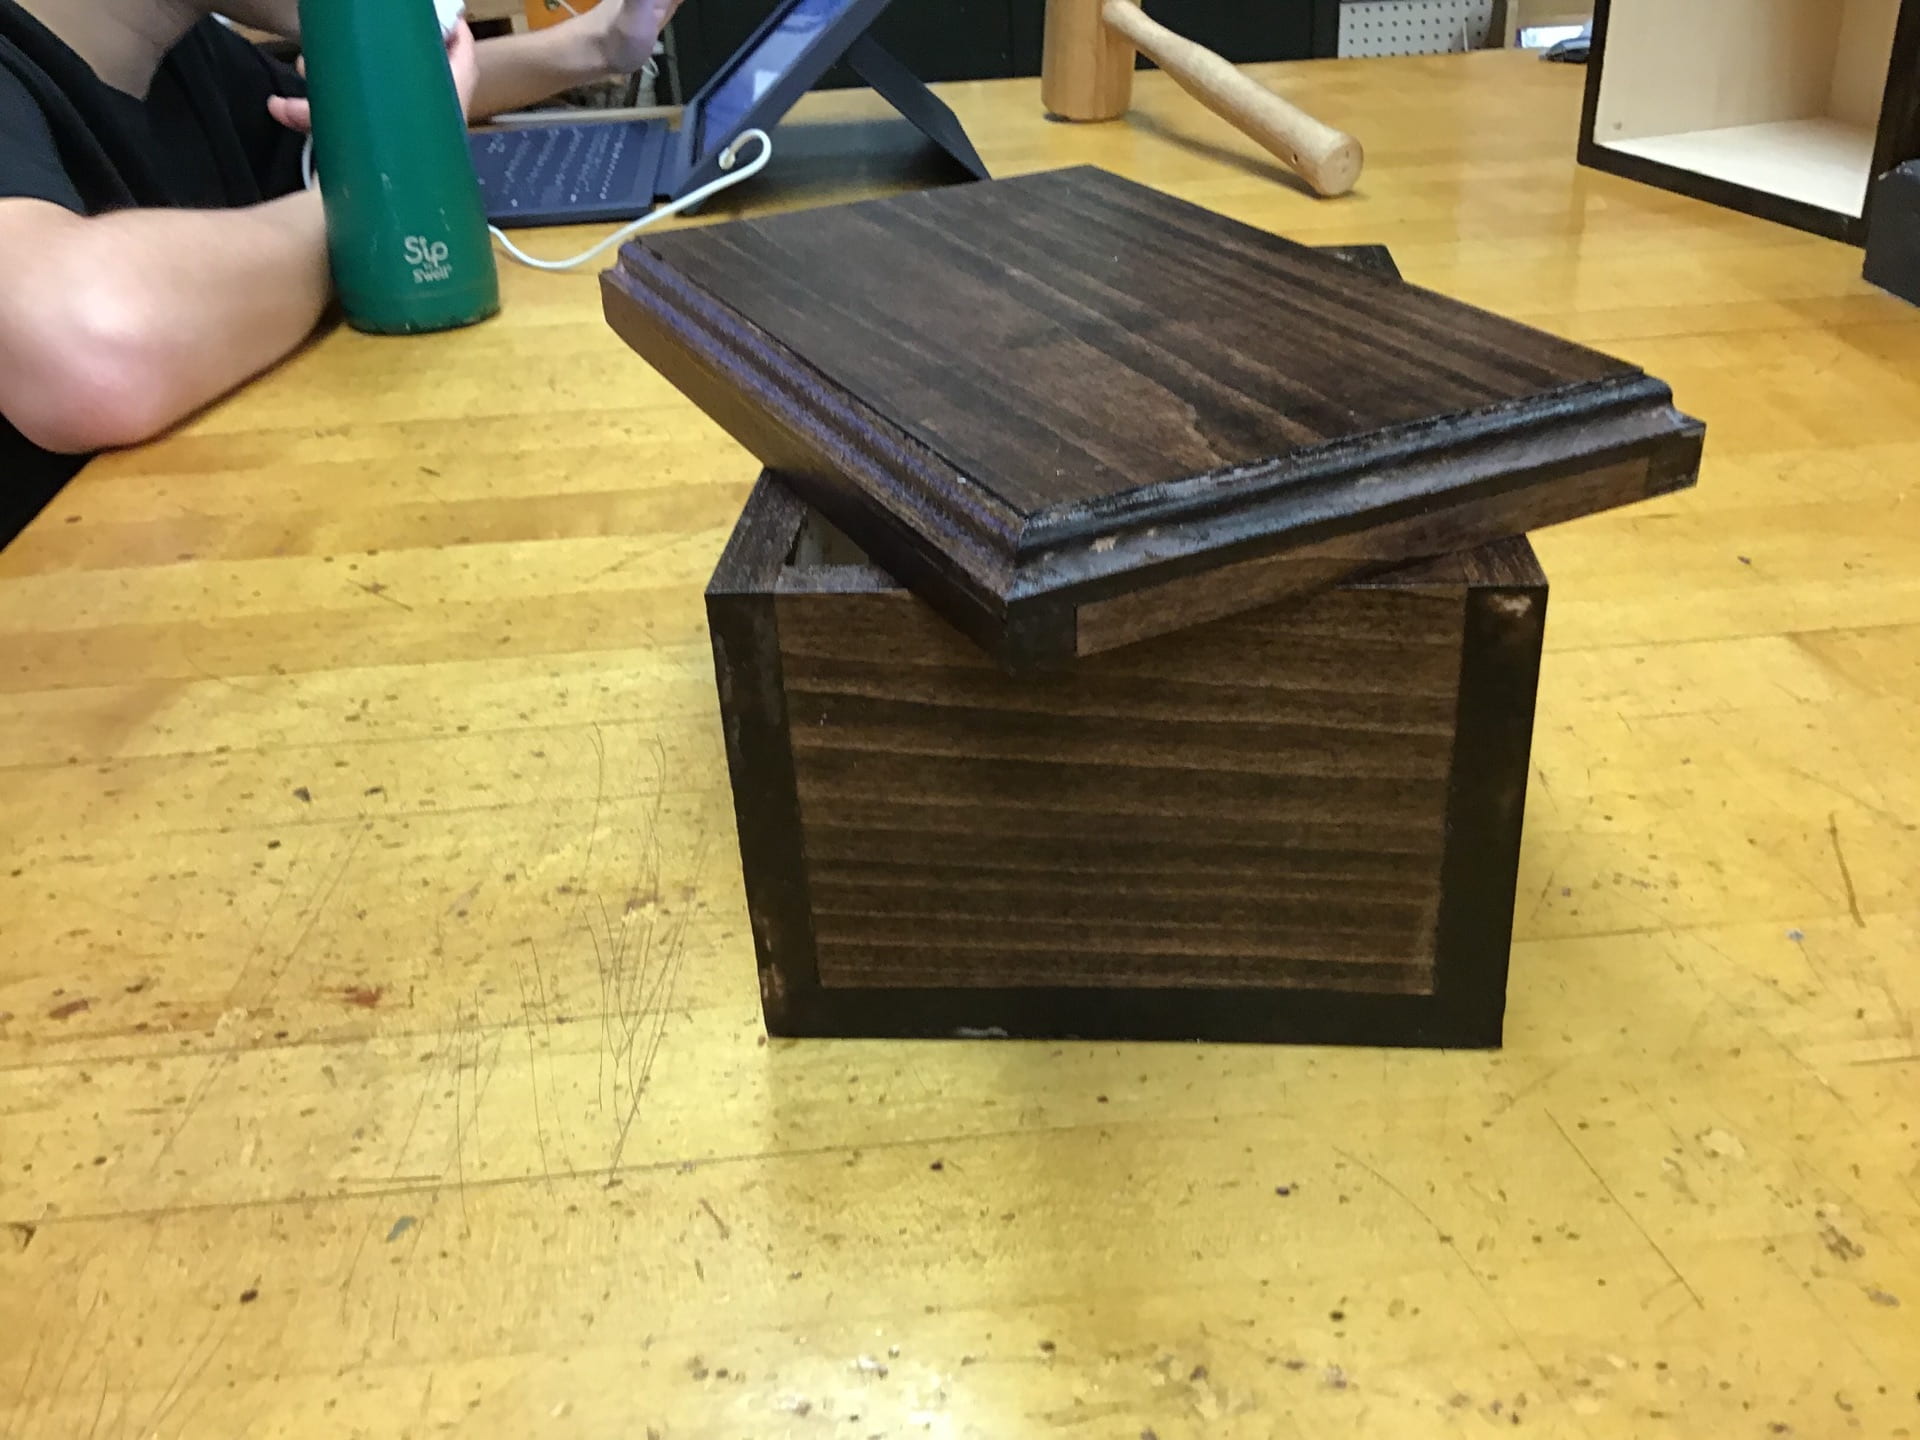
When making the box we also had to make a story for what the box was for. Mine was to hold the flashlight I made last year. Here is my box with its flashlight in it:

by posted under 7th tech | No Comments »    

What I did in the final days of tech

November8

My box is finished and I will make a blog post about the entire process but this post is about what I did since my last post.


My box after flocking

After hinges I flocked.

Here is how I flocked:

  1. Apply glue
    1. Make sure it is heavily applied to part of exposed wood
  2. Apply flocking
    1. Take a big scoop of flocking
      1. put it in box
    2. SHAKE BOX
  3. Dump out extra flocking
  4. Wait a day to dry
  5. Check if it is done (there is no empty patches)
    1. If done then flocking is done
      1. If not: fix it
        1. Dap glue into missing spots
        2. Reapply flocking
        3. Go back to waiting a day and checking if done

I hade to reapply once.

My box after engraving

Then I engraved. I used a cool wood burning tool that looked kinda like a soldering iron.


Then I waxed. Here is how I waxed:

  1. Do paste wax
    1. Rub in paste wax
    2. Use towel to rub off paste wax
  2. Do spray wax
    1. Do one side
      1. Spray a little wax on
      2. Rub in the wax
    2. Repeat on all sides

MY FINISHED BOX

by posted under 7th tech | No Comments »    

4 Days Left😢

November4

That includes today.


After doing my final coat of polycrilic I was able to use fine sand and steel wool.  That is just getting rid of pumps and making the polycrilic smooth. It makes it look bad but after I flock I will wax it to make it look shiny and nice.

I was also able to do hinges:

You may notice that the box looks white. That is because of the fine sanding and steel wool.

How to hinge:

  1. Put box in vise and line it up
  2. Do one hinge
    1. Measure where to put the hinge
    2. Do one hole
      1. Use awl and hammer to make a hole in wood
      2. screw in screw in the hole
    3. Repeat for the other 3 holes
  3. Repeat for other hinge


Today I will come at lunch to do the flocking.

by posted under 7th tech | No Comments »    

Lockdown and polycrilic

October30

Yesterday I did 4/5 coats of polycrilic. That was done between lunch and class.

My box after 4 coats of polycrilic

Today in class I was going to do my final coat, but we had a lockdown drill! I will have to come at lunch to finish it.


To aptly polycrilic I use a paint brush and brush it everywhere that I stained. I have to wait five minutes between coats (thats what takes so long).

When I said I had ten days a few posts ago it was actually nine because I didn’t account for a day off.
by posted under 7th tech | No Comments »    

Stained at lunch!!!

October28

In class today I didn’t end up doing any work on the box because there were to big lines to use tools and we were making a plan of the next 10 days.  That’s right. We only have 10 days left.


I was going to come at lunch anyways but it made lots of sense especially because I didn’t do anything related to the box in class. So during lunch here is what I did:

  1. Buy lunch
  2. Bring it down to tech
  3. Eat lunch
  4. Work on box
    1. Belt sand
    2. Stain!

The belt sanding was just to get rid of the edge that it got from cutting off the top:

For staining I:

  1. Put on a apron and gloves
  2. Choose stain (I chose red mahogany)
  3. Get rag
  4. Apply stain
    1. Put stain on one side
      1. Dip brush in
      2. Rub on stain
      3.  Repeat as many times as needed
      4. Wipe off extra stain with rag
    2. Repeat on all sides (except for inside)
    3. Repeat for top
  5. Put box in locker to dry
  6. Dispose of used rag in garbage
  7. Take off apron and gloves

I can’t wait to see it tomorrow!


Because  it  was lunch I didn’t bring my iPad, so I don’t have any pictures.
by posted under 7th tech | No Comments »    

Top is off

October25

Today I cut the top off. Now I will need to sand that edge a little. Then I can’t stain.

My box so far.

Me (and Ms. Giroux) used the table saw to cut it. Look a little closer:

I will have to sand that part down. I think I will be using a sanding board (sandpaper on a piece of wood that you rub whatever you want to sand on) to do that.


Becuse I don’t have much time left in the quarter, I will probably have to come at lunch next week.

by posted under 7th tech | No Comments »    

Done routing

October24

I finished routing today. It is were you add a decorative edge to the box. Here is what it looks like now:

But we received some bad news today:

THERE IS ONLY 2 WEEKS LEFT!

I may have to come at lunch to finish up.


I also learned how I will engrave my name

  1. I will do it after I stained
  2. I will burn away the letters
  3. I will put a lighter stain over it
  4. It will be engraved!
by posted under 7th tech | No Comments »    

Sanding after glue

October24

My box so far 📦

So far this week, I have been sanding. This is to make all the edges perfect. First I used the belt sander. Then I used the the palm sander. Now I will be able to route the top. That gives it a decorative edge. After that I will be able to cut off the top. Then I can stain it or give it color. Stain doesn’t protect the box. I will also add a protective coat on top of the stain then I can add flocking powder.  Finally I will add hinges to it. At some point during that process I will engrave “Eli’s Flashlight” (see my blog post with the story of the box) on the top. I don’t know when that will be.

by posted under 7th tech | No Comments »    

All glued❗️

October18
That is the good news. The bad news is that now I have nothing to do the rest of the period, so its time for a blog post!

Yesterday, when I saw my glued (sides, front & back) box it looked perfect! Well almost, some of the connections weren’t straight, but that was just needs sanding. It is almost certain that it will happen again after I get the fully glued box.

My glued box drying in the vise.

Today I glued on the top and the bottom. It went almost without incident. The only problem was that I spilled a little glue on the bottom while gluing the top. I choose to do the top first (for no particular reason) so I dint have to deal with it when it was on the box. I just used a wet paper towel to wipe it off, because the glue is water soluble, which means it goes away in water.

by posted under 7th tech | 1 Comment »    

Resolved the problem with gluing

October16

When I cam in to day to fix the piece that dint glue, I turned out that there was the same problem with another section. I was able to fix it and it is now drying in the vise. here are the steps I used to fix it:

  1. Use the palm sander to  sand the glue off the faces.
  2. Use the belt sander to sand the glue off the ends.
  3. Put glue back on.
  4. Leave in vise to dry

tomorrow, I can use the belt sander to perfect my edges before I glue on the top and bottom.

I don’t have may iPad with me right now, so I can’t include pictures. Sorry.
by posted under 7th tech | No Comments »    
« Older Entries