Eli's Blog

Just another Scarsdale Schools Blogs Site

What it looks like after gluing

October15

Today was for watching videos about what we will do, but I did get to see my glued box:

Remember that this is just having glued the  front, back, and sides. Unfortunately, one of the sides didn’t glue well:

It is ok, because I just need I just need to stick a little glue in it and glue it again. After that I (with Ms. Giroux) will use the belt sander to make sure all sides are even. After that I can glue on the top and back, followed by another time of using the belt sander.

by posted under 7th tech | No Comments »    

Week review: from sanding to a fire drill, and everywhere in between!

October11

It was a very exciting week in tech!

Finished up manual sanding with sandpaper and used belt sander to fix some edges.

Belt sander

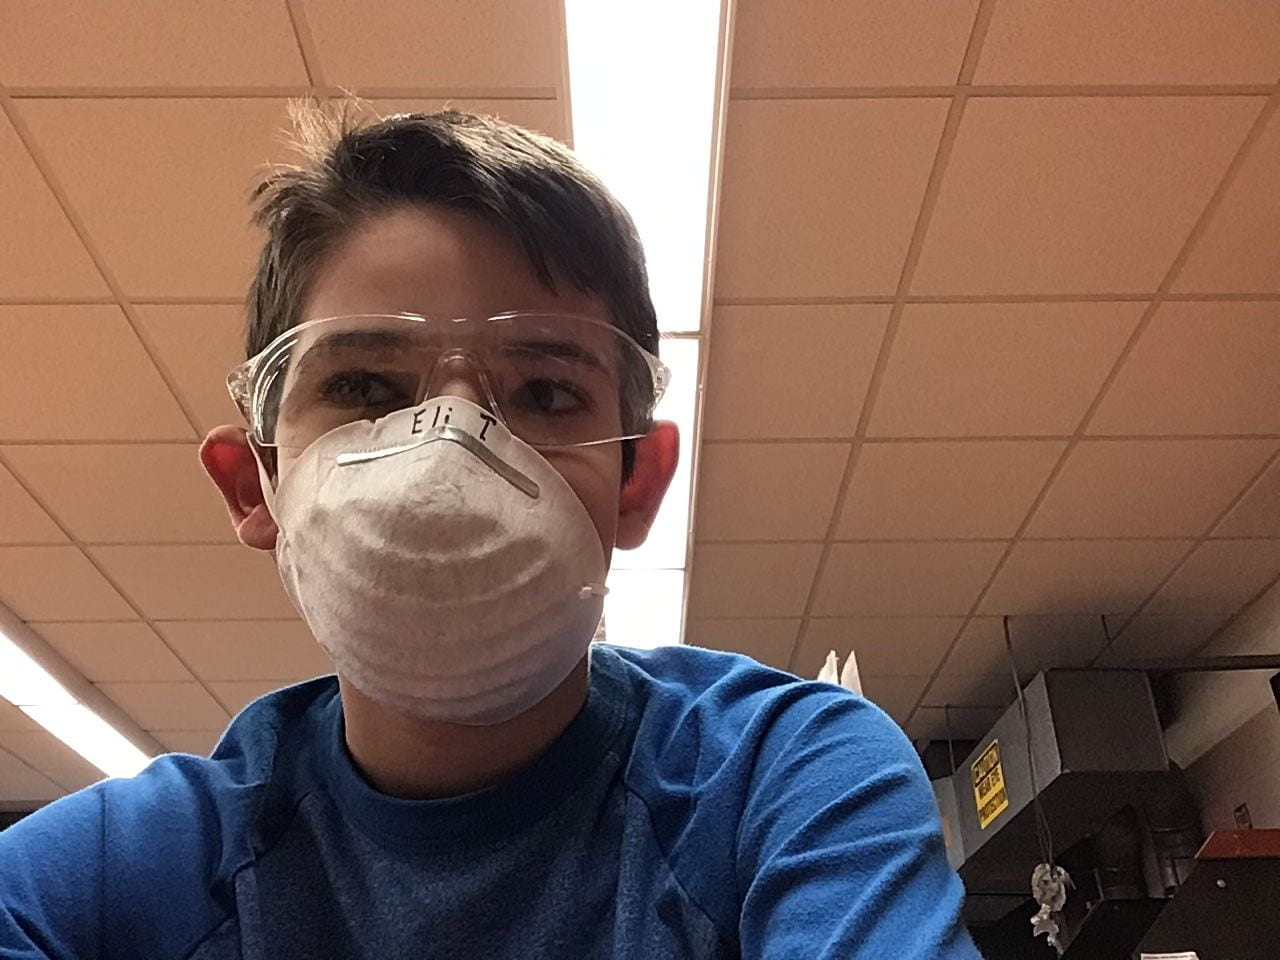
When using the band saw, not just did I have to wear safety glasses but also a dust mask.

Me with a dust mask and safety glasses

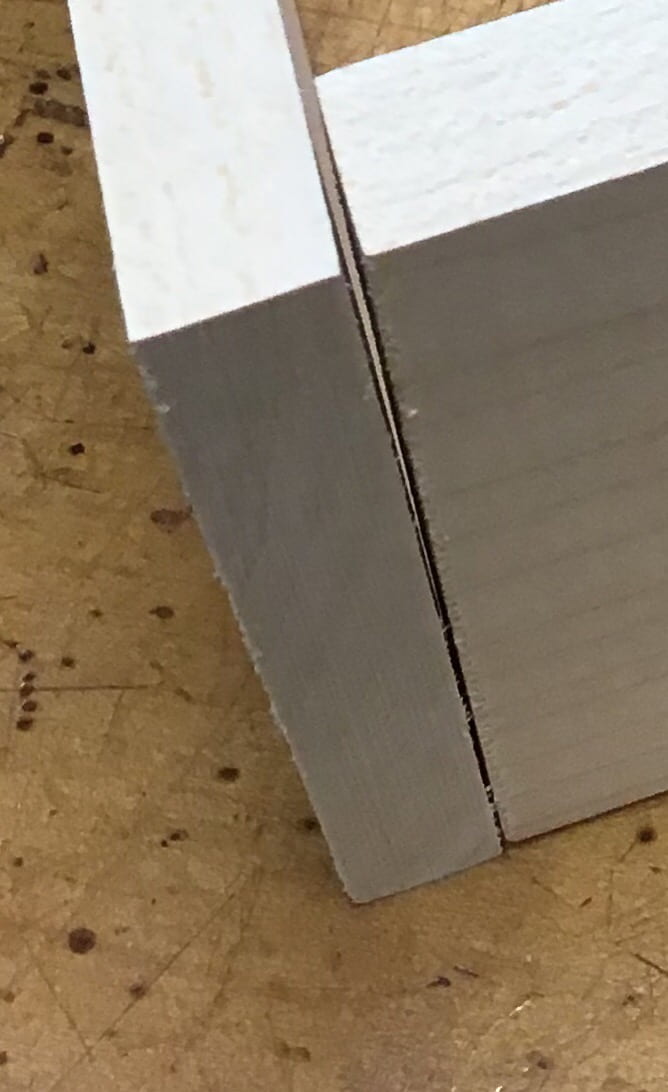
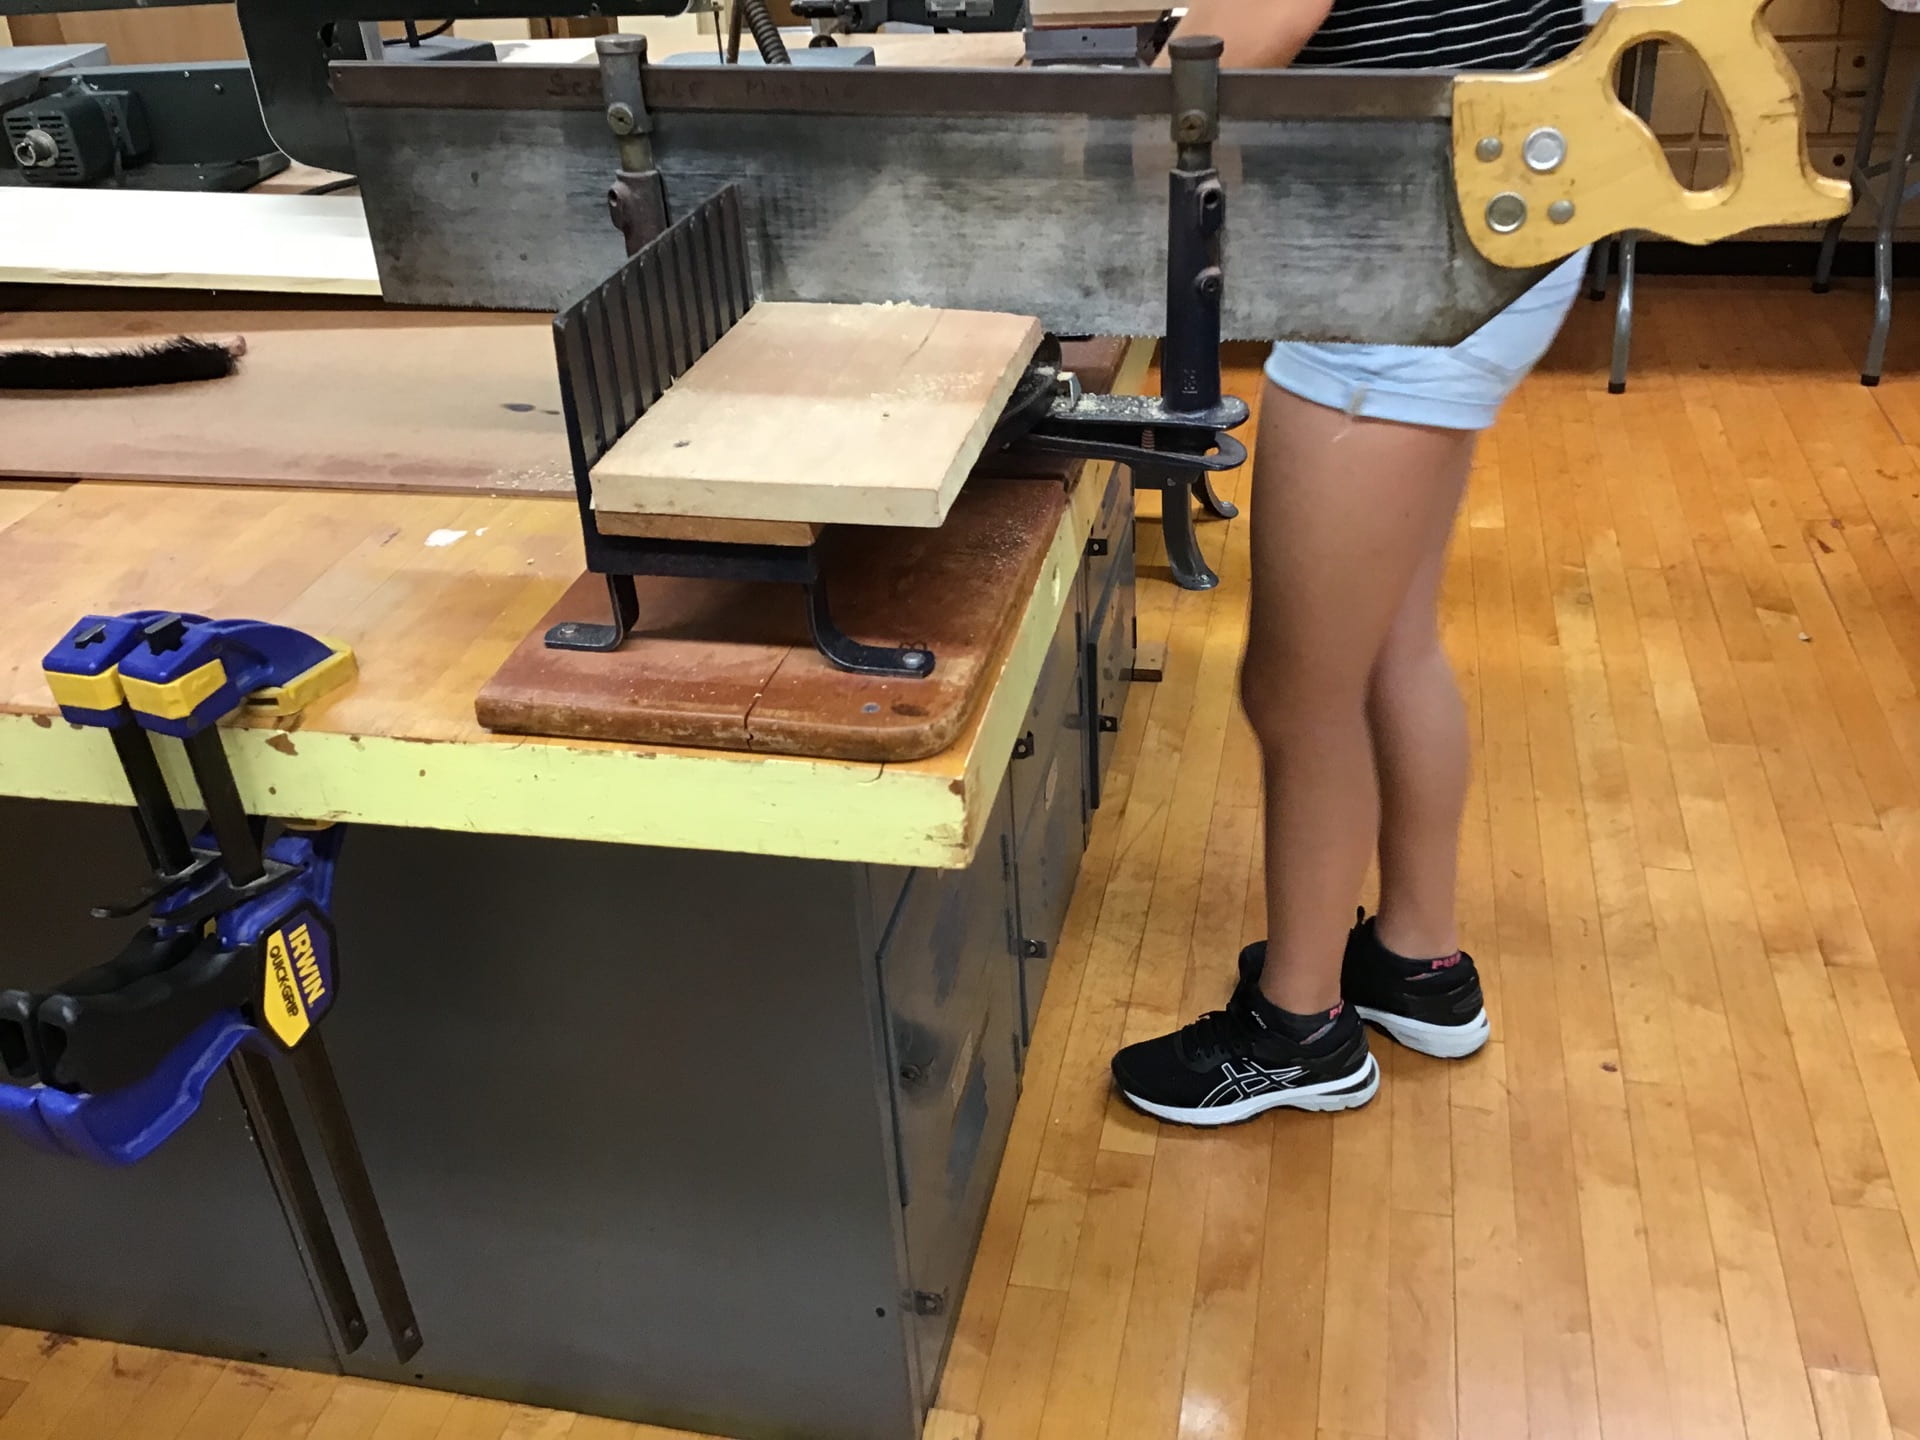
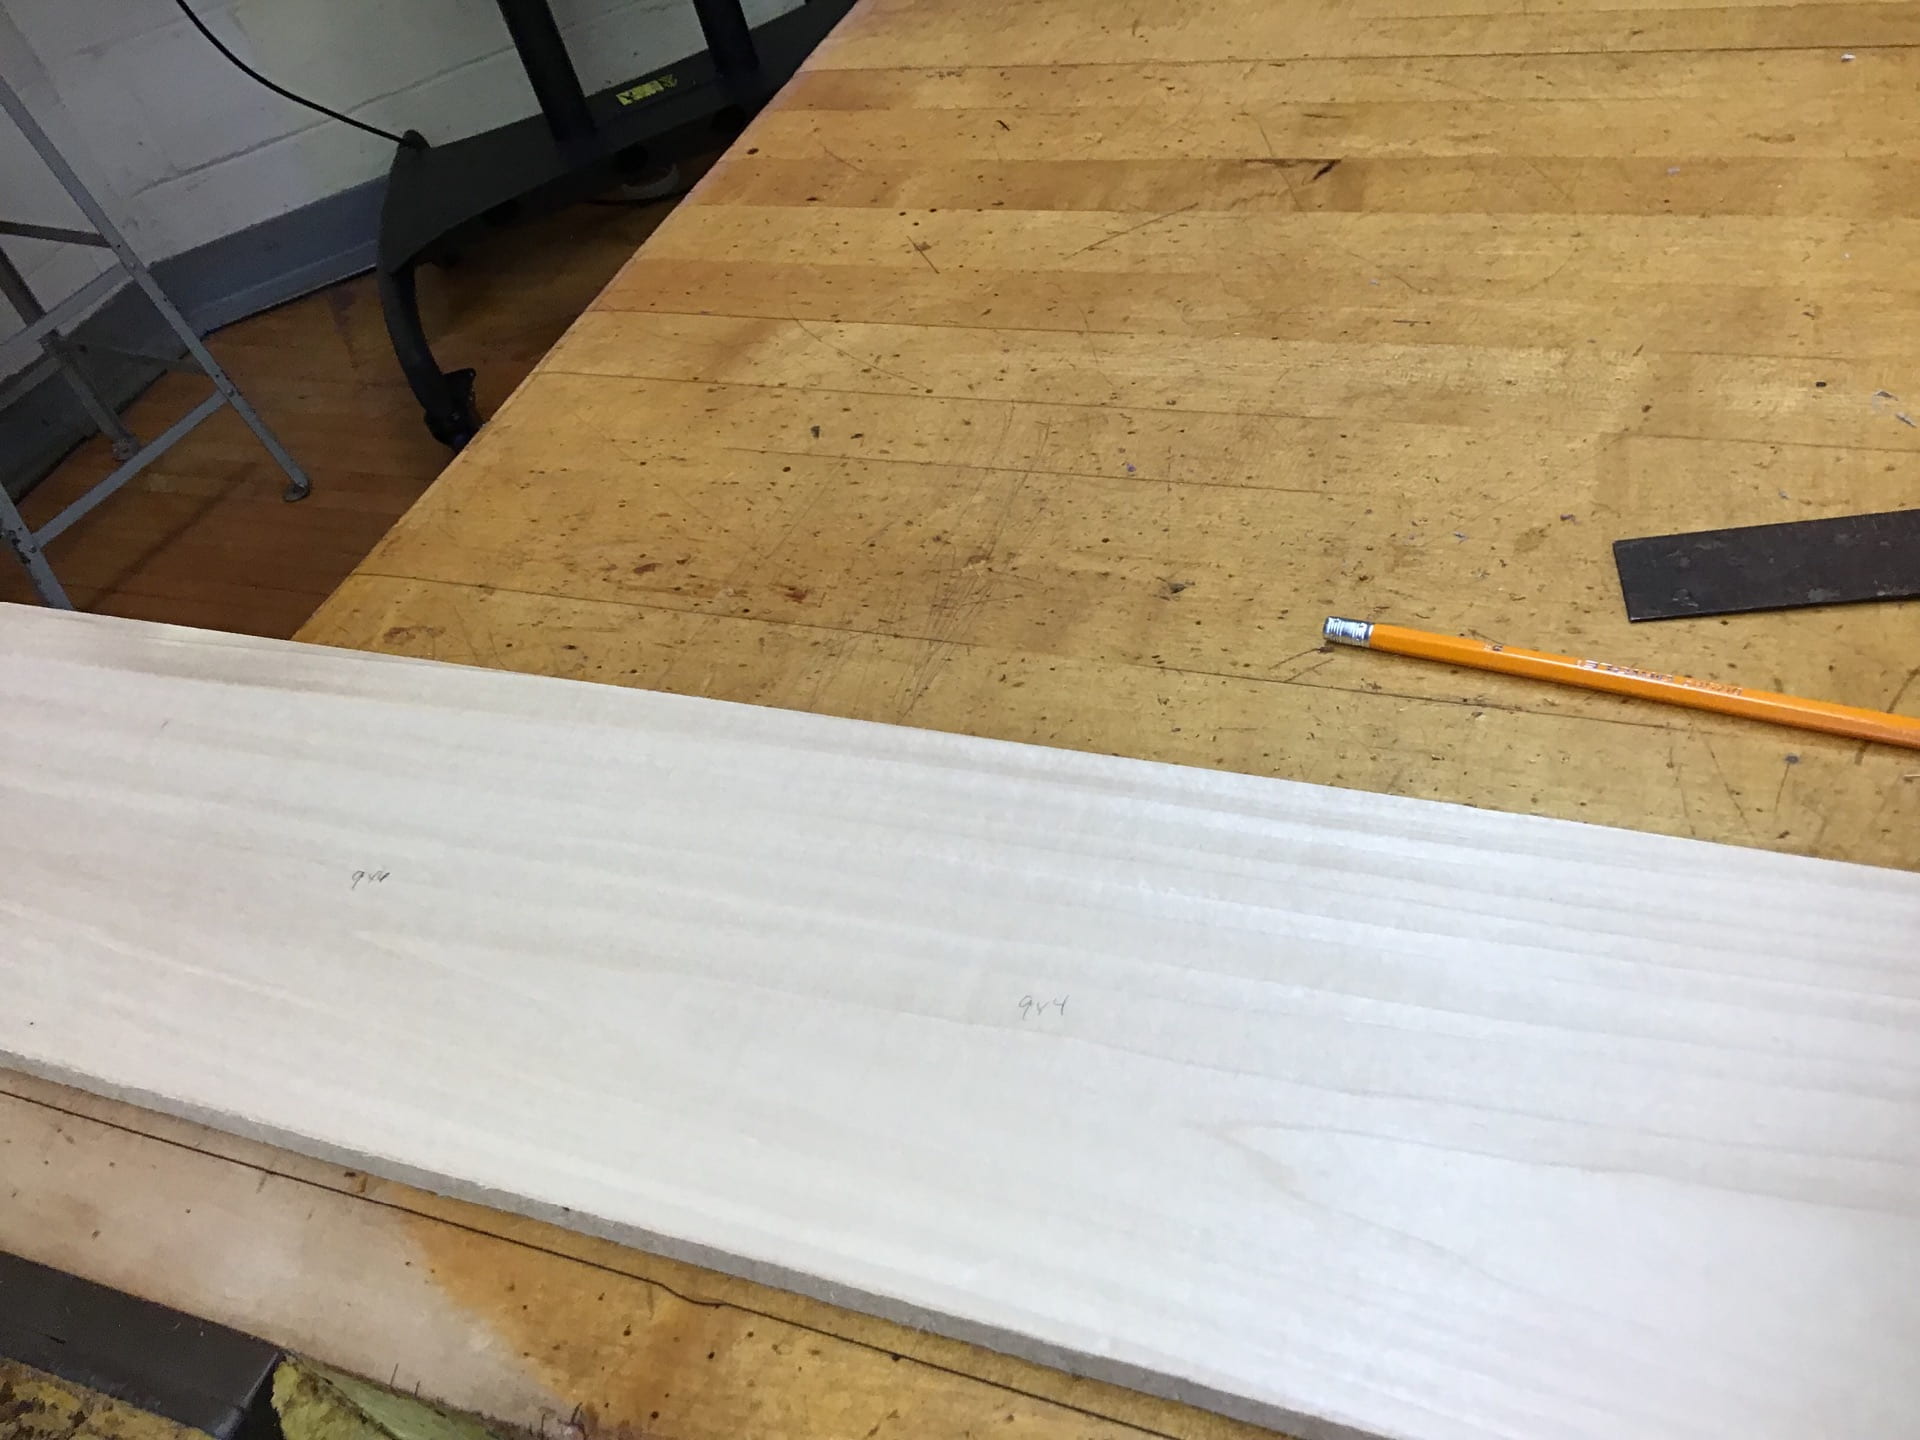
Yesterday, at the end of class my wood was ready to be glued, but there wasn’t time. Today we started class, reviewing the different tools. That took half the class. After that I was able to glue my wood. First you glue the sides, front, and back. Then once its dried you can sand it again, before gluing on the top and bottom. Here is what you actually do to glue it:

  1. put the glue on
  2. attach the wood
  3. repeat for all pieces
  4. put in vice to dry 

But right hen I was about to put it in the vise, we had a fire drill! Luckily, I was able to put the wood in the vice when we came back (it wasn’t too long of a wait, like I was afraid of. Then I would have break the pieces of wood apart, and if that didn’t work, I would have had to remake it).

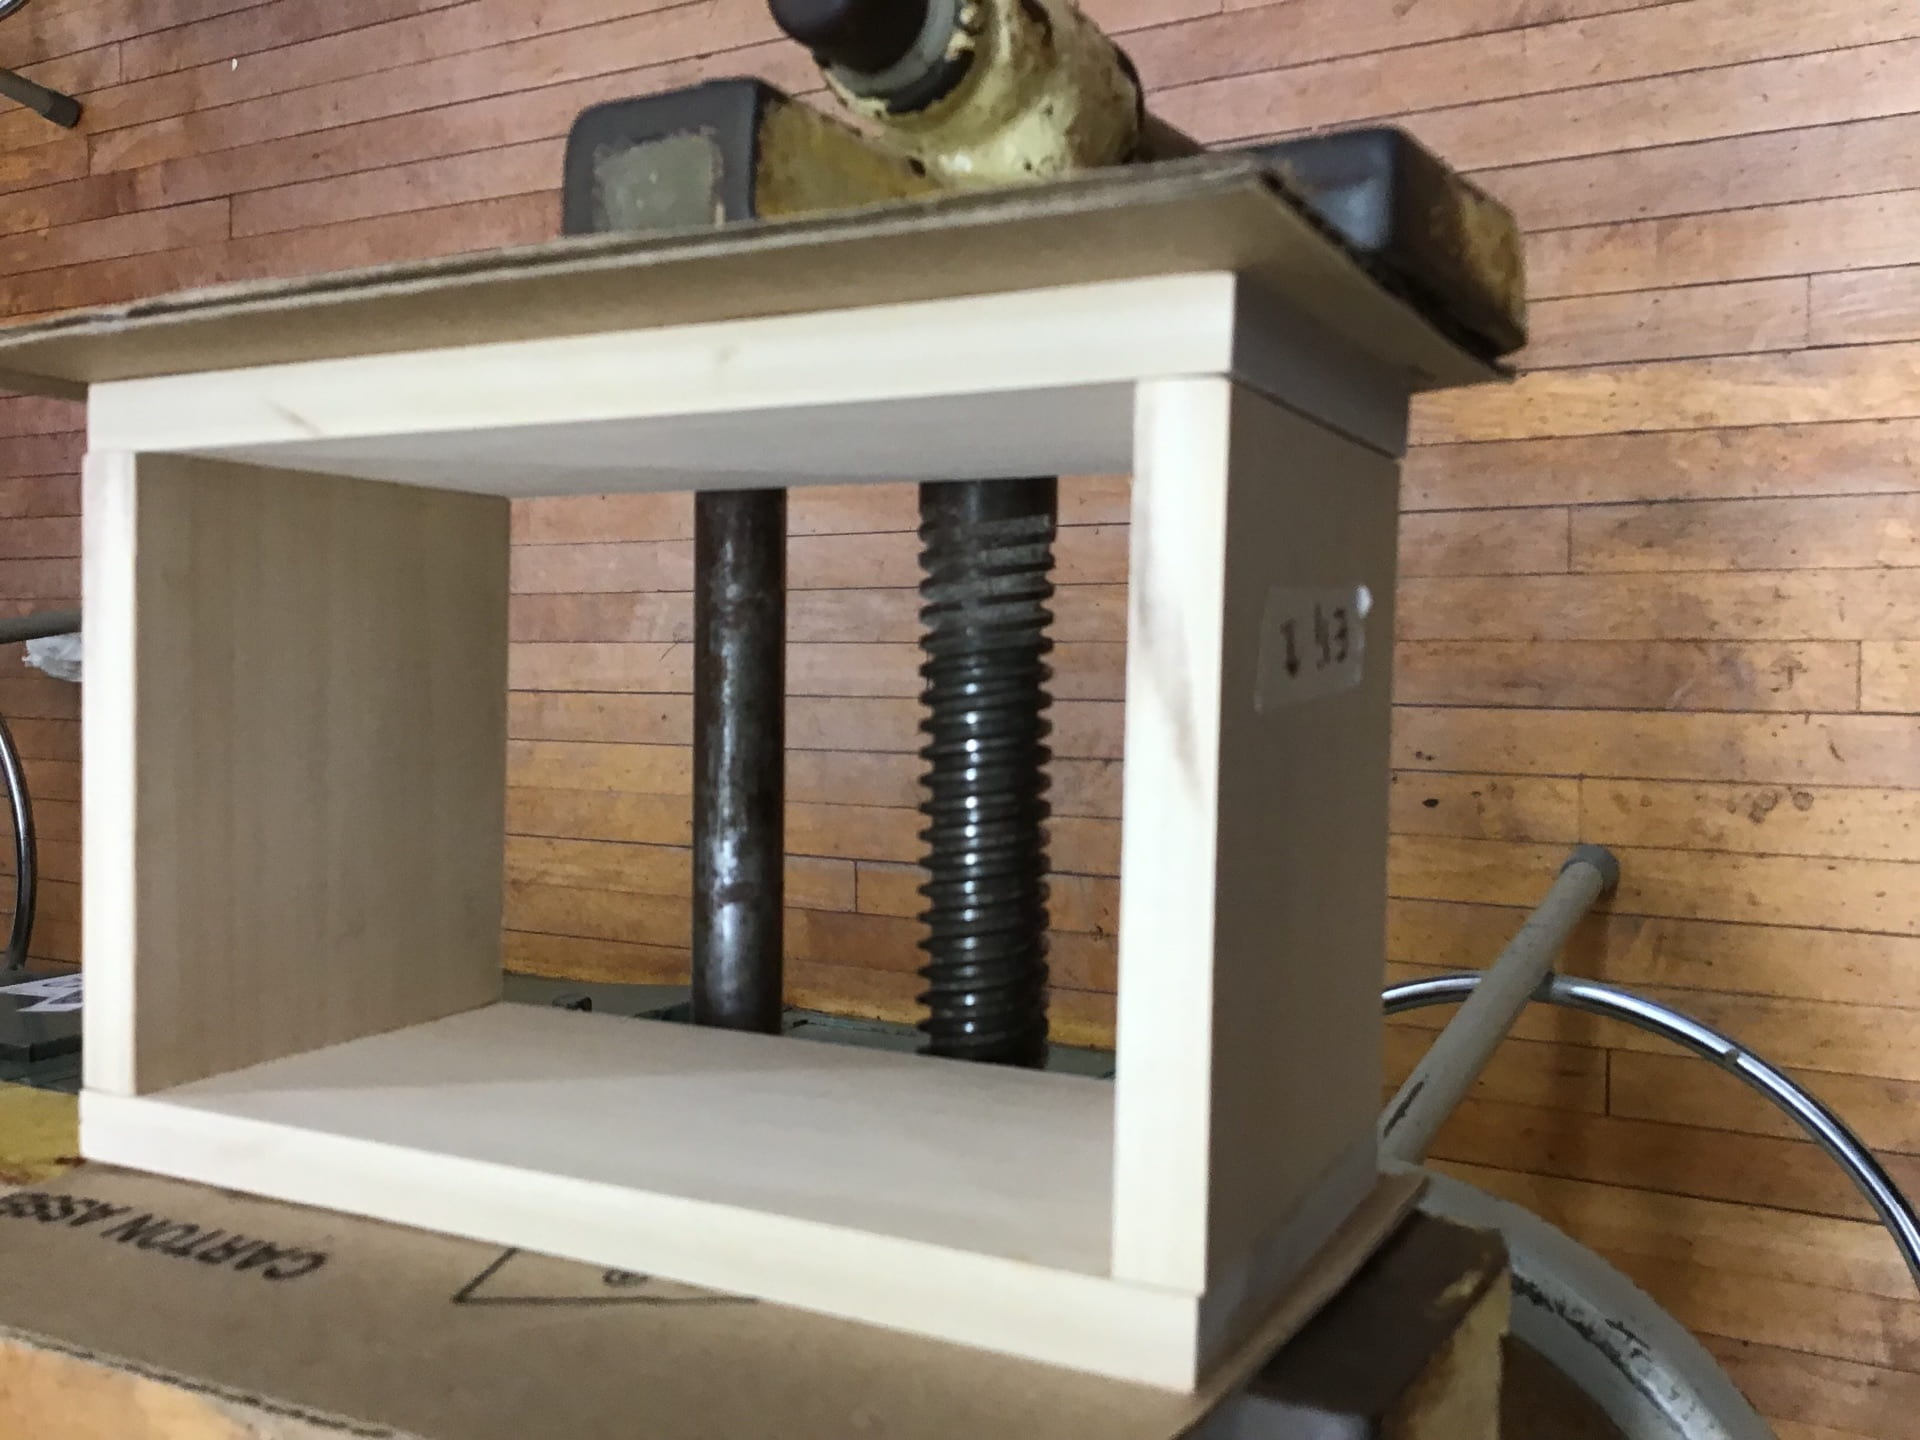
My drying wood in the vice

I am excited to see my wood on Tuesday (school closed Monday).

by posted under 7th tech | No Comments »    

Status report: rip cutting = DONE!

October2

This is the band saw which is used for rip cutting

That means that all the cutting is done.

This is what my box looks like.

It doesn’t fit perfectly but that is why I need to sand it. This does tell you what it size is.

I am excited to finally be done cutting and ready to move on (there still is chance that I have to replace pieces but that is unlikely).

I think it looks so good!

by posted under 7th tech | 1 Comment »    

Updates on the box

September27
It has been very busy in tech (working on the box) so it was hard to find time to post but here is were I am so far:


I have now done all the cross-cutting (going perpendicular to the grain) but still need to rip (cut along the grain) because that requires a different saw. We used a miter-box saw to cross cut and we will use a band saw to rip cut.

A

Band saw


Miter-box saw

Here is my wood so far:


Before cutting I had to measure and it took a lot of work to get it correct. To do that we used try-squares.

Try-square

It feels good to learn about tools.


It was very helpful to see the cardboard model because that’s showed me that my box was too big.

Cardboard model

Now I will need to rip cut on the band saw. Then I will:

  1. Think if I need to replace and remake any pieces (probably and hopefully not)
  2. Sand wood
  3. Glue wood
  4. Decorate the box
    1. Add dark varnish
    2. Use flocking powder to decorate inside of box

      Box with no flocking powder

      Box with flocking powder

    3. Make it have “Eli’s Flashlight” on it (I don’t know how to do that yet, just that we can)
by posted under 7th tech | No Comments »    

Measuring my wood

September20

Today I got my wood and was able to measure it. Here is a picture of the wood when I got it:

Now here is it after I measured everything carefully:

We used try squares when measuring to make sure it is a perfect square (or rectangle).


Next week I should be able to cut the wood after double checking the measurements.

by posted under 7th tech | No Comments »    

Practice sawing

September18

Today we started by learning how to use the miter box saw. We will use it to cut the woods for the box. Here is what the saw looks like:


Then I was able to use scrap wood to practice on the saw. At first I was having trouble using it hard enough and cutting the wood. But after I little practice I was able to get the hang of it. Now I can feel more confident that I can do it when using the wood for my box.


I still have to talk with Ms. Giroux (the 7th grade tech teacher) to confirm the box’s size, and then I can get my wood and start working!

by posted under 7th tech | No Comments »    

New thoughts on the box

September17

When looking at the model I thought it looked too big. I decided that since I already added some inches it would be ok to take away a few so it is the size that looks good to me. I changed my measurements to be 10 x 6 x 5. I liked the width so I left that alone. This should still leave plenty of room for my flashlight which is only 6.5 x 2.25 x 2.5.


All measurements in inches.
by posted under 7th tech | No Comments »    

Continuing our project

September13

We are making a box. We needed to creat a story for it. Here is mine:

The flashlight (from 6th grade tech) was very successful but Eli kept losing it. Luckily he found it each time but he didn’t want to take chances. He needed a place to put it. He decided to make a box for it. He was concerned that we wouldn’t know what it was for, so he decided that it should say “Eli’s Flashlight” on it. He wanted to make sure that the box was the right size so he measured the flashlight and it was 6.5 inches (16.51 cm) long, 2.25 inches (5.715 cm) wide and 2.5 inches (6.35 cm) high. He wants to add an extra an extra 1 inch to each side to be safe and an extra 2.5 inches so there is extra room because he wants it to be able to roll around a little. That is an extra 3.5 inches on each side.  Then the box dimensions will be 10 (25.4 cm) inches long, 5.75 (14.605 cm) inches wide and 6 (15.24 cm) inches tall. He wants it to be whole number so he changed the width to 6 (15.24 cm) inches.He thinks the best way to open and close it is to have hinges on one of the long sides. He also would like the top to be a beveled edge so it would look nice which would remind him of his flashlight, which he thinks also looks nice. He also wanted flocking so it would look good. Another thing he wants to do is add a dark varnish becuse he likes the way it looks.

Today I finished cutting the cardboard model and assembled it with tape. Here is a picture of the completed model:


by posted under 7th tech | No Comments »    

Starting our project

September12

We spent most of the week so far planning for our project. On Monday and Tuesday we worked on a plan on paper/our iPads. Yesterday we continued and also started making a model out of cardboard. We were drawing out where we will cut it and today we actually did do some of the cutting. We were using scroll saws which we had used last year but that was a while ago so the first half was just a safety reminder. Then we split the people who were ready into groups of 2 (I was one of them). In the group we took turns cutting. Then when more people were ready groups become groups of 3 and 4 (lucky mine was only a group of 3). The saws were so load that we couldn’t hear the bell at the end of the period! Luckily we cleaned up quickly after that and weren’t late.

by posted under 7th tech | No Comments »    

Safety in tech 7

September9

Safety is an important part of tech. There are many rules from last year that care still very important:

  • Wear safety glasses
  • No running
  • Ask before using tools
  • And many more basic safety rules…

Since this year there are a lot more tools there are also some new (but equally important) rules:

  • We should push in chairs when not sitting in them due to less room in the isles
  • Sometimes eww need a buddy when working with certain tools
  • Leave vise in a downward position when not using
  • Also leave vise stops down, so they are not in the aisle
  • And many more tool specific rules…

It is crucial to follow all safety rules to be successful…

…ANYWHERE!

by posted under 7th tech | No Comments »    
« Older EntriesNewer Entries »