The progress of gluing and using the belt sander

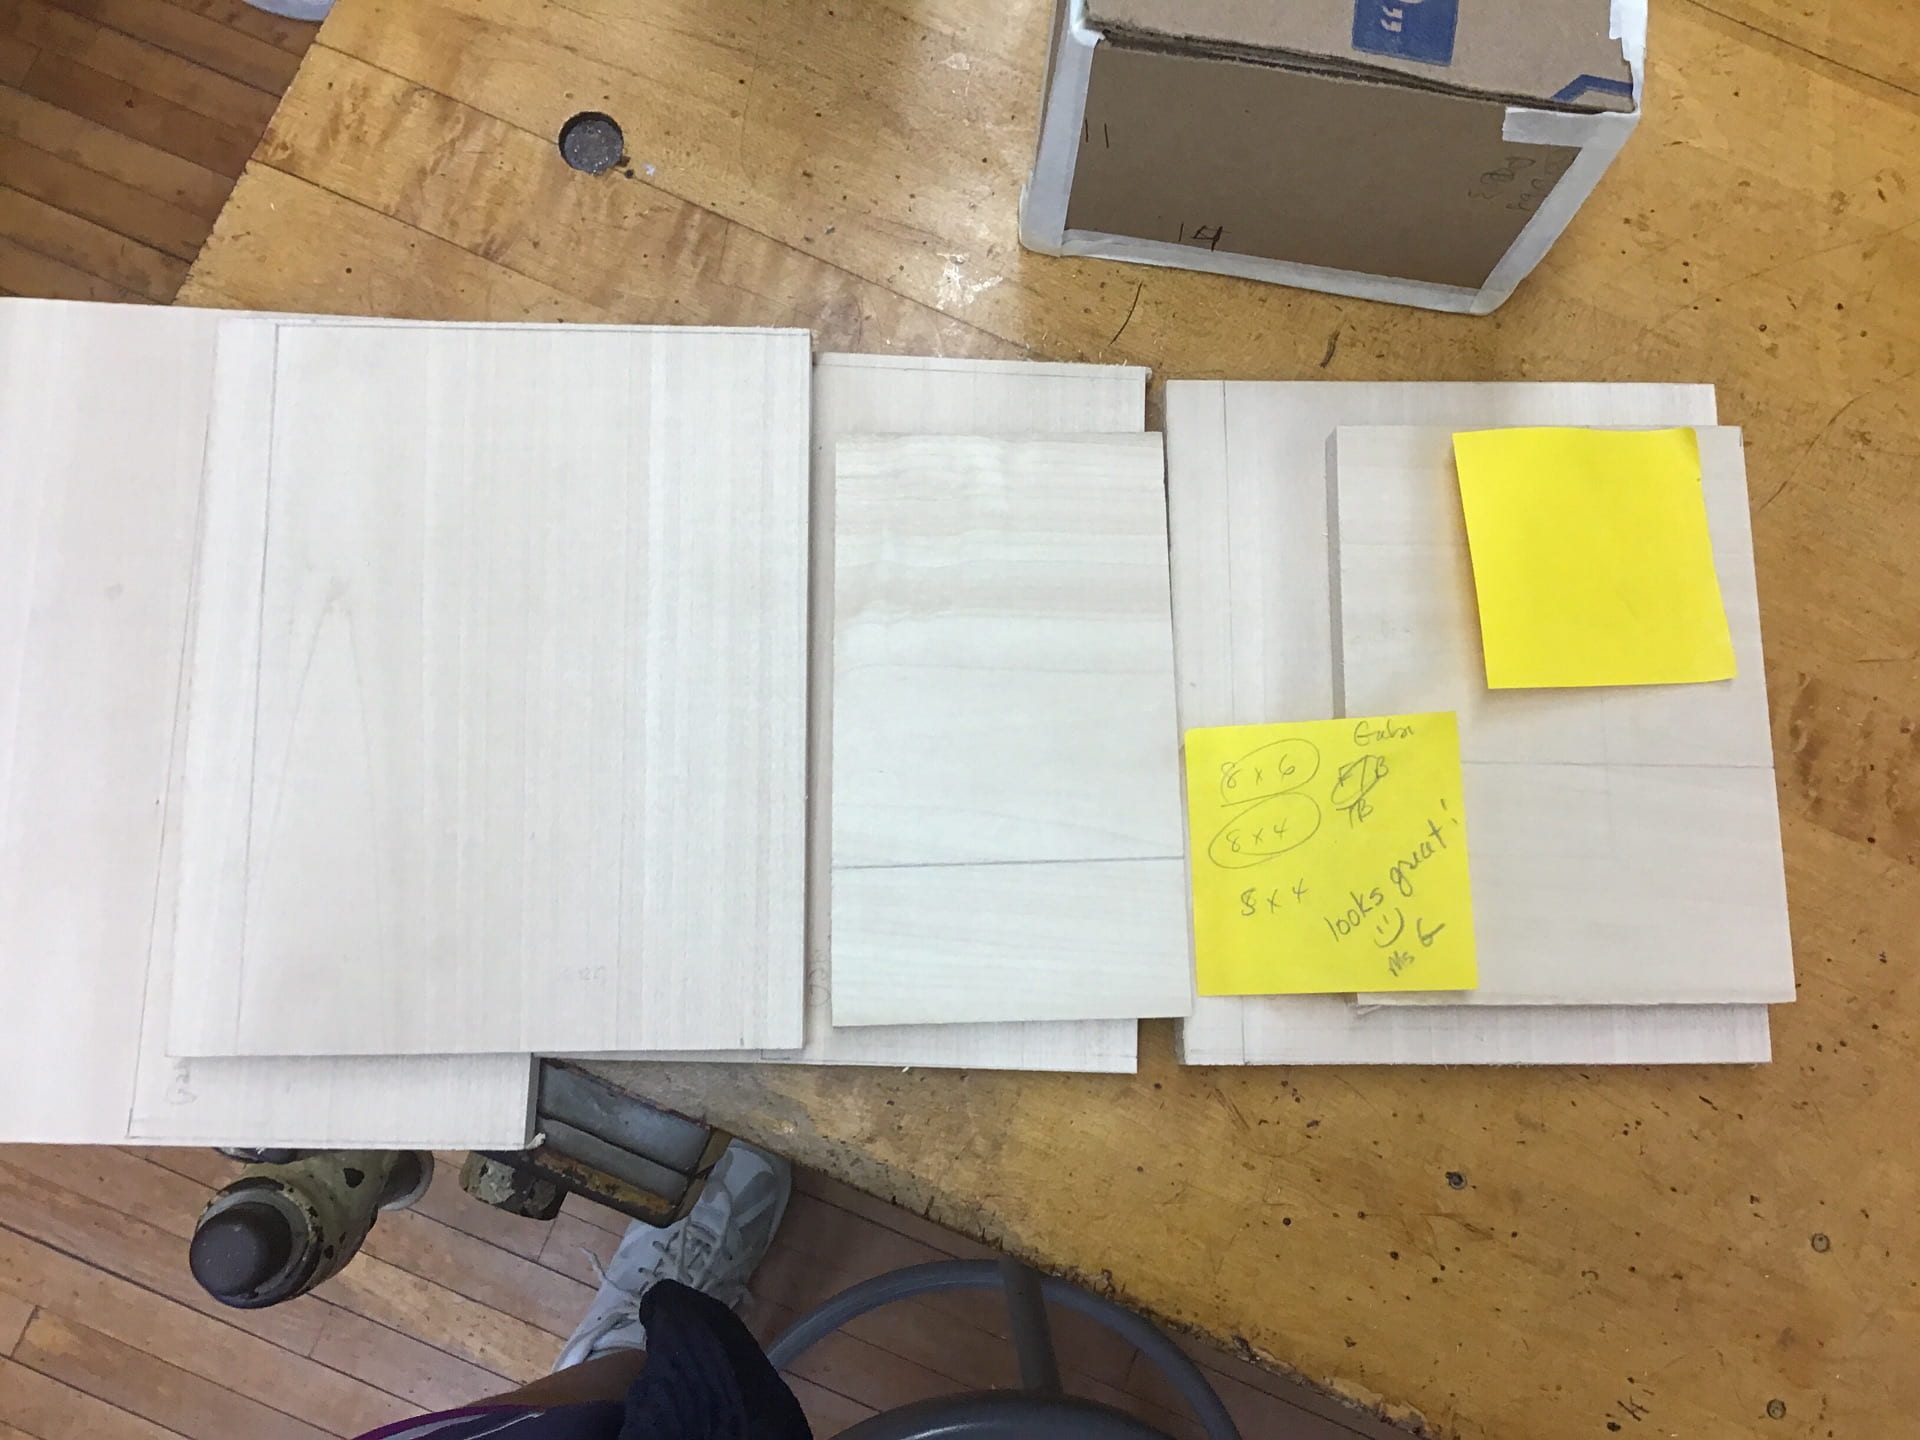
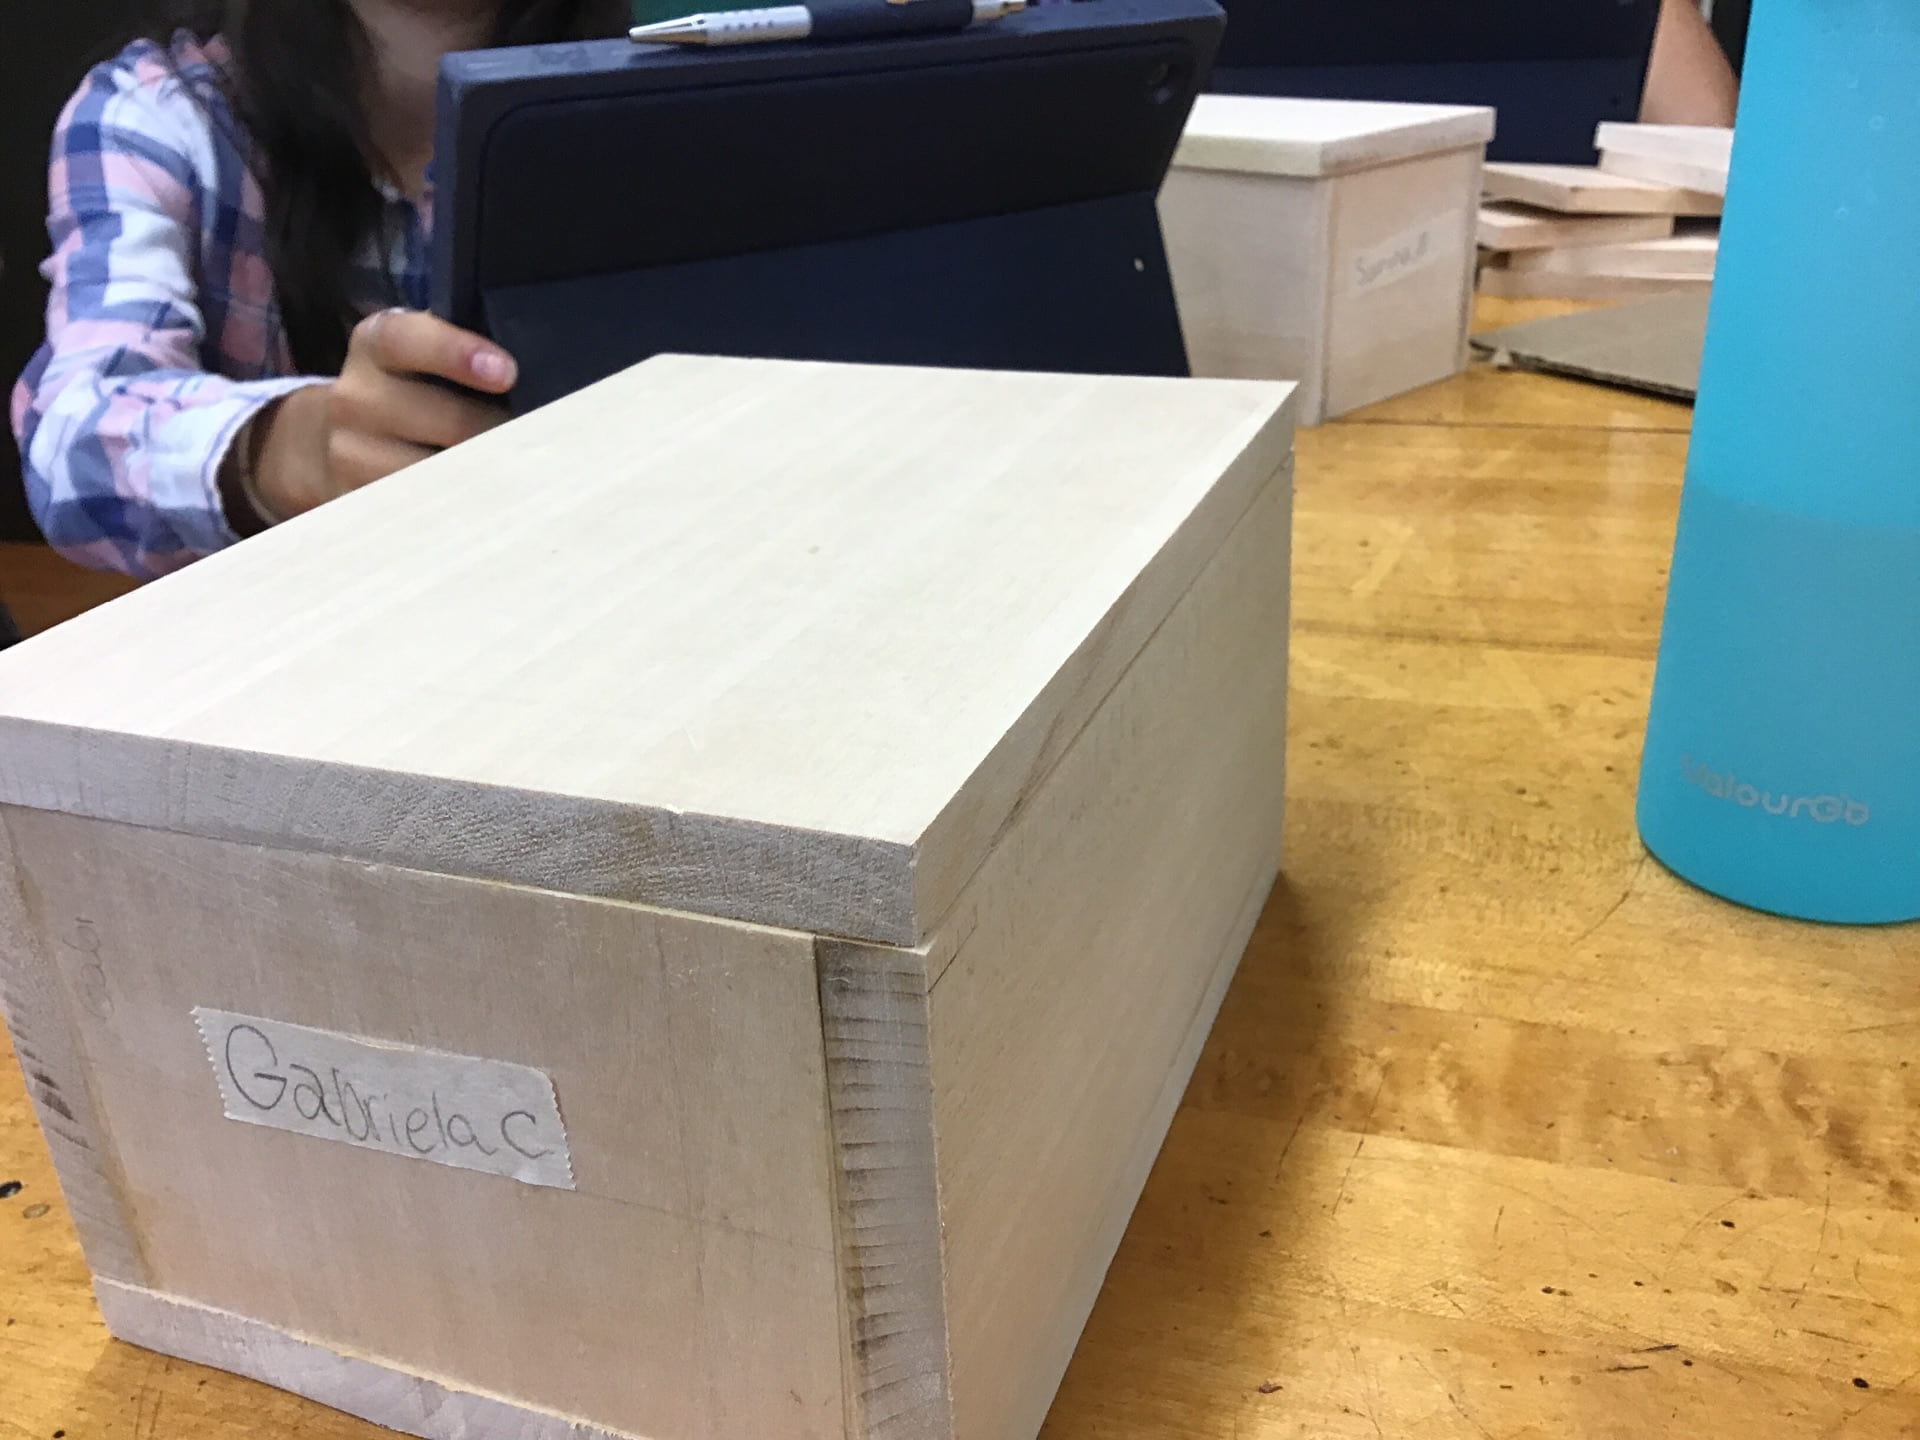
I have glued my whole box my front, back, sides, bottom, and top.

Now I am in the posses of sending it so all the side are strait and smooth than I angling to stain it

One thing that I learned was that when you glue your box you have to glue four side(front, back,two sides.) After that you glue top and bottom,

Cardboard and wood

The cardboard helped me because starting with a scratch and bring able to see  how it end up made me realized that it wasn’t how i want it to. I  felt good there were all very helpful. One I measured in  the metric system so that was one challenge I faced i also did my measurements wrong. So since you have to live a space between the lines that was on of the challenges because I didn’t.

When I finished cutting my pises  I was very satisfied. But I was also frustrated because I took a long time to get through the process. But now I feel i am in a good place I’ve done my crosscut. I haven’t sanded or clued.I want to decorate my box with a lid pendant, wood.     burningdecoupage and stamping

Equipment

This room is much bigger that Mr. Calvert’s  old room so it obviously has more equipment so we need to be more careful. We also learned that there are some equipments that tech 6 didn’t so we have to take sometime to learned about them. We also have to have a safety buddy that means your friend will help you, watch your back while using a dangerous tool like glue guns.

Safe and dangerous

We talked about what are safe and dangerous equipment. We hade different posted colors, we had light yellow for safe, light green for need information, light orange for caution, and dark pink for danger.


Making a Dominos

Me and Jessica were playing the block challenges and then I just had the best idea. it was to do a dominos around the classroom , but in our first attempt didn’t work now we are in our second attempt please wish us good luck

My Friends Name

I made my friends name with wires and a little bit of  warmth. the first step was to cut and shape them then put them together with solder. I am so excited to give it to her and by the way her name is ESTELA.

Mother Day Present

When it was mothers day I made her. It looked very cool and I liked a lot. My mom liked a lot she asked where and how I did. I explained  to her that I cut the wires and solder them together she liked a lot

Diagram

Making diagrams are very useful,but they can also be very tricky because if they are not correct your project ill be incorrect. To make a diagram you must at all circumstances use a ruler and a pencil because if not the use of the ruler there is no measurement and no measurements incorrect project .

Learning to solder.

We learned how to glue stuff together by soldering it was a very fun experiment. These are the steps to solder. You cut and build the thing you wanna glue together. Then you hold the hot thing for 15 seconds and after you add the solder in the beginning(the hot part) and the solder will melt and clue you two pieces together.

Breadboards

We learned how to make lights go on with a breadboard, battery, jumper cable, and the light. We learned about the legs of the light, the Anode is the long leg the positive leg, and the cathode is the shorter and negative leg