Now, we had to get cardboard. This was to make the box. We had to follow this tutorial video. The first step we were supposed to do after we got our cardboard was, to cut out four small triangles from the cardboard. We had to label all the pieces of cardboard with your name because if you don’t, it might get lost. Once we had our small triangles, we had to use a hot glue gun to glue the triangles to the four corners. You could either glue them on the outside of your box, or the inside. I glued mine on the outside. Once you were done with these few steps, you could move on to the next step.
Monthly Archives: April 2019
Tech Blog Post #8
Now that we have finally finished our flashlights, we moved on to our next project. It was called a, “automata.” All the tables in the classroom, had a box. It wasn’t just a regular box. It had sticks, flags, straws, etc. Basically, we had to draw what we thought was in the box. Some of the boxes were similar. They were all the same shape and they all had similar materials. We did this for about one class.
Tech Blog Post #7
The next step to our flashlight was to look at our sketch and put the parts to our flashlight we cut with a saw together. This didn’t take too long. Once, you have completed this step, you are done with your flashlight. All you have to do now is decorate. Decorating is optional. You can decorate your flashlight with markers, Pom Poms, gems, glue, etc. Now, you are finally done with your flashlight!
Tech Blog Post #6
After, we sawed all of our parts, we had to solder. We had a few parts we had to solder. We had three wires. We had black and red wires, and a place for the battery. You’re probably wondering, how do you solder? The first step is, you have to get safety googles. Then, you have to tie your hair. The soldering iron is really hot. It is more than eight hundred degrees! After that, you have to get solder. It looks like this :
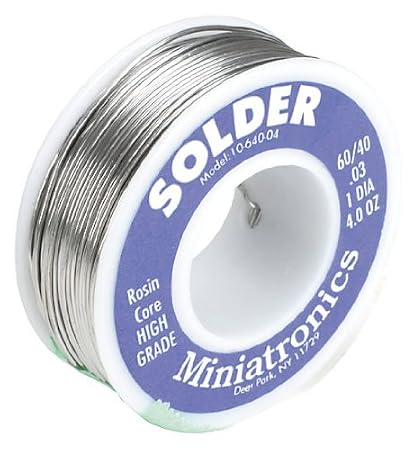
Once you get your solder, you have to take the soldering iron and hold it to what you want to solder, for about five seconds. Then, take your solder and hold it to what you want to solder. After a few seconds, take your soldering iron off, and make sure you soldered it. Next, take a wet sponge and hold it against the part you soldering for a few seconds. Lastly, you have to clean your soldering iron. You have to solder one part at a time. Repeat this process for the rest of the parts. Then, you’re done soldering. Now, you have to put in your battery. Once you put in your battery, the light should turn on. The reason you have to solder is because, if you didn’t you would have no light. And then, your flashlight wouldn’t work. This is a really important step when you’re building your flashlight.