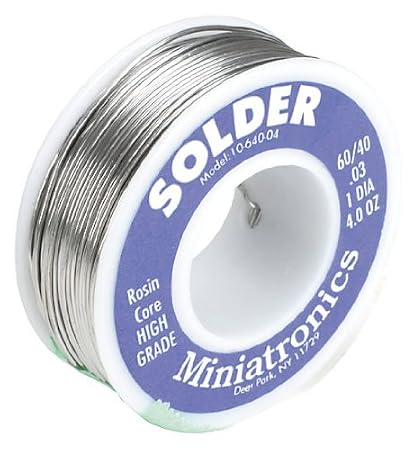
After, we sawed all of our parts, we had to solder. We had a few parts we had to solder. We had three wires. We had black and red wires, and a place for the battery. You’re probably wondering, how do you solder? The first step is, you have to get safety googles. Then, you have to tie your hair. The soldering iron is really hot. It is more than eight hundred degrees! After that, you have to get solder. It looks like this :
Once you get your solder, you have to take the soldering iron and hold it to what you want to solder, for about five seconds. Then, take your solder and hold it to what you want to solder. After a few seconds, take your soldering iron off, and make sure you soldered it. Next, take a wet sponge and hold it against the part you soldering for a few seconds. Lastly, you have to clean your soldering iron. You have to solder one part at a time. Repeat this process for the rest of the parts. Then, you’re done soldering. Now, you have to put in your battery. Once you put in your battery, the light should turn on. The reason you have to solder is because, if you didn’t you would have no light. And then, your flashlight wouldn’t work. This is a really important step when you’re building your flashlight.