This quarterly was so fun. I learned so much about electrons and how switches work and basically how electricity works. Along with learning a lot, I also had so much fun making the projects, and circuits. My favorite project was probably the flashlight, because I liked putting all of the parts together and soldering the circuit. My favorite thing to use was the solder machines because it was satisfying seeing the metals parts stick together and harden. I had a really fun time in Technology and can’t wait for next year. Thank You Mr. Calvert!!
Monthly Archives: June 2019
Building the Automata
Once I am done with the diagram and base of the automata, the only thing left to do is build the rest of the automata. After the stick was on the top, I realized that the stick was not going straight up and down, so I put a piece of paper connected the cardboard connected to the stick, and the top of the box. I also had another problem, I needed to put more weight on this piece of cardboard, so it is heavy enough to bring the player all the way down and up, pretty fast. To fix this problem, I put pennies on top of the cardboard to weigh it down. Now that I have the whole box working, the only thing left to do is put the player and hoop on. First, I cut out the legs and body and connected it to the stick. Now came the big problems. I had to make the basketball attacked to the wire but not too tight. Eventually I got the wires the right length and attacked them to the hoop. After a lot of problems and obstacles I finally was able to make the basketball player dunk into the hoop.
Automata Diagram and Base
For the final project of Technology, we had to make something called an automata. An automata is a machine in which you spin a stack and something on top of the box moves. For my automata I wanted to do something related to sports. After a lot of thought, I decided to make someone shooting a basketball. In my diagram I started with drawing a box and the wheels inside. I am going to make is so that the stick is connected to a wheel and the wheel pushes up the basketball player. I then decided to draw the payer and the hoop. I decided to make the basketball player shoot it by connecting the arms to wires when the player goes up, the ball comes down and vice versa. I now started building the base which is the box. I made a hollow box and then held up each corner with cardboard. Once I put the wheels in I had the stick going up and down, so my base was complete.
Making the Flashlight
Once we had our diagram, we had to now make the flashlight. We were given a plastic bag with the parts that we need for the circuit inside the flashlight, and the parts we need for the flashlight. First, I drilled a hole into the cap that will have the light and the pipe that will have the switch. I then put together the circuit by soldering the parts together. All that I have to do now is put everything together and decorate the flashlight. The first thing I put together was the circuit and the flashlight hole. I connected the cap to the rest of the flashlight and pulled the switch out. I put a cap on the switch and then I had the basic flashlight done. The last thing I had to do was decorate it. I decorated it to be Mets and Giants theme. 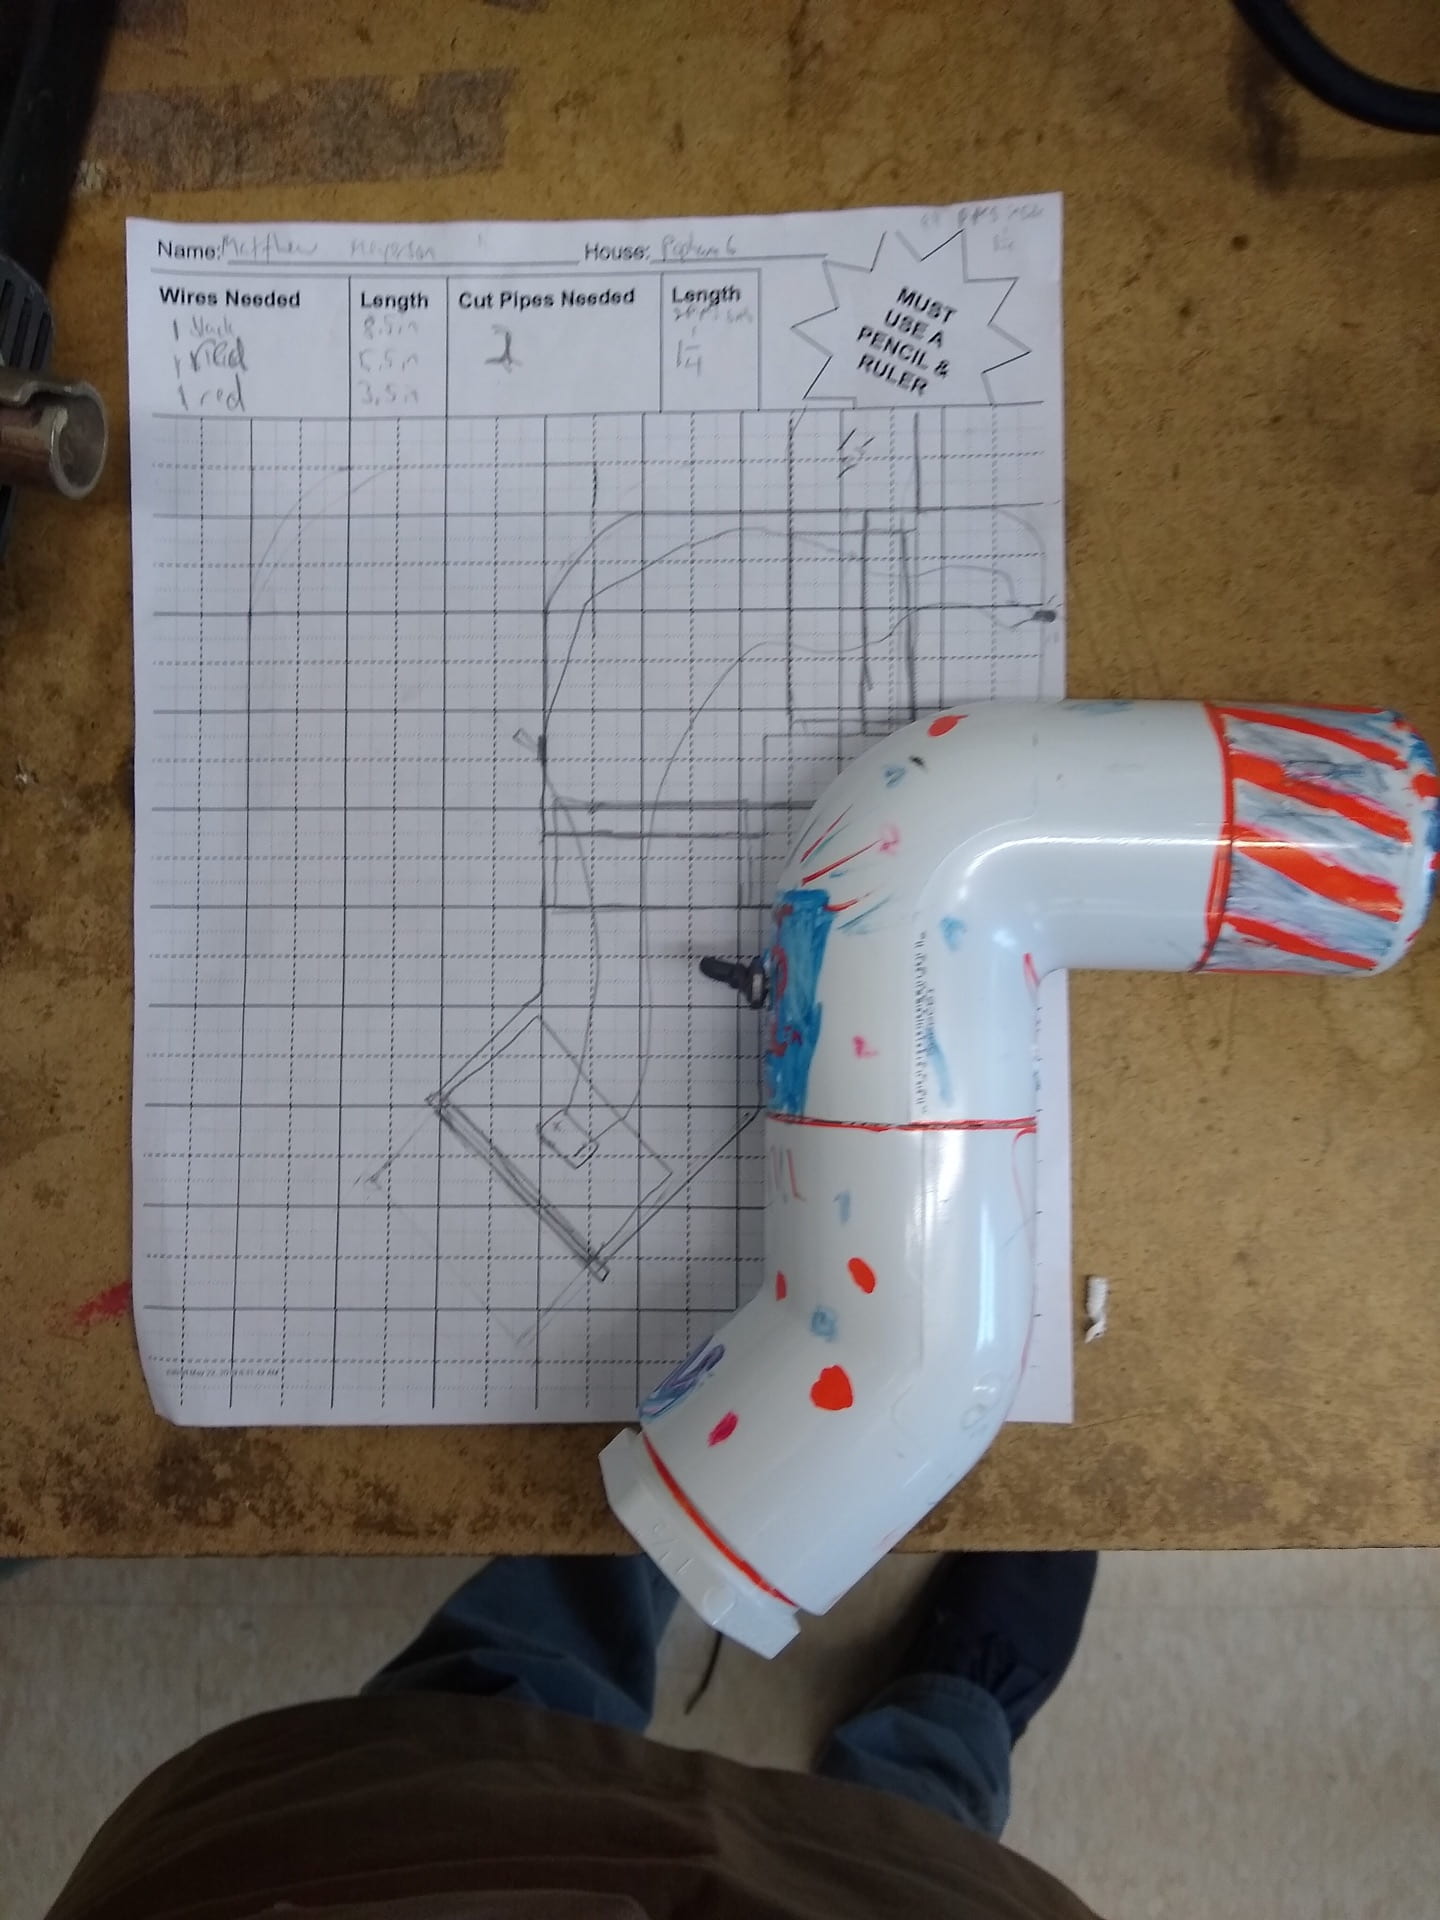
Flashlight Diagram
The only thing we have to do before making a flashlight is to diagram it. We were given a piece of diagram paper, and we had to draw the flashlight to scale if every box is 1/2in. The only limit our flashlight had was it had to fit in a box that is 7.75in. long 6.25 in. wide and 6in. tall. I wanted to try and use as many different pieces as I can, so I used one of each pipe. We had to make every line straight, so it is exact. After we had the basic diagram of the pieces we had to add the wires and the circuit into the diagram. We also had to measure the wires and cut pipes inside of the flashlight. Once we had the diagram with all of the wires and pipes in it we measured what length wires and pipes we needed. Our diagram was complete when we had everything on the diagram and the measurements.