Building Project

Since we aren’t in school, in technology we will start a new project at home where we are buliding something. In order for this we have to use tools and materials around our house to build this things and put it together. After looking through my house, I found some basic materials and tools that could be very helpful when building.


Here is a photo of some things I found.


At Home School Work

For the past week at home, I have been getting used to doing work at home. It’s a much different work space and the time periods are much different than what it was like at school. Now we are starting our zoom meeting which I like because it’s a way to check up on work with our teachers.

Sanding Our Wood

After cutting our wood we had to first sand our front, side, side, and back pieces. To do this we used the sanding machine where we would hold to of our pieces of wood together and then hold down on the machine letting it sand the two pieces of wood to be even. After this we would take our other two pieces of wood and do the same thing.

Up above is a photo of my pieces of wood after being sanded.

Cutting Our Wood

In class we have been starting to cut our wood. I first cut my top and bottom using the hand saw. I then measured out my two lengths and my two widths and I cut them using more saws. I had some trouble at first cutting because the wood wouldn’t stay still but then I used the extra piece of wood to help make it stay.

Here is a photo of the pieces of wood I cut

Designing and Building Our Box/Using Hand Planers

For our second week in technology class, we have been starting our box project. We have been building a design and have been making dimensions for our box. We have also been deciding what our box will look like in terms of type of wood and color and we have been discussing what tools are necessary to build our box.

First we had to make an outline. I decided that I would like to be making a small box to hold my jewelry more specifically my bracelets. I decided that I will be using the color special walnut which is a light brown. I like this because it’s not to light like golden oak but its not dark like dark walnut. My box would be 4 inches by 4 inches.

I thought making this design was pretty easy. With measuring and drawing the box, I got a lot done in a short amount of time. I would draw a 3D box and then draw lines and numbers to show the dimensions.

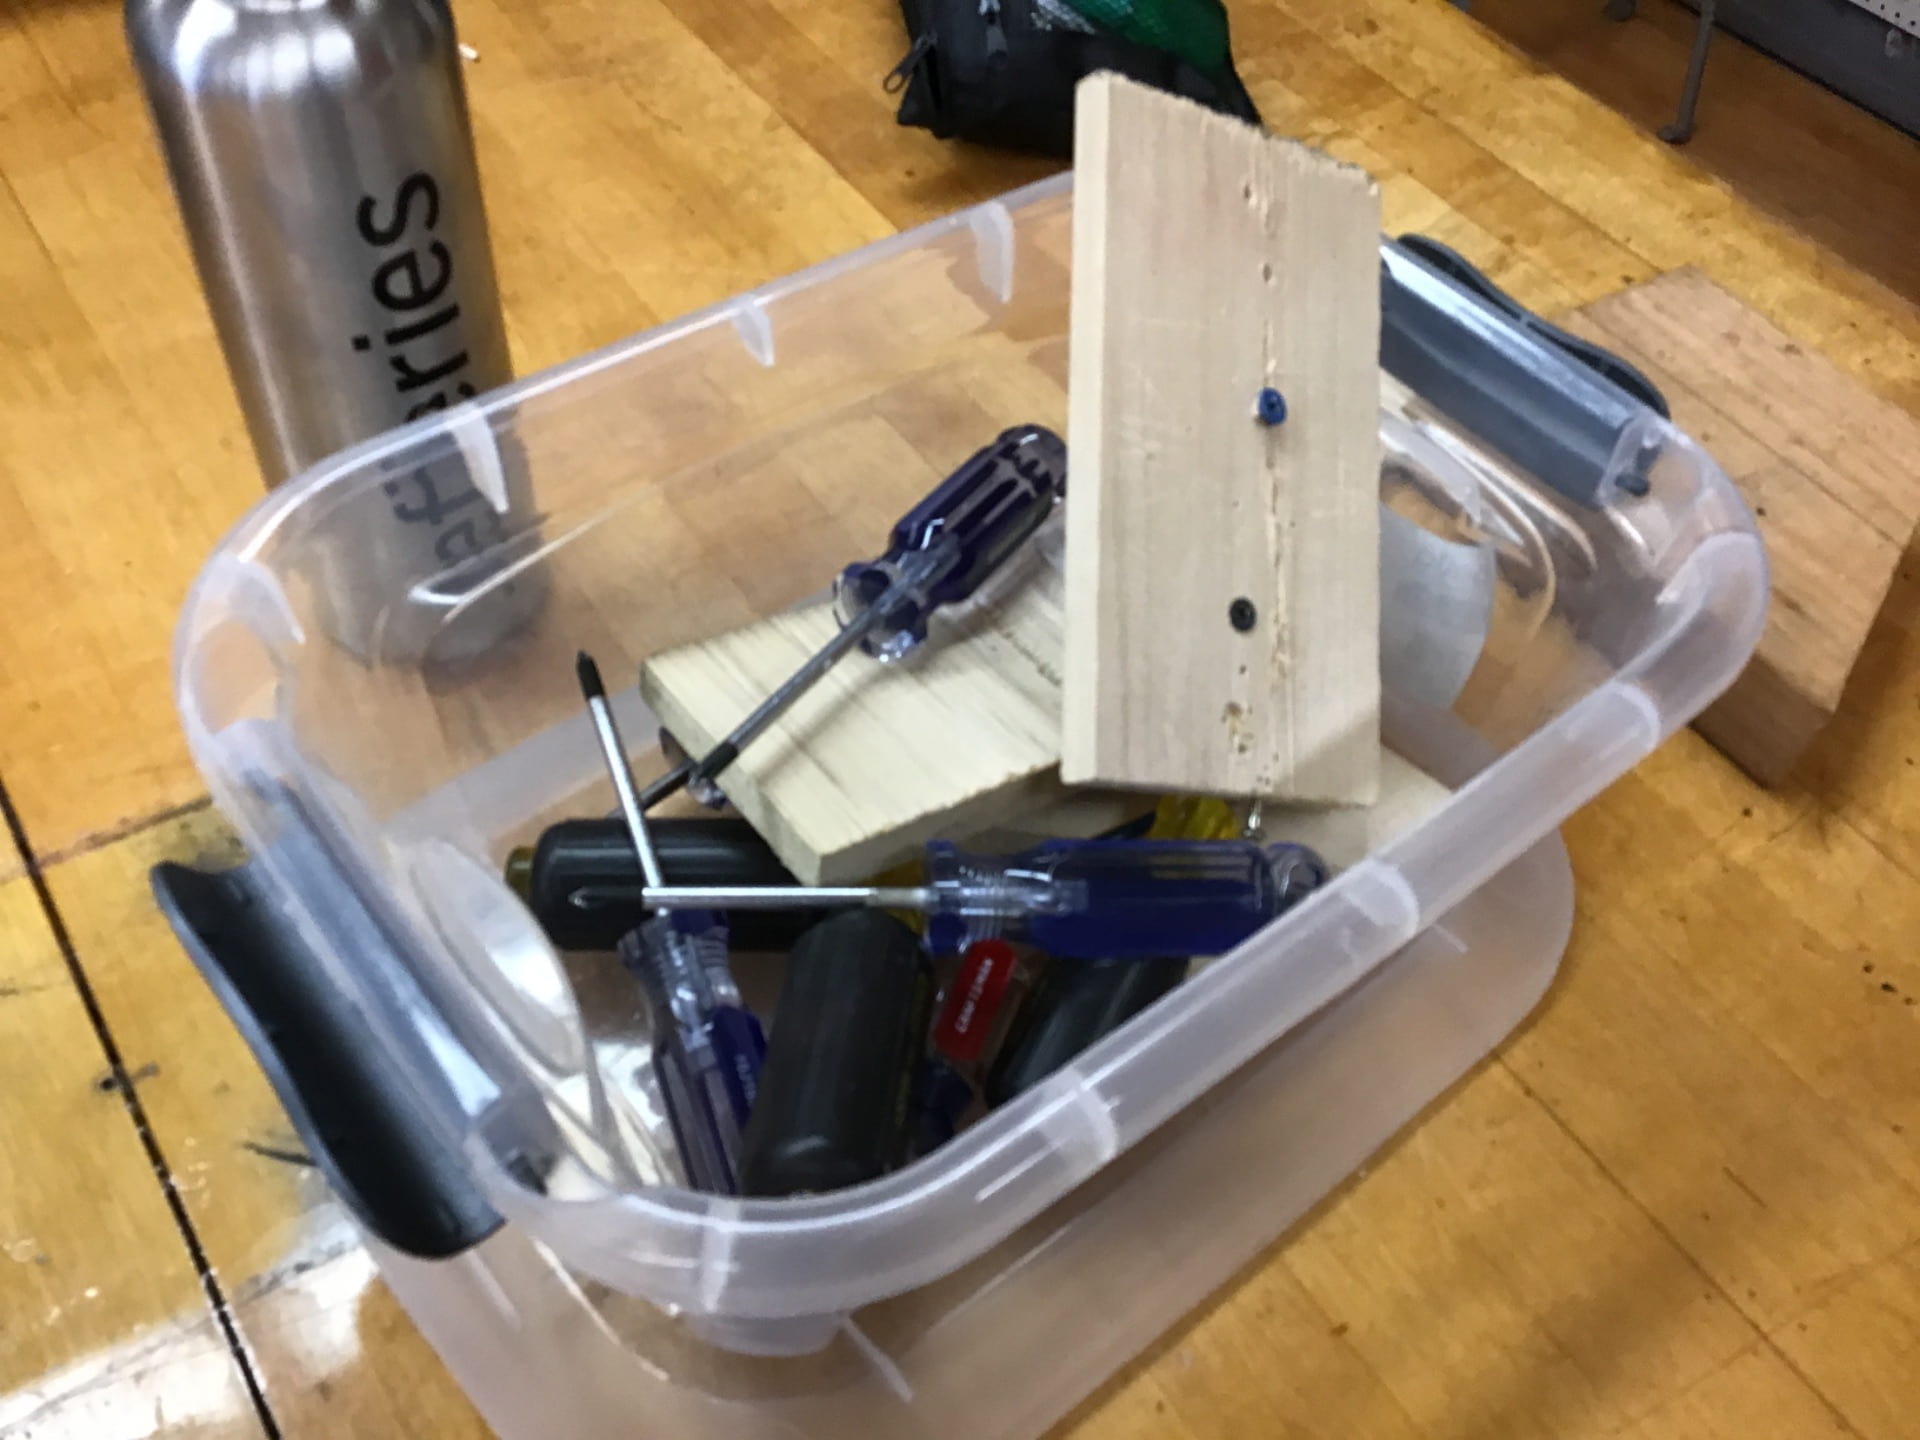
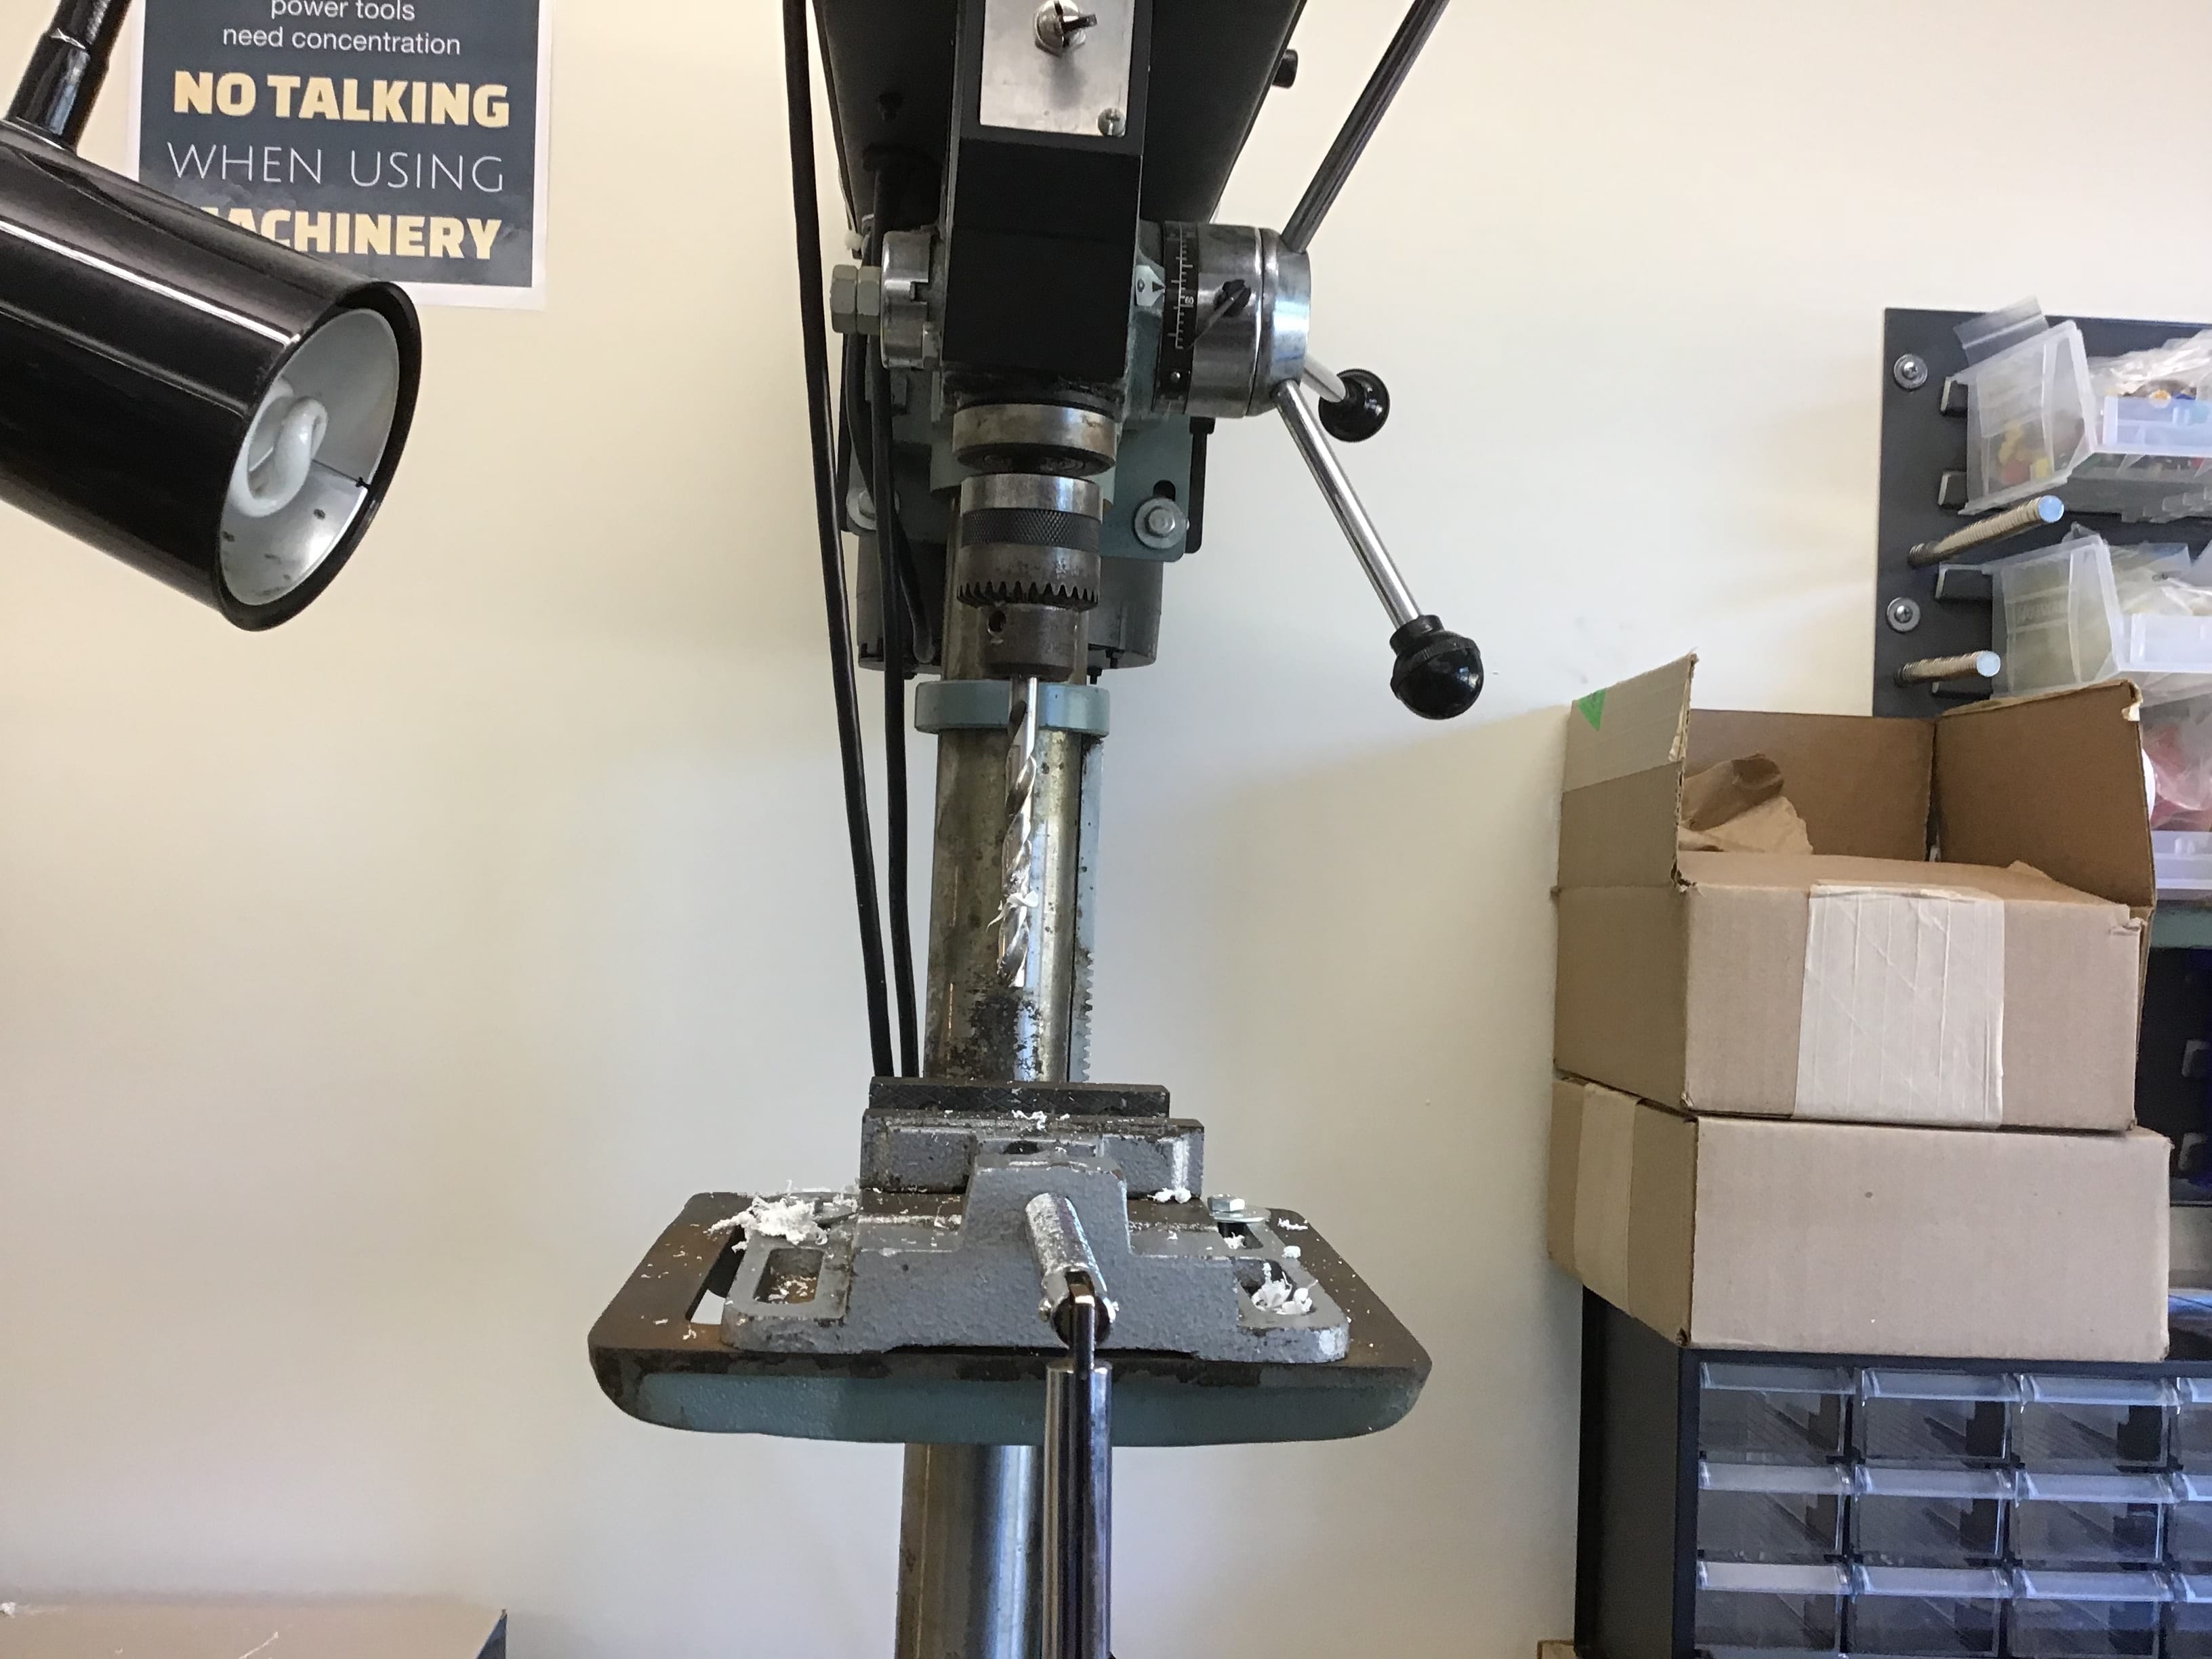
We have also been working on hand planers. These things help to carve wood. At first when using them I had a little bit of difficulty because I was carving the wood in the incorrect direction. I was pointing it too much down but once I started to go straight, it was working well.

Here is a photo of the hand planers.

Using Screwdrivers

I have just started 7th grade technology. So far we have been going over the rules and safety in class but yesterday, we finally go to do our first activity.

Yesterday in class we each received a piece of wood, some that were thin and others that were thick. We also reviewed many different screwdrivers and many different screws. Some screwdrivers had different shaped bottoms than others, to fit int the different shaped screws. We would practice using our screwdrivers and trying to screw the screws in the pieces of wood. Some screws were easier to get in than others. For example the smaller and skinnier ones were much easier than the bigger ones. I thought this activity was easy besides at times, it was difficult to get the screws out of the piece of wood. It was difficult when the screws were really deep in the wood and it was especially hard when the wood was a thick piece.


Here is a photo of lots of materials that we received to do our activity yesterday.

Overall I really enjoyed yesterdays activity and I can’t wait to continue new ones.

Ending 6th Grade Tech

I am so upset to finish technology class. This class has been so fun. I’ve learned so many things about atoms, sautering, automata’s, flash lights, circuits, and even little things that have taught me so much.

I really enjoyed all of he projects and my favorite one was building an automata. I liked this one because I got to use my creativity with how I will build it and what I want my automata to do. Although this wasn’t a project, I really liked doing the breakouts because I love figuring out clues and stuff like that.

Overall I thought that technology was really fun and while I am reall excited for my next quarterly, I will miss technology a lot.

Building my Automata

Now that I have gathered all of my materials I have finally started building my automata.

Building my automata wasn’t that hard. As long as I went step by step carefully my automata will come out great. Some parts were a little hard because when something wasn’t working, I didn’t know what caused it. Which means I didn’t know how to solve the problem. When this happened I asked my teacher and he explained it to me.

Overall my automata took around one week to build. It was really fun to make and I loved deciding what our automata was going to do. Here is my final automata.

Thinking of an Automata Idea

In class we have started a new project. We will be making an automata! Automata’s are moving mechanical devices. We were aloud to pick what we wanted our automata to do. I did something similar to this.

For my design I wanted to do the Mario punching the box and the coin coming out of it. I then realized that the coin part would be too complicated so I then decided to just have the coin half way sticking out of the box. My design would be much bigger then this and it would be most made out of cardboard.

After I came up with my design I had to start building it!

Water Proof Flashlight Part 2

After I handed in my diagram, I could finally step by step collect my materials and start building. First I need to get my cap and my plug. Then we had to drill holes in them using these machines.

After that we then had to get the battery, switch, and light and sauter them all together. We had to be very careful by making sure that you sauter the positive to the positive, and the negative to the negative.

After I sautered I had to put it in my design, and then turn off the switch and finally color! this was my favorite part of the project!

I thought that this project was really fun because I got to be creative with my designing. I also thought that this project was cool how to light bulb turns on by the wires and everything connecting.