Water Proof Flashlight Part 2
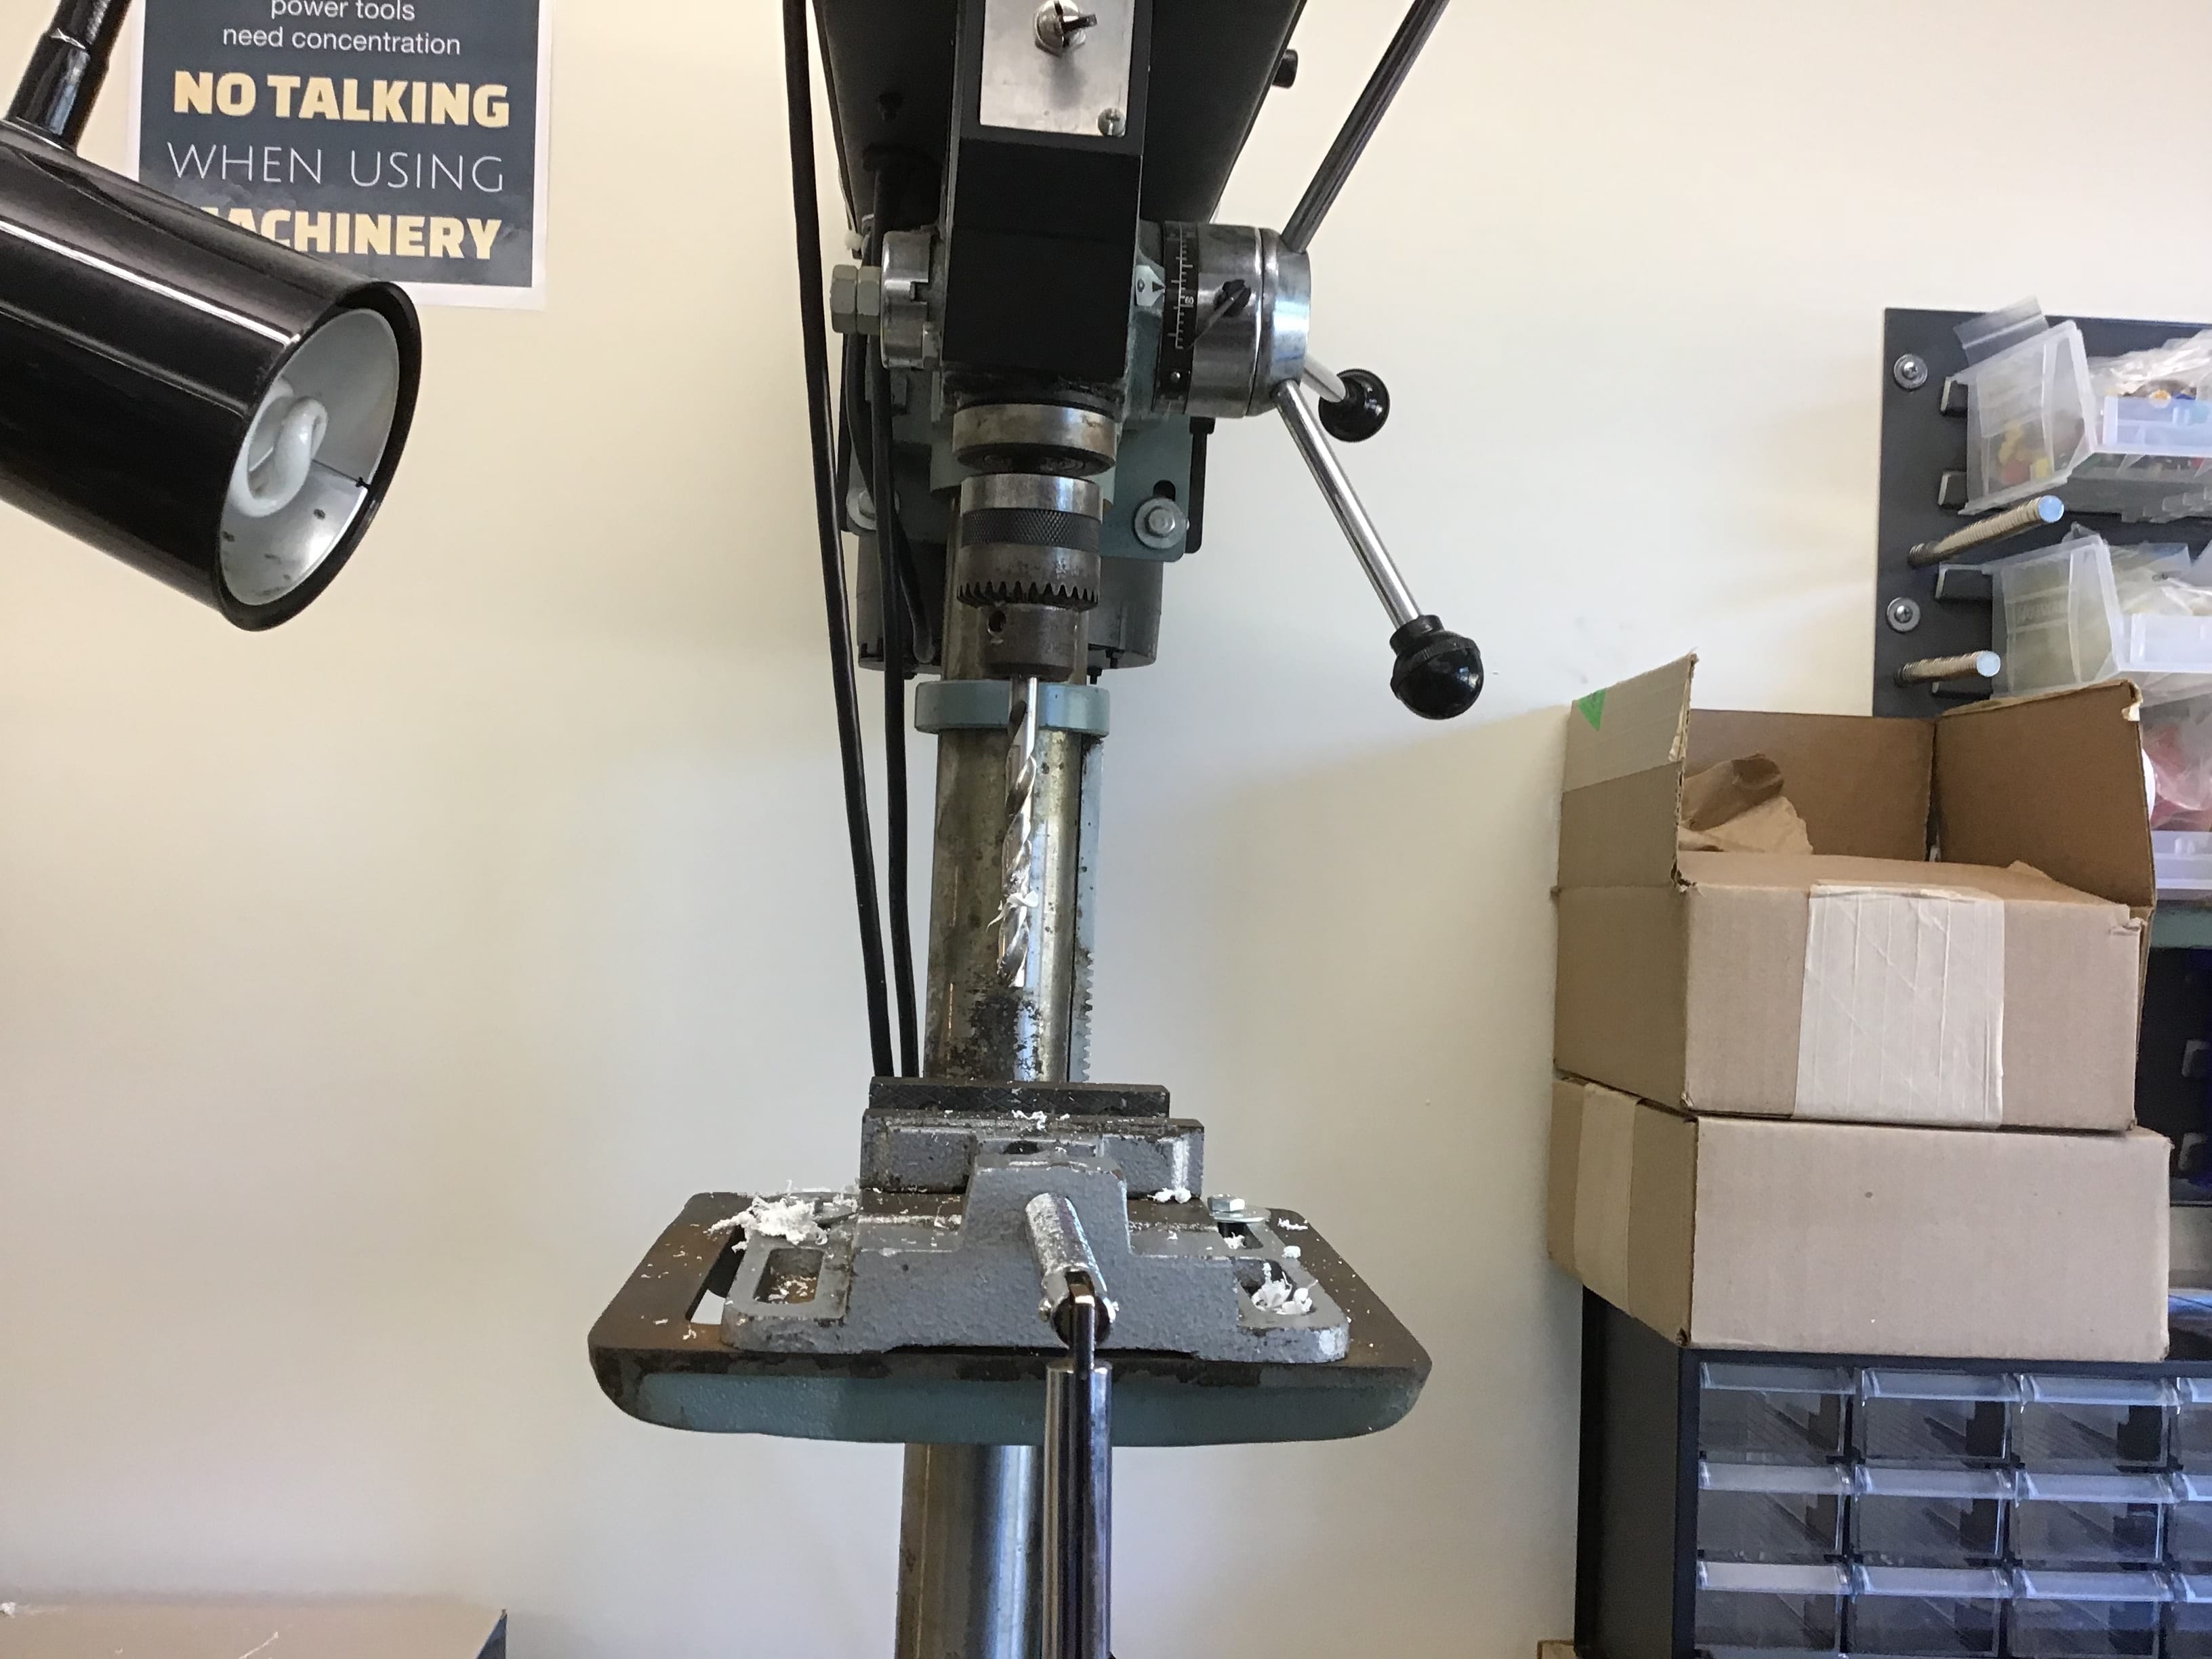
After I handed in my diagram, I could finally step by step collect my materials and start building. First I need to get my cap and my plug. Then we had to drill holes in them using these machines.

After that we then had to get the battery, switch, and light and sauter them all together. We had to be very careful by making sure that you sauter the positive to the positive, and the negative to the negative.
After I sautered I had to put it in my design, and then turn off the switch and finally color! this was my favorite part of the project!
I thought that this project was really fun because I got to be creative with my designing. I also thought that this project was cool how to light bulb turns on by the wires and everything connecting.