Designing and Building Rocket #3

Since this rocket is the last one we will do, everyone in my group wants it to go the highest out of all of them. The parents were coming and we wanted to make this our best work. To do this though, we will have to work really hard and not fool around.


 When our group started designing our first rocket on google drawing we didn’t know what to make and how to make the rocket, but now that we are on our final rocket, everyone in our group knows how to make one. It didn’t take long and once we were finished the rocket looked pretty good. We all decided on changing the rocket so the nose cone was taped on the outside of the rocket instead of on the inside.


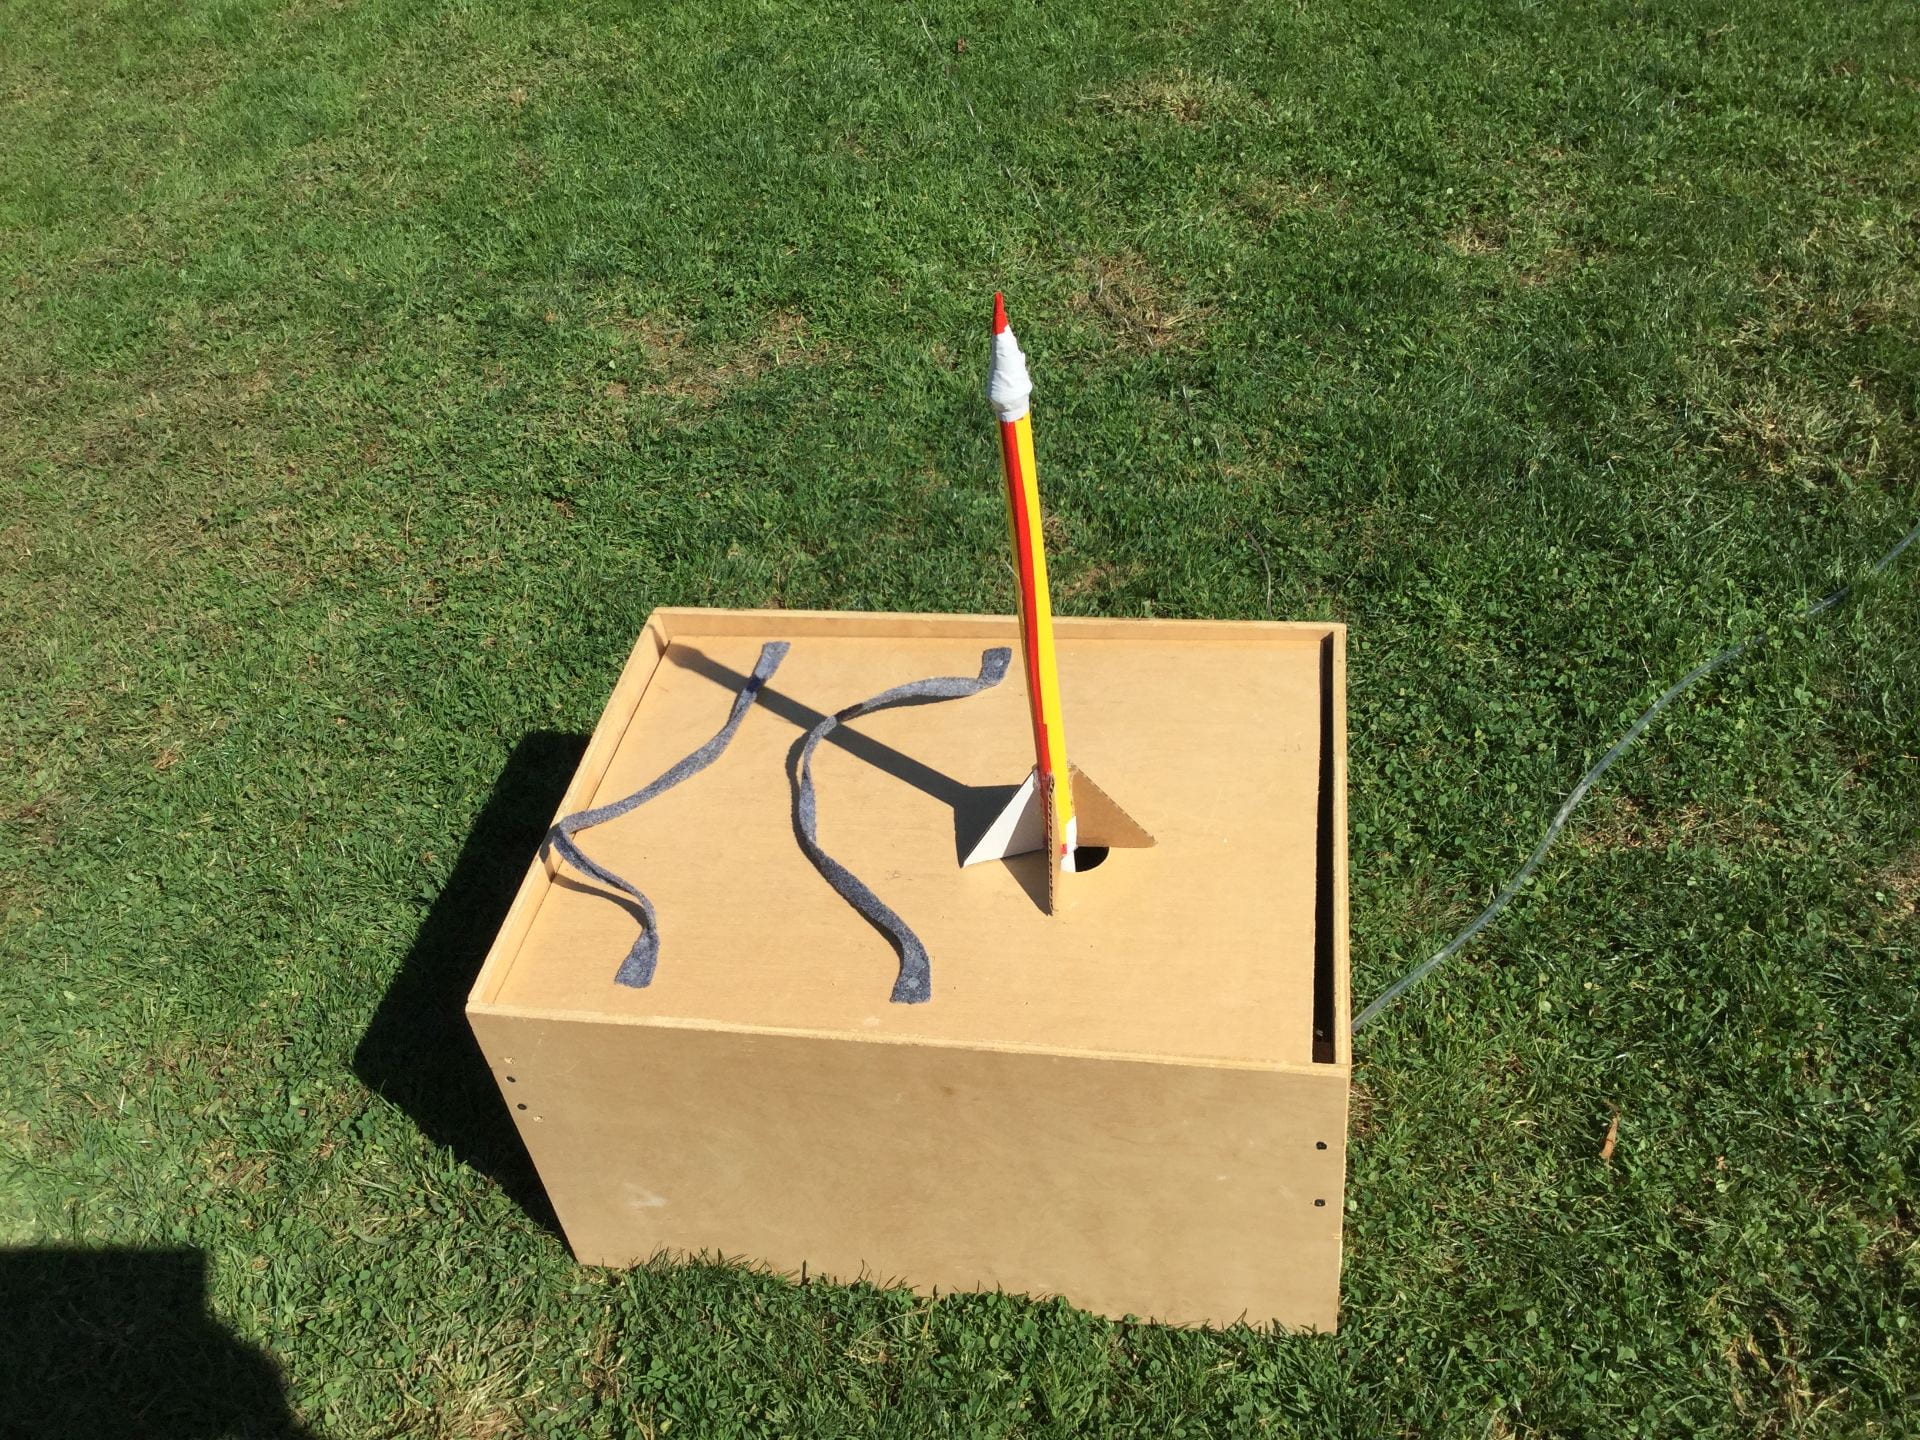
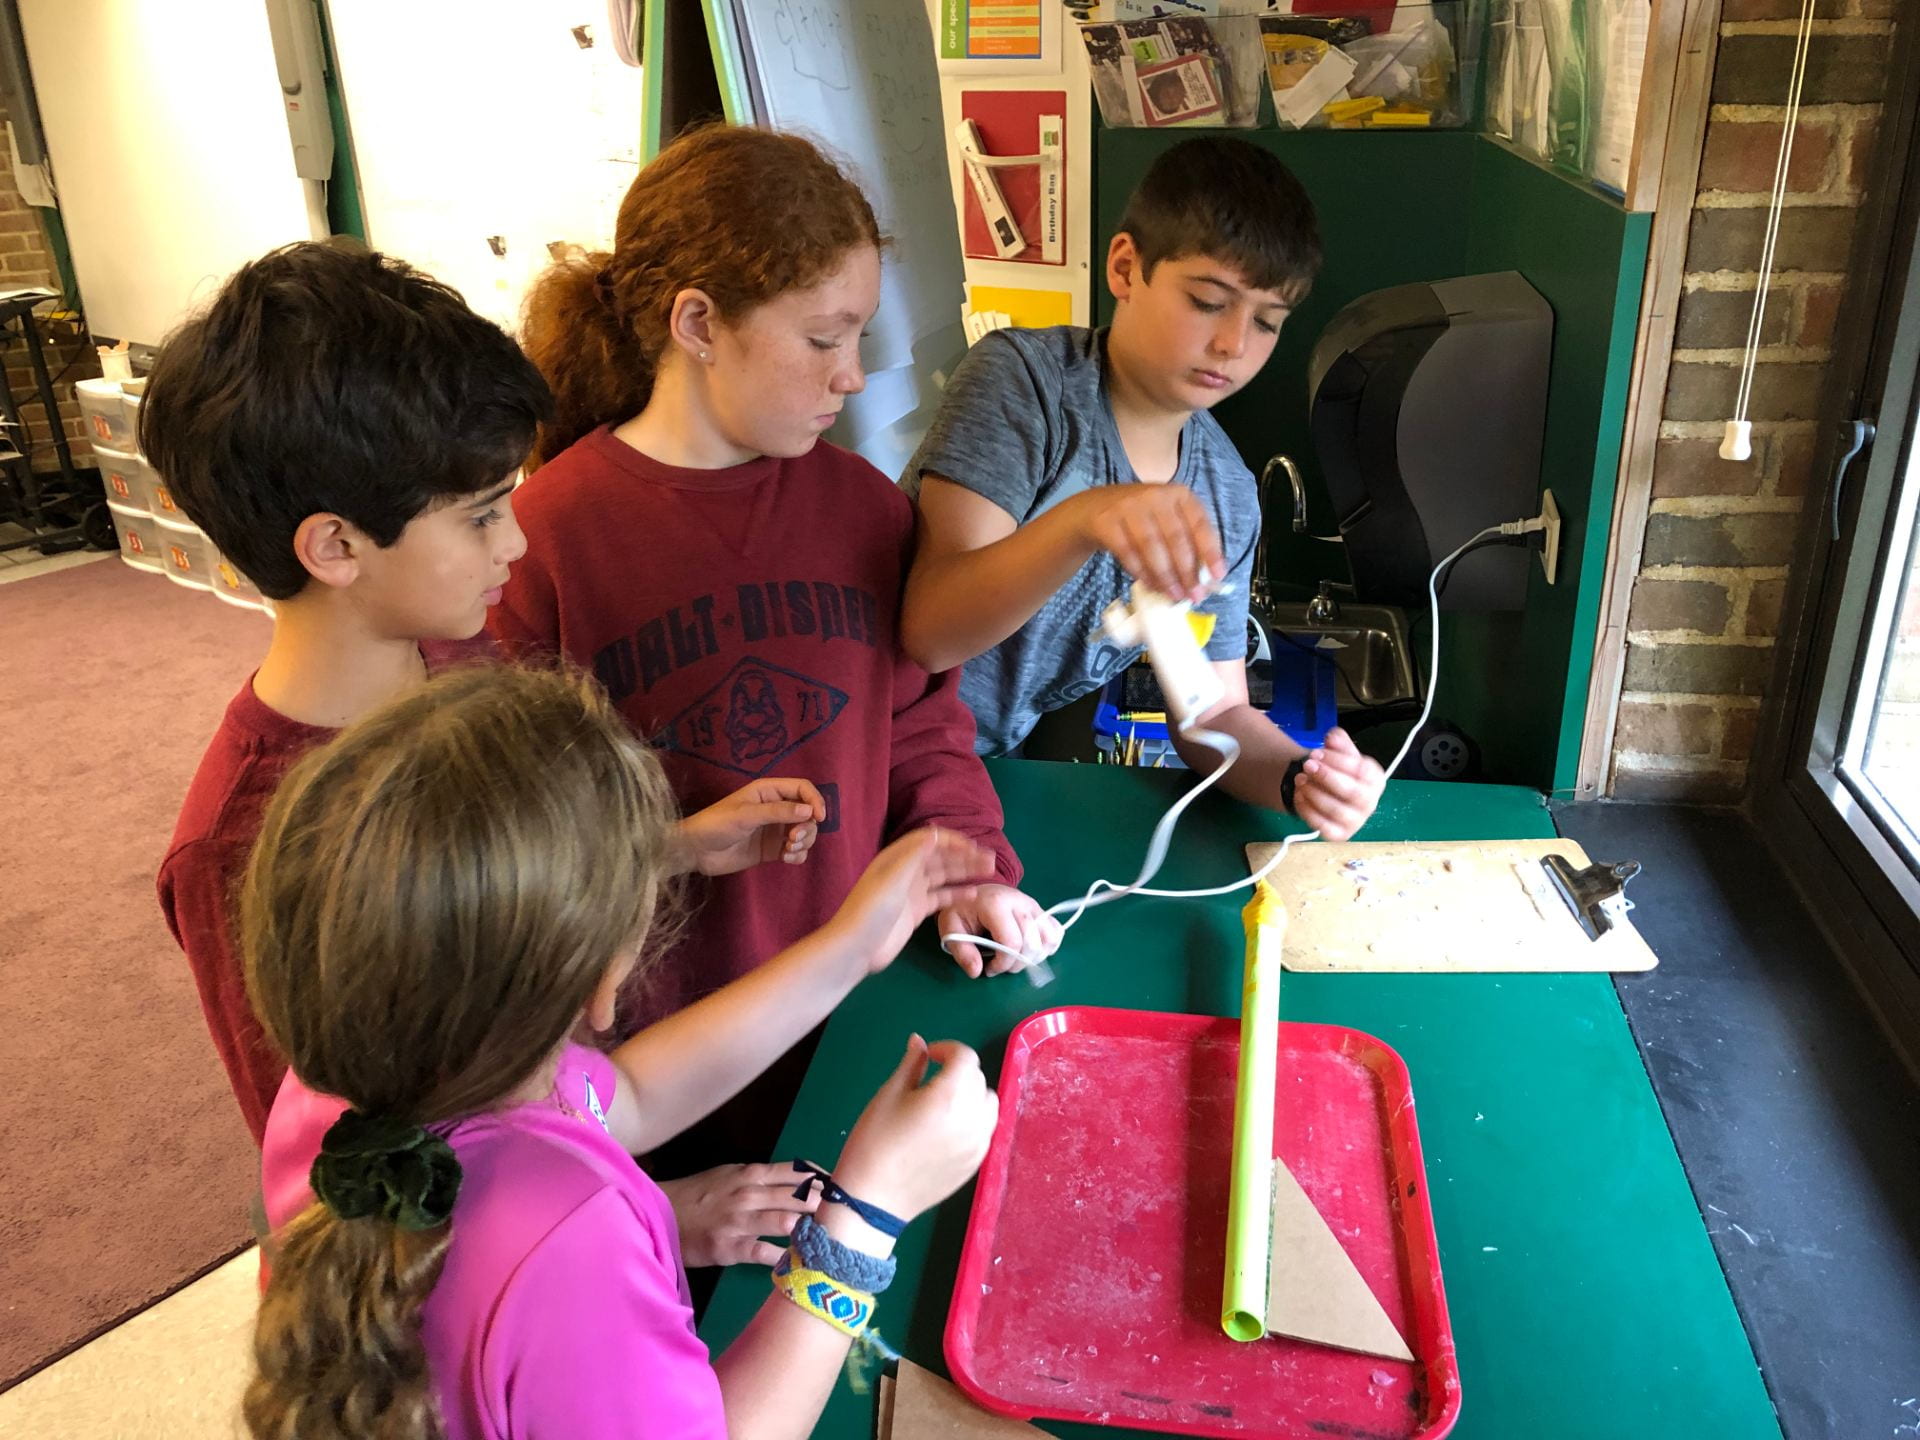
The next step in the process was to start building. Our group’s final rocket colors were green and yellow. We decided to name the rocket, The Lemon-Lime Rocket. So someone wrote it on the side of the rocket. First we tried making the body. When it was finished, it was too big and thick, so we tried again and this time the body was good. The next thing for the rocket was the nose cone. After a few tries the nose cone was pointy and not too thick. Soon we taped the two together. Then it came time to make the fin design. Everyone sketched one out and we agreed to use the best one. After the fins were cut out on cardboard, we started hot gluing. Three people got to glue one fin fully on. One person glued the borders of each fin making sure they were on tight and wouldn’t fall off during the launch. 


We all felt confident in this rocket. We worked hard and gave our best effort. Hopefully the rocket will go just as high as we were hoping for. 

Designing and Building Rocket #2

Designing rocket number 2 was no easier than designing rocket number 1. The hardest part was definitely agreeing and disagreeing with things. We made three rockets than voted on them. One kid didn’t care and everyone else voted. Of course, it was 1, 1 and 1.  So we had to do things differently. We ended up picking a skinny rocket, with 3 fins and a long nose cone. Everyone agreed. 


When we started building, things didn’t start out that good. The body was too wide. We started over and that one was a success. The fins were sketched out a few different times and we picked the best one and went with it. Our teacher cut them out and then it was time to make the nose cone. The first one wasn’t the best, we kept on making nose cones until someone in my group made a really good nose cone. We used that one. 


The next step was to hot glue and tape everything onto the rocket. Our group was gluing and taping a lot onto the rocket so the nose cone and the fins were on sturdy and tight. Nobody wanted the rocket to explode in mid air. 


Overall I think when our group got into arguments we didn’t do as well. When we all agreed and didn’t fight, we did very well. For the third rocket design, build and launch we have to agree for our rocket to go high.

Launching and Graphing Rocket #1

The Rocket launch was super fun. I was just as excited as everyone else, if not more. I couldn’t wait to see all the rockets soaring through the sky higher than the birds. Well everyone’s rockets did except for my group. The nose cone blew clean off right when we released the rocket. Boy were we disappointed. All this hard work for a broken rocket. 

Just as everyone in my group (Including me) were dragging our body’s away, our teacher surprised us. She said we could run inside, rebuild our rocket, run back outside and launch again. So we did, running at top speed back to the classroom, built as fast as we could and them came running back out confident in the rocket that was in my hands.

 Before I knew it, we were counting down till launch. 10,9,8,7,6,5,4,3,2,1 release!!! We watched in amazement as our rocket went shooting up to the clouds.Going, going, gone, soon we could not see it, then the rocket came flying back down. Everyone in my group was super happy. The rocket went a lot higher than we thought. The nose cone landed in the ground and when a classmate pulled it out, the nose cone was all bent and ruined. But after what I just saw, a broken nose cone didn’t bother me one bit. 

When everyone got inside, each group had to make a graph of how high the rocket went. Our second launch went 146 feet high!!! I made a graph of our first launch. That one went 8 feet high. I used a ruler to get it exact but I kept messing up. With all the erasing marks the paper looked messy and hard to read, so I asked the teacher for another piece of paper and on my second try, I got it right. 

Our group got the third highest out of six groups. We were in the top three. When I got home I raced into the kitchen to tell my mom about it. I even showed her the video of the launch. She thought it was amazing. From what I saw, it was.

Designing and Building Rocket #1


The first unit in science is rocketry. We were put into groups and we had to go through a process and eventually launch paper rockets that we made as teams. I have been looking forward to this unit all of last year. I just hope it goes well.

The first step for Rocketry is to research as much as you can on rockets. After that we had to  get with our groups and come up with a team name. Our group argued over a lot of different names. We finally settled on Blast Off!!! because everyone seemed to like that.

The next step in the process was to make an inspiration board on google drawing. We had to put facts, diagrams and quotes. My group got into a lot of arguments. One was over what quotes and facts we should put on. Another was on which diagrams to put on the google drawing. In the end my group agreed on certain things and were ready to print.

The step after that was to print out the images and facts from the google drawing and put them on a big poster board. We argued over how to put the pictures on the board and which pictures to print out in color. Other things we agreed with though like which pictures to print out. Eventually our poster board was finished and it looked great. We ended up in front of all the other groups.

When we completed the inspiration board our job was to now come up with our first rocket idea. 2 people came up with one idea while another kid and I came up with another idea. We couldn’t decide who’s to use. Eventually we all voted on which one to keep and 3 people voted for one idea and 1 person came up with another. So we used the one the other kid and I came up with.

The building step was fun but hard. We learned how to make a nose cone with just one piece of paper!! Our group made a long nose cone thinking it would be better than making a small or medium sized one.  For the fins we decided to go with four because we thought the balance would be better than three. We wanted the skinny PVC pipe for more concentrated air flow. We went with a skinnier body. Then the rocket will fit over the pipe. The rocket will shoot up. Of course as usual our group got into a lot more arguments. One was what colors for the rocket we should put on. I came up with an idea where the first launch two people get what they want and the second the other two people get what they want. Some people in our group didn’t like that idea. Finally everyone agreed on certain colors. The second argument was on how much tape should go on the nose cone. Everyone finally agreed on putting a lot of tape but not going over the top with it. The reason that’s what we did was because we wanted the rocket’s nose cone to be sturdy and not fly off. We didn’t put too much tape on because the tape might have weighed the rocket down, the rocket wouldn’t of went as high.

The building and designing was fun but hard. I learned a lot about how to make and put together a paper rocket. Now we just have to see how our rocket does when we launch.