November12
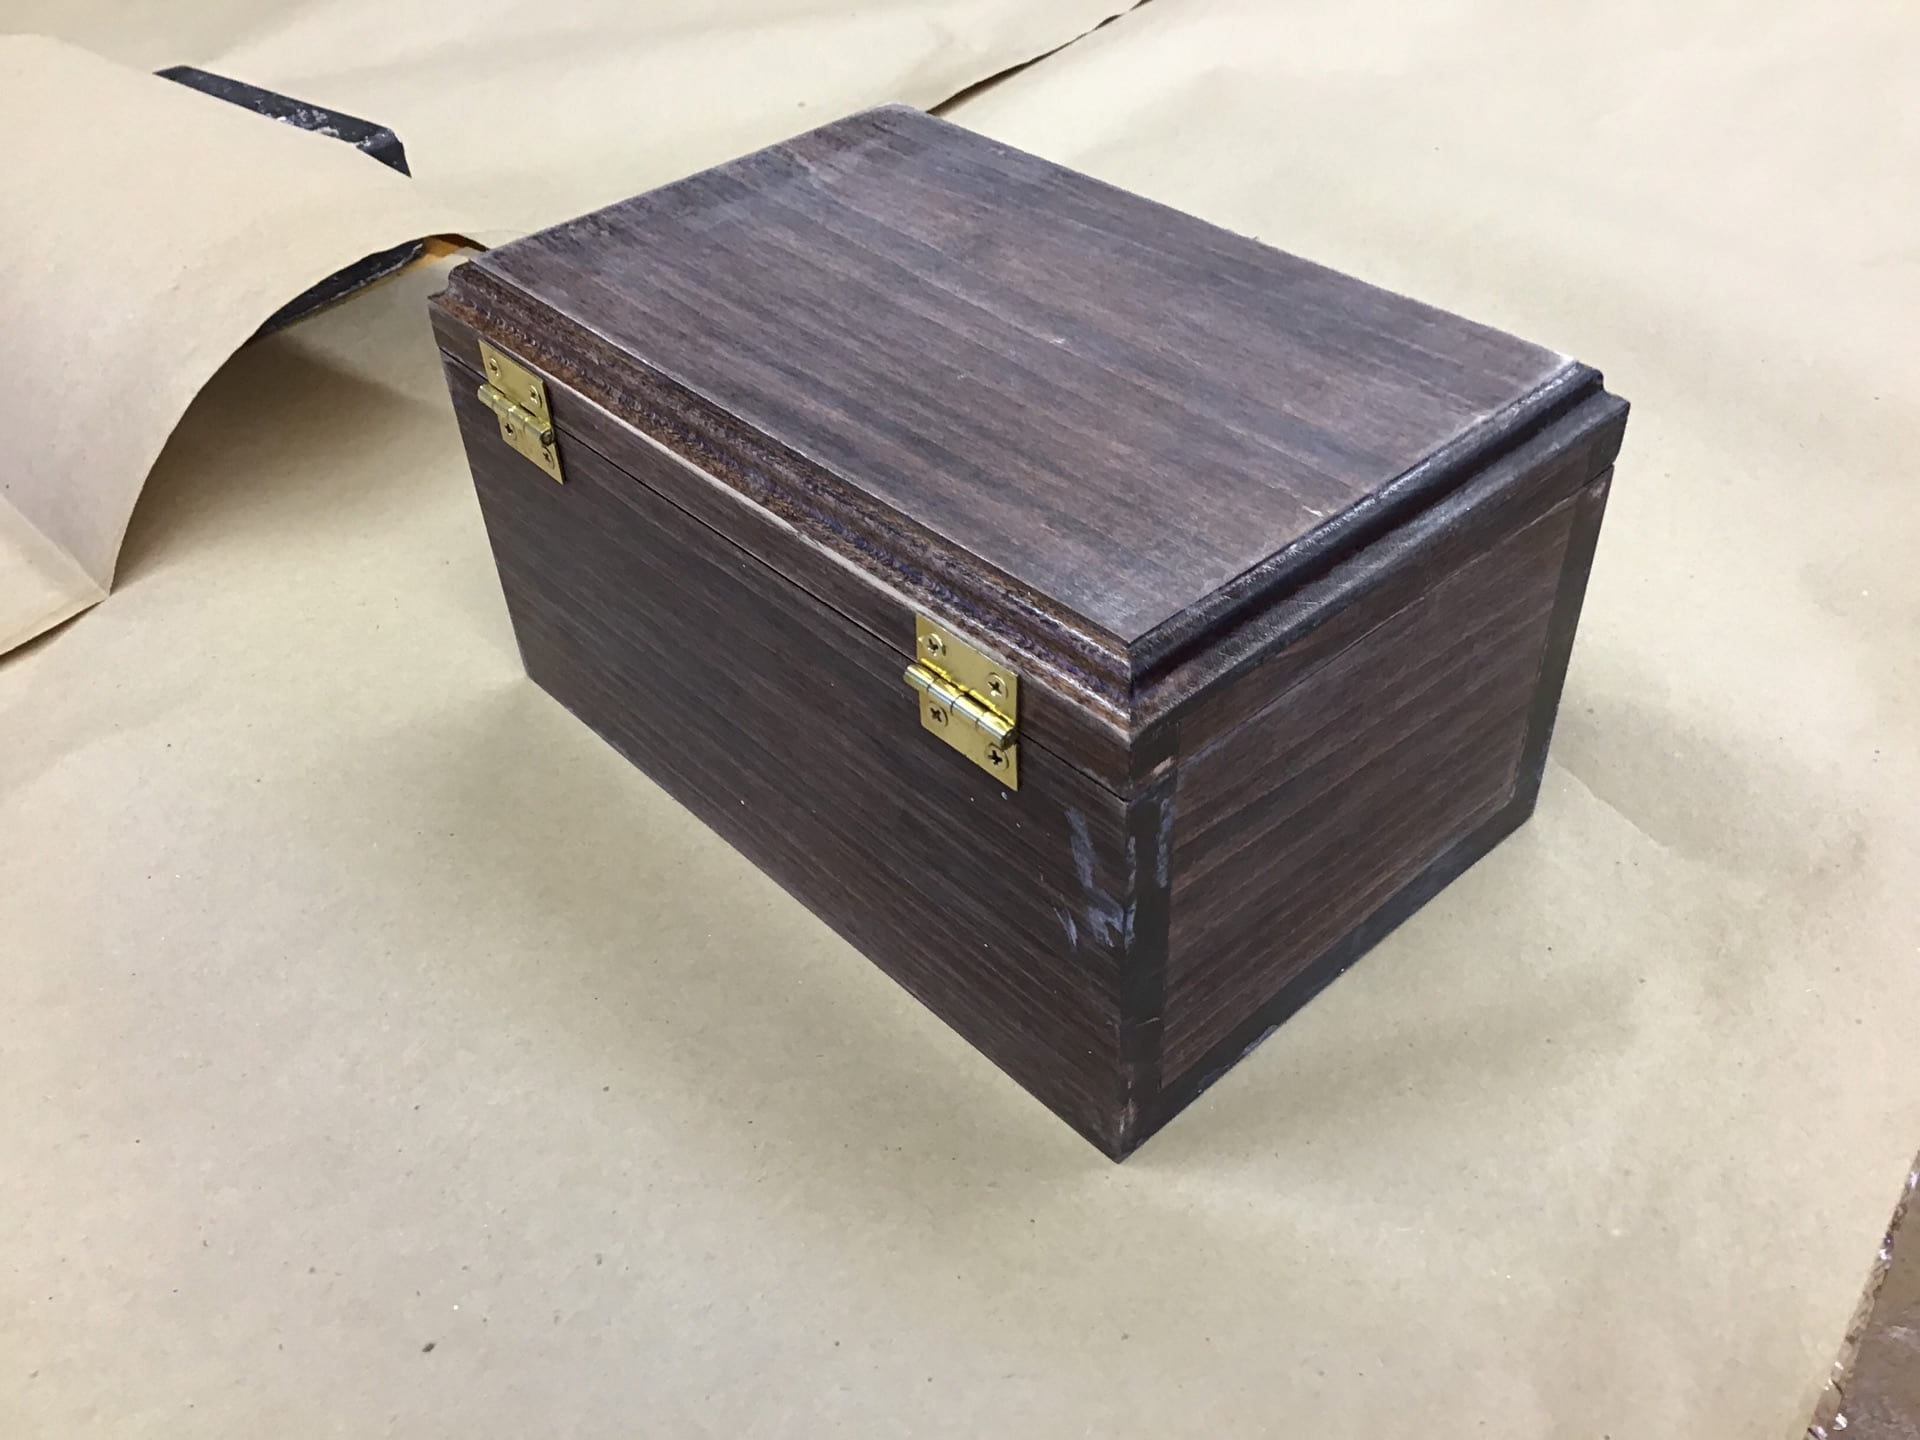
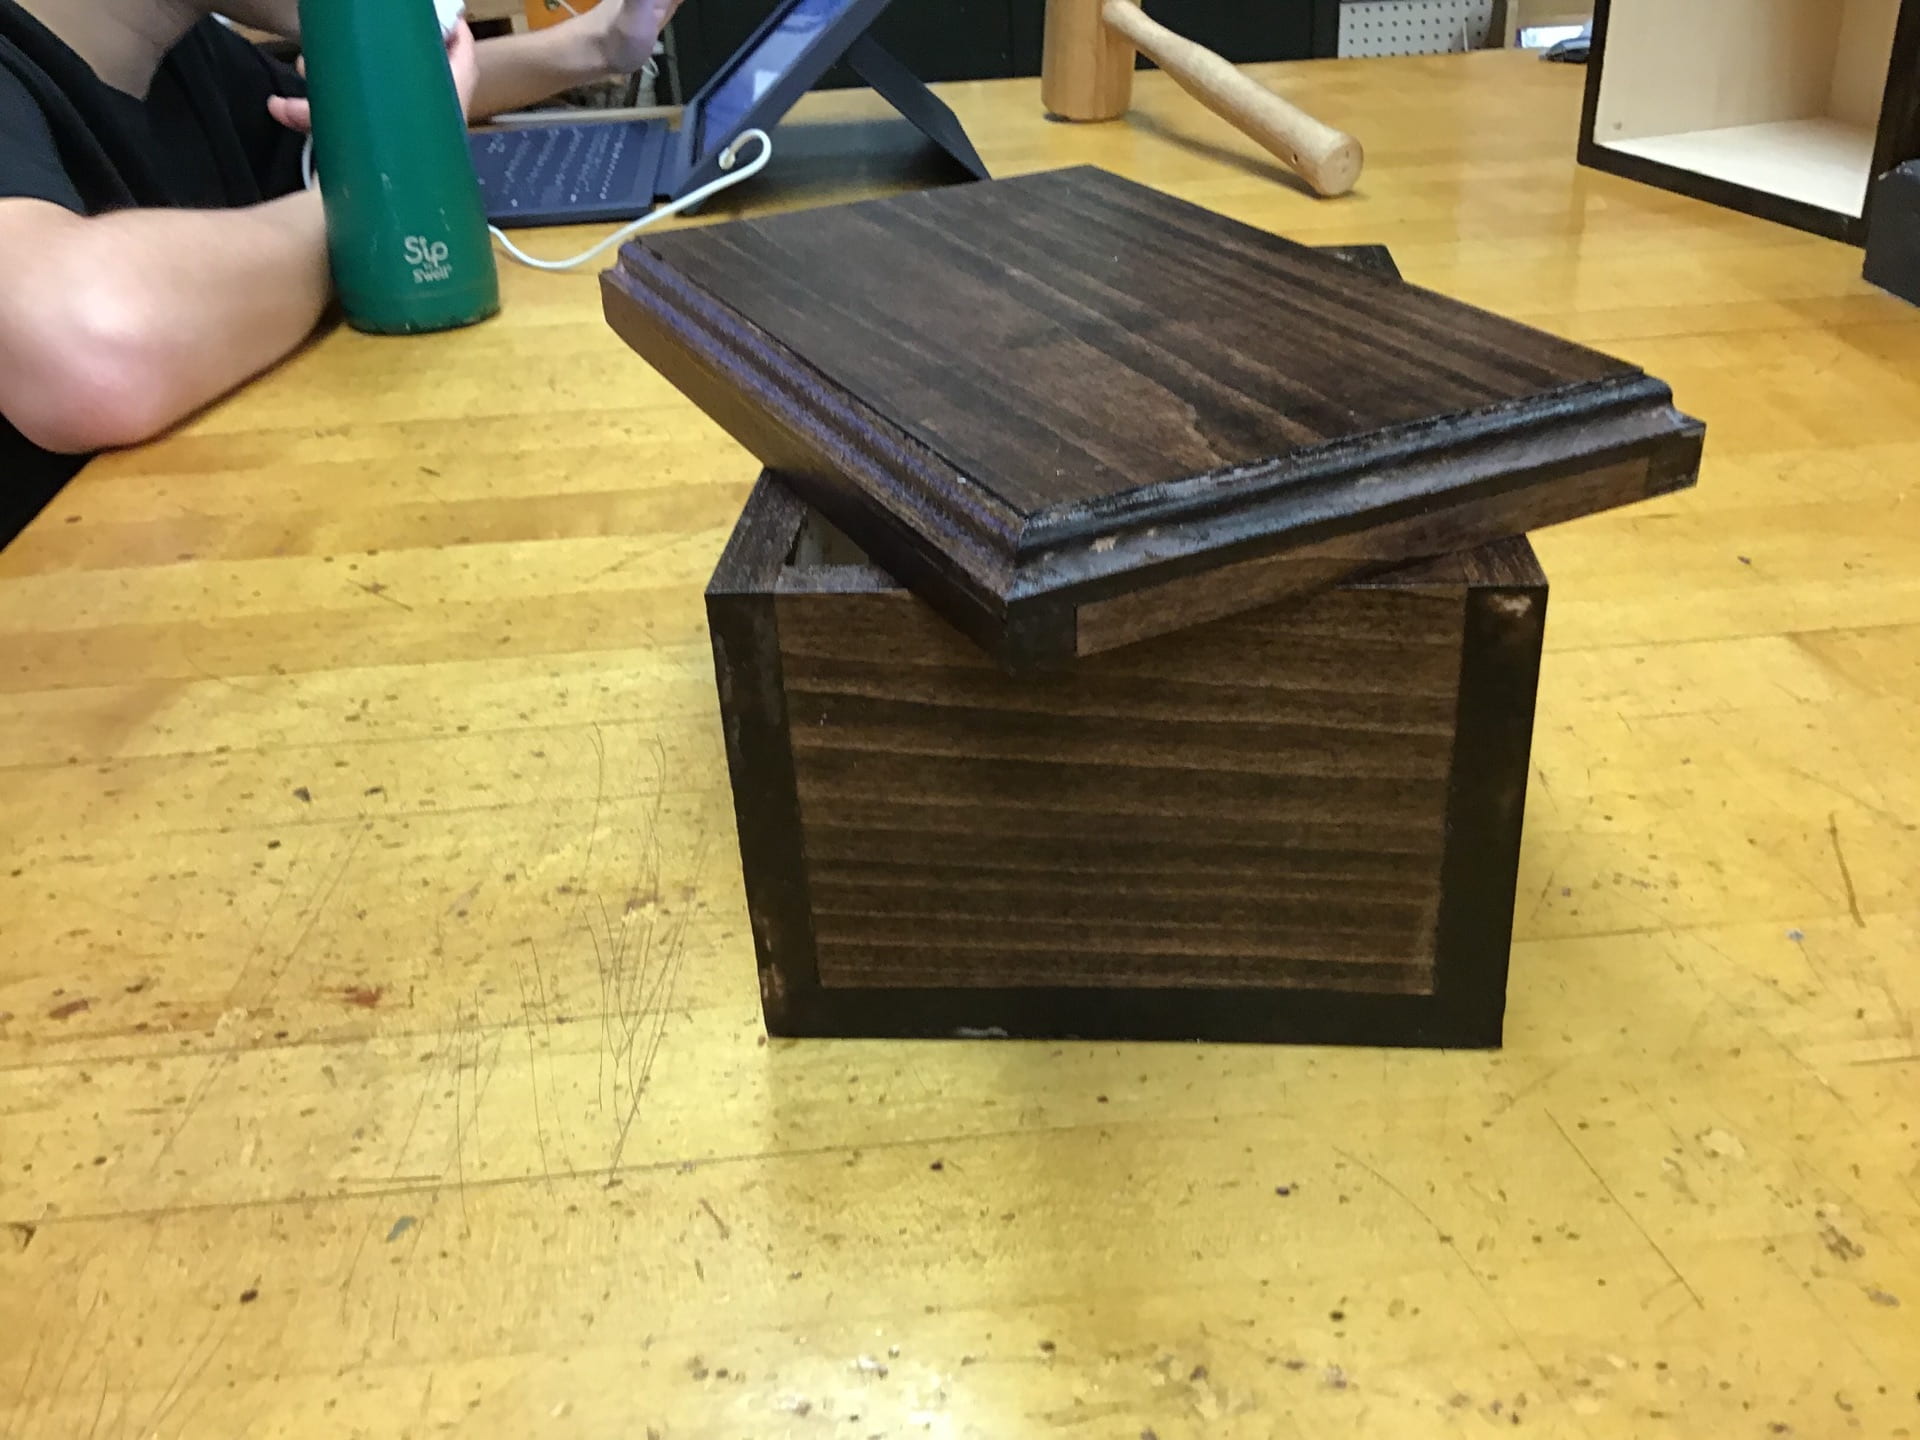
Making my box was such a fun project. Now that the quarter is over I no longer have tech. Here is what the box looked like in the end:

Through the project I have used many tools including:
- scroll saw
- band saw
- palm sander
- belt sander
- And more…
I also used many materials including:
- WOOD
- stain
- polycrilic
- glue
- And more…
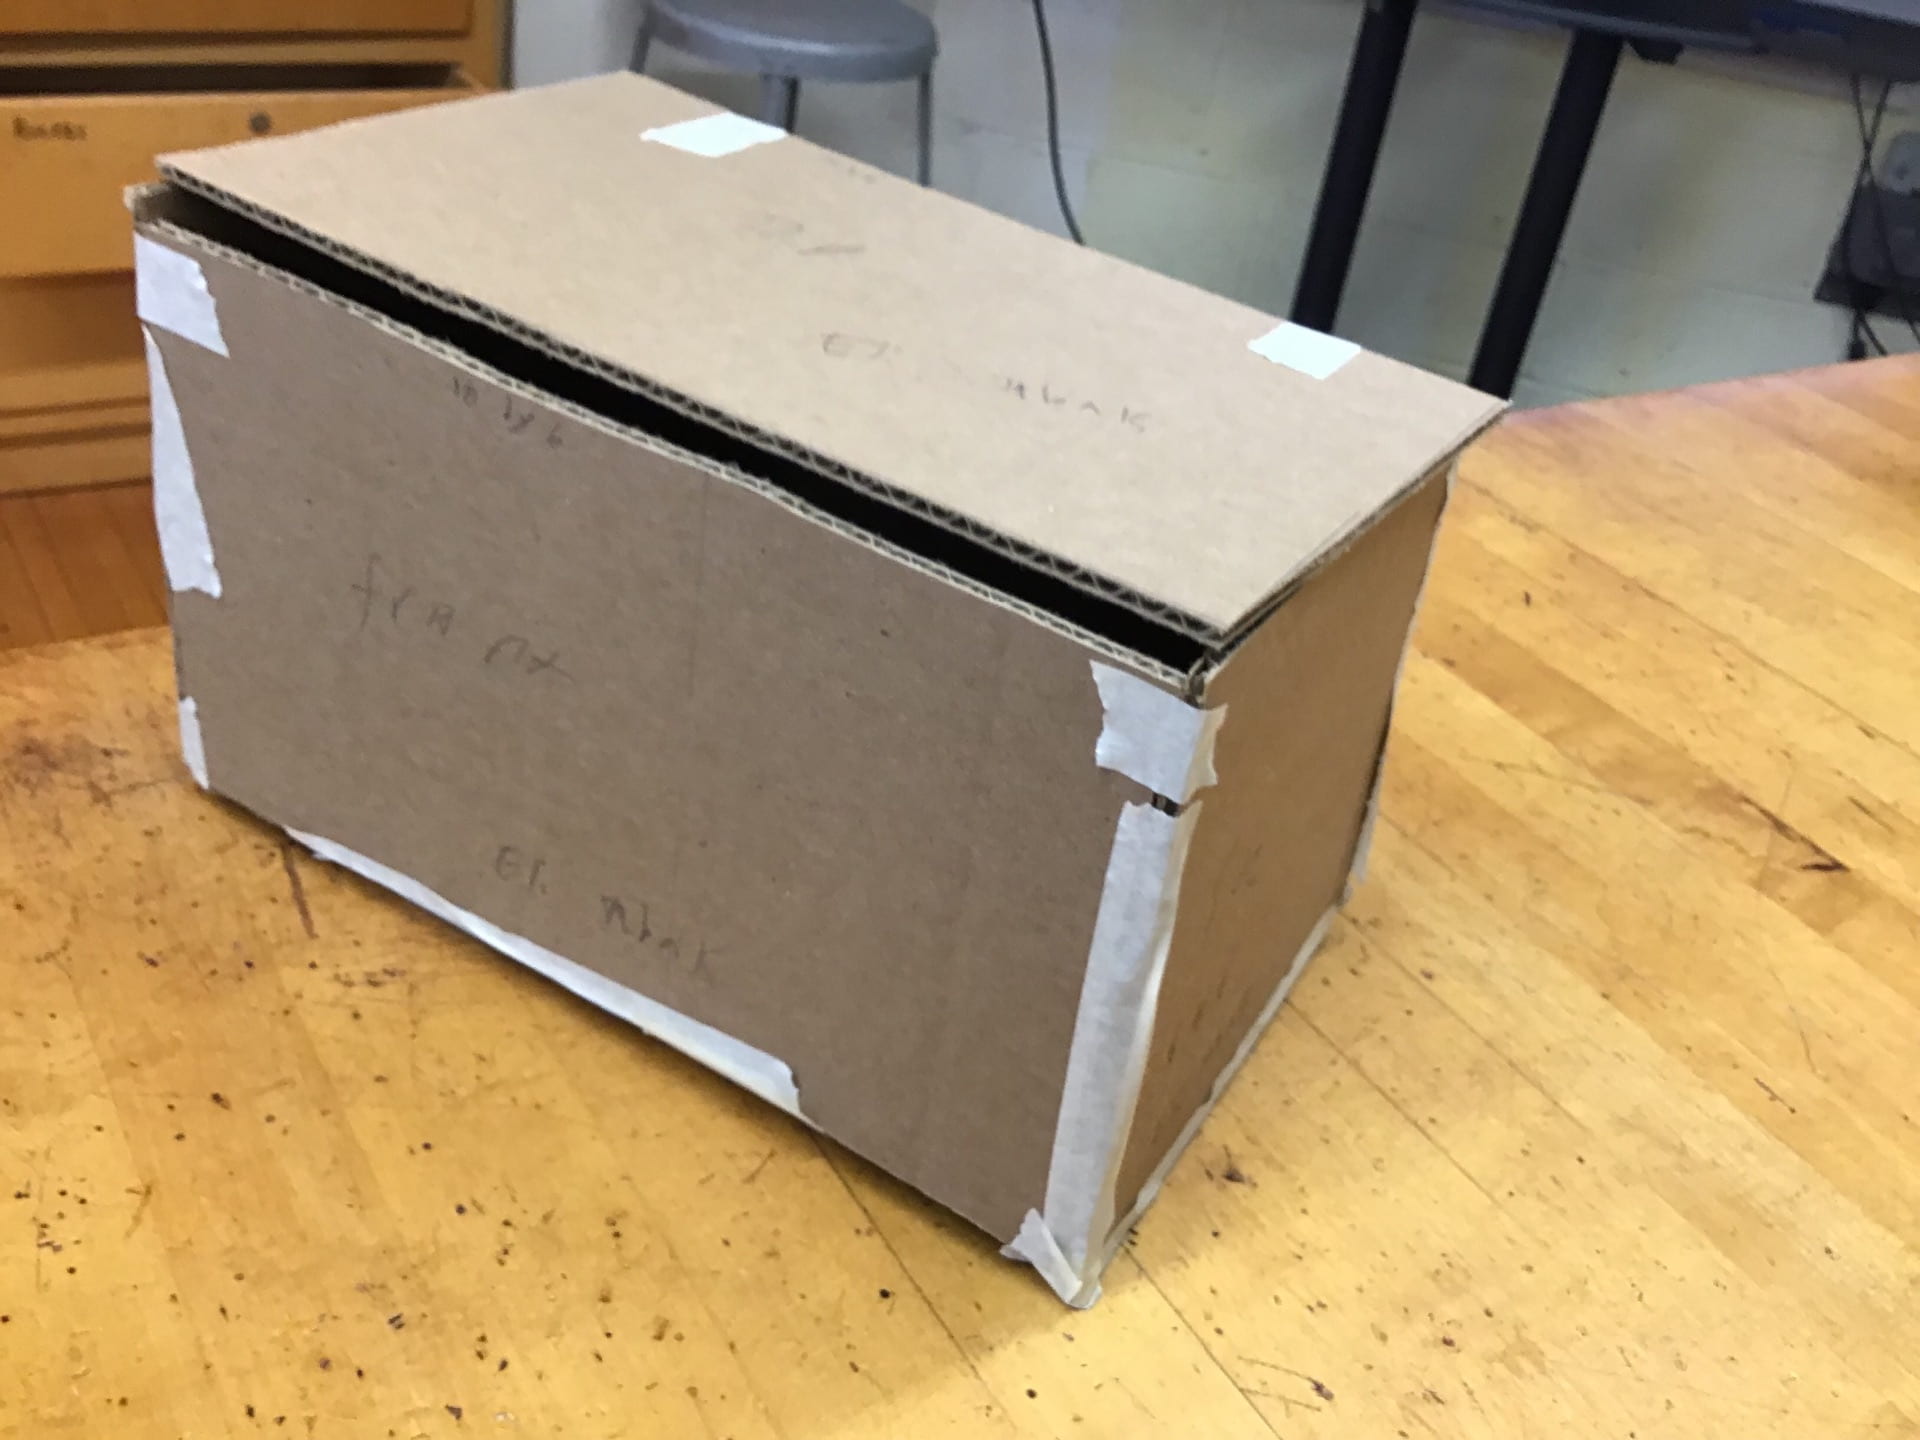
In addition to making the box I also made a cardboard model:

When making the box we also had to make a story for what the box was for. Mine was to hold the flashlight I made last year. Here is my box with its flashlight in it:


November8
My box is finished and I will make a blog post about the entire process but this post is about what I did since my last post.
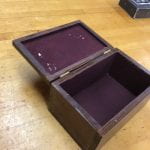
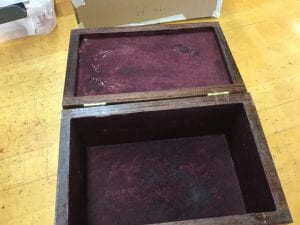
My box after flocking
After hinges I flocked.
Here is how I flocked:
- Apply glue
- Make sure it is heavily applied to part of exposed wood
- Apply flocking
- Take a big scoop of flocking
- put it in box
- SHAKE BOX
- Dump out extra flocking
- Wait a day to dry
- Check if it is done (there is no empty patches)
- If done then flocking is done
- If not: fix it
- Dap glue into missing spots
- Reapply flocking
- Go back to waiting a day and checking if done
I hade to reapply once.

My box after engraving
Then I engraved. I used a cool wood burning tool that looked kinda like a soldering iron.
Then I waxed. Here is how I waxed:
- Do paste wax
- Rub in paste wax
- Use towel to rub off paste wax
- Do spray wax
- Do one side
- Spray a little wax on
- Rub in the wax
- Repeat on all sides

MY FINISHED BOX
November4
That includes today.
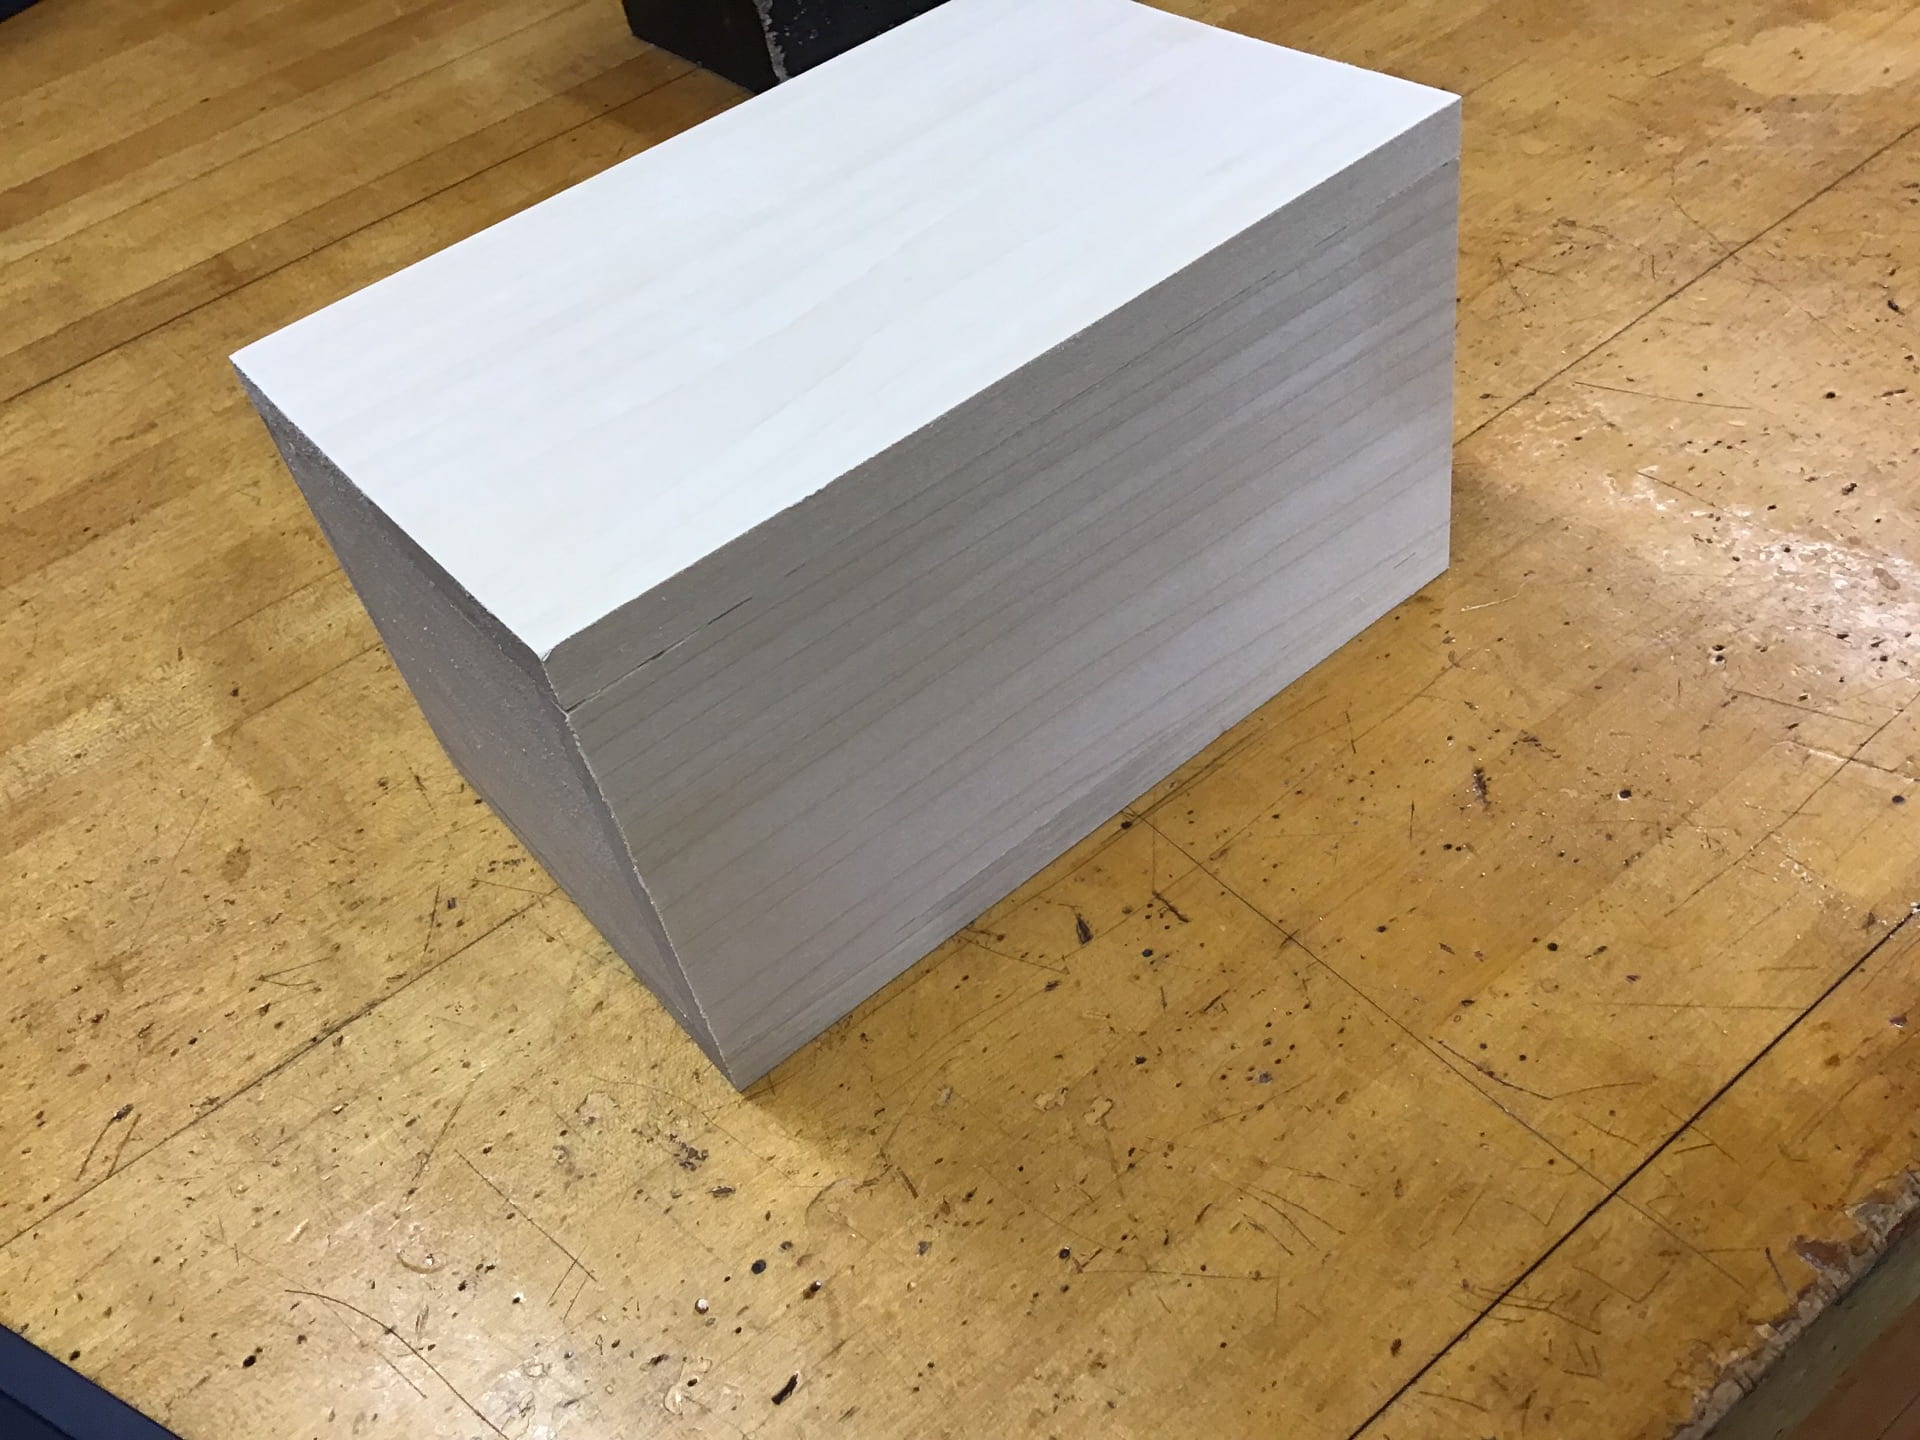
After doing my final coat of polycrilic I was able to use fine sand and steel wool. That is just getting rid of pumps and making the polycrilic smooth. It makes it look bad but after I flock I will wax it to make it look shiny and nice.
I was also able to do hinges:

You may notice that the box looks white. That is because of the fine sanding and steel wool.
How to hinge:
- Put box in vise and line it up
- Do one hinge
- Measure where to put the hinge
- Do one hole
- Use awl and hammer to make a hole in wood
- screw in screw in the hole
- Repeat for the other 3 holes
- Repeat for other hinge
Today I will come at lunch to do the flocking.
October30
Yesterday I did 4/5 coats of polycrilic. That was done between lunch and class.

My box after 4 coats of polycrilic
Today in class I was going to do my final coat, but we had a lockdown drill! I will have to come at lunch to finish it.
To aptly polycrilic I use a paint brush and brush it everywhere that I stained. I have to wait five minutes between coats (thats what takes so long).
When I said I had ten days a few posts ago it was actually nine because I didn’t account for a day off.
October28
In class today I didn’t end up doing any work on the box because there were to big lines to use tools and we were making a plan of the next 10 days. That’s right. We only have 10 days left.
I was going to come at lunch anyways but it made lots of sense especially because I didn’t do anything related to the box in class. So during lunch here is what I did:
-
Buy lunch
-
Bring it down to tech
-
Eat lunch
-
Work on box
-
Belt sand
-
Stain!
The belt sanding was just to get rid of the edge that it got from cutting off the top:

For staining I:
-
Put on a apron and gloves
-
Choose stain (I chose red mahogany)
-
Get rag
-
Apply stain
-
Put stain on one side
-
Dip brush in
-
Rub on stain
-
Repeat as many times as needed
-
Wipe off extra stain with rag
-
Repeat on all sides (except for inside)
-
Repeat for top
-
Put box in locker to dry
-
Dispose of used rag in garbage
-
Take off apron and gloves
I can’t wait to see it tomorrow!
Because it was lunch I didn’t bring my iPad, so I don’t have any pictures.
October25
Today I cut the top off. Now I will need to sand that edge a little. Then I can’t stain.

My box so far.
Me (and Ms. Giroux) used the table saw to cut it. Look a little closer:
I will have to sand that part down. I think I will be using a sanding board (sandpaper on a piece of wood that you rub whatever you want to sand on) to do that.
Becuse I don’t have much time left in the quarter, I will probably have to come at lunch next week.
October24
I finished routing today. It is were you add a decorative edge to the box. Here is what it looks like now:

But we received some bad news today:
THERE IS ONLY 2 WEEKS LEFT!
I may have to come at lunch to finish up.
I also learned how I will engrave my name
- I will do it after I stained
- I will burn away the letters
- I will put a lighter stain over it
- It will be engraved!
October24

My box so far 📦
So far this week, I have been sanding. This is to make all the edges perfect. First I used the belt sander. Then I used the the palm sander. Now I will be able to route the top. That gives it a decorative edge. After that I will be able to cut off the top. Then I can stain it or give it color. Stain doesn’t protect the box. I will also add a protective coat on top of the stain then I can add flocking powder. Finally I will add hinges to it. At some point during that process I will engrave “Eli’s Flashlight” (see my blog post with the story of the box) on the top. I don’t know when that will be.
October18
That is the good news. The bad news is that now I have nothing to do the rest of the period, so its time for a blog post!
Yesterday, when I saw my glued (sides, front & back) box it looked perfect! Well almost, some of the connections weren’t straight, but that was just needs sanding. It is almost certain that it will happen again after I get the fully glued box.

My glued box drying in the vise.
Today I glued on the top and the bottom. It went almost without incident. The only problem was that I spilled a little glue on the bottom while gluing the top. I choose to do the top first (for no particular reason) so I dint have to deal with it when it was on the box. I just used a wet paper towel to wipe it off, because the glue is water soluble, which means it goes away in water.
October16
When I cam in to day to fix the piece that dint glue, I turned out that there was the same problem with another section. I was able to fix it and it is now drying in the vise. here are the steps I used to fix it:
- Use the palm sander to sand the glue off the faces.
- Use the belt sander to sand the glue off the ends.
- Put glue back on.
- Leave in vise to dry
tomorrow, I can use the belt sander to perfect my edges before I glue on the top and bottom.
I don’t have may iPad with me right now, so I can’t include pictures. Sorry.


Recent Comments