maglev post #3

The improvements we made to are maglev train are.

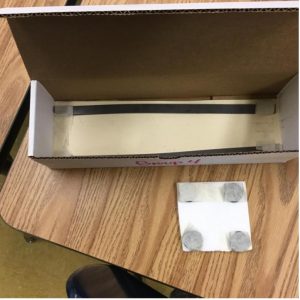
This is are final design for are maglev train.

We doubled the magnets on the track and re taped the magnets on the train.

Are final design was to put 1 magnet on each side of the train and put 2 magnets on each side of the track to carry weights.

I think are train was successful because it glided across the track easily with weight on top and it worked very well.

What I learned from this unit is that you can only build a maglev train one way. The (EDP) process is a slow process you need to plan ahead a lot. When you work with a group everybody has to cooperate for things to happen.

 

maglev post #2

We used strip magnets and the magnets on the track were on each side the magnets on the train were positioned on the sides of the train. We placed the magnets backwards we learned that if you put the magnets backwards the train will not float. The changes that we made to fix a mistake is we switched the magnets around. Are goal next time is to carry weights on the train.

Maglev post #1

 A maglev train is a train that travels on a series of magnets. There are magnets on the train and the tracks that repel each other to make the train float in the air. When magnets are facing the same poles they repel. On the bottom of the train and the top of the track there are magnets that have the same poles and are facing each other. Because it floats there is no friction and the train can travel at very high speeds.

Our group’s design was to put three magnet strips on the track and five disc magnets on the train. The train kept banking to the side. That was a problem.

Our group worked well together. We had a fun time. We did not argue about the idea or where we should position the magnets on the train. We will change our next design and continue to persevere.