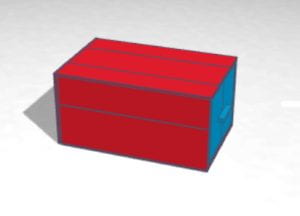
Last week, we made a 3D model of our projects on Tinkercad. It was a really cool experience!
Tinkercad is amazing! I was able to make the drawer exactly how I wanted it. My design had the same dimensions and everything. At first, I thought it was going to be pretty challenging, but it turned out, it’s not as hard as it seems. Anyone can design anything they want!
I started off using 4 boxes to make the bottom face of my outer box. I changed their length, width, and height to mimic the balsa wood planks. To make the rabbet joint, I took 2 of my planks and made them 1/8 of an inch shorter. Then I grouped the larger planks with the shorter ones. After that, I attached both groupings using the joint. I still wasn’t done with that face yet, though. I needed it to be 7 inches long. It was 6. So, I made one of the shorter planks another 1/8 of an inch shorter. I used 2 more boxes to make the 1 inch long grouping and made one of the planks 1/8 of an inch shorter. I then attached that new grouping with the other one. Now I finished that face! To make the top face, I just duplicated the bottom one and raised it 5 inches. To make the front, back, and sides, I used the same procedure, and then did the whole thing over again to make my inner box. Now it was time for the finishing touch. To make the handle, I used 1 more box, made it much thinner and longer, and then attached it to the front face of my inner box.
I loved using Tinkercad and thought it was a great way to plan out our projects, especially the joints. I’m looking forward to building my drawer after break!
Here is my design:
