Science Lesson #15

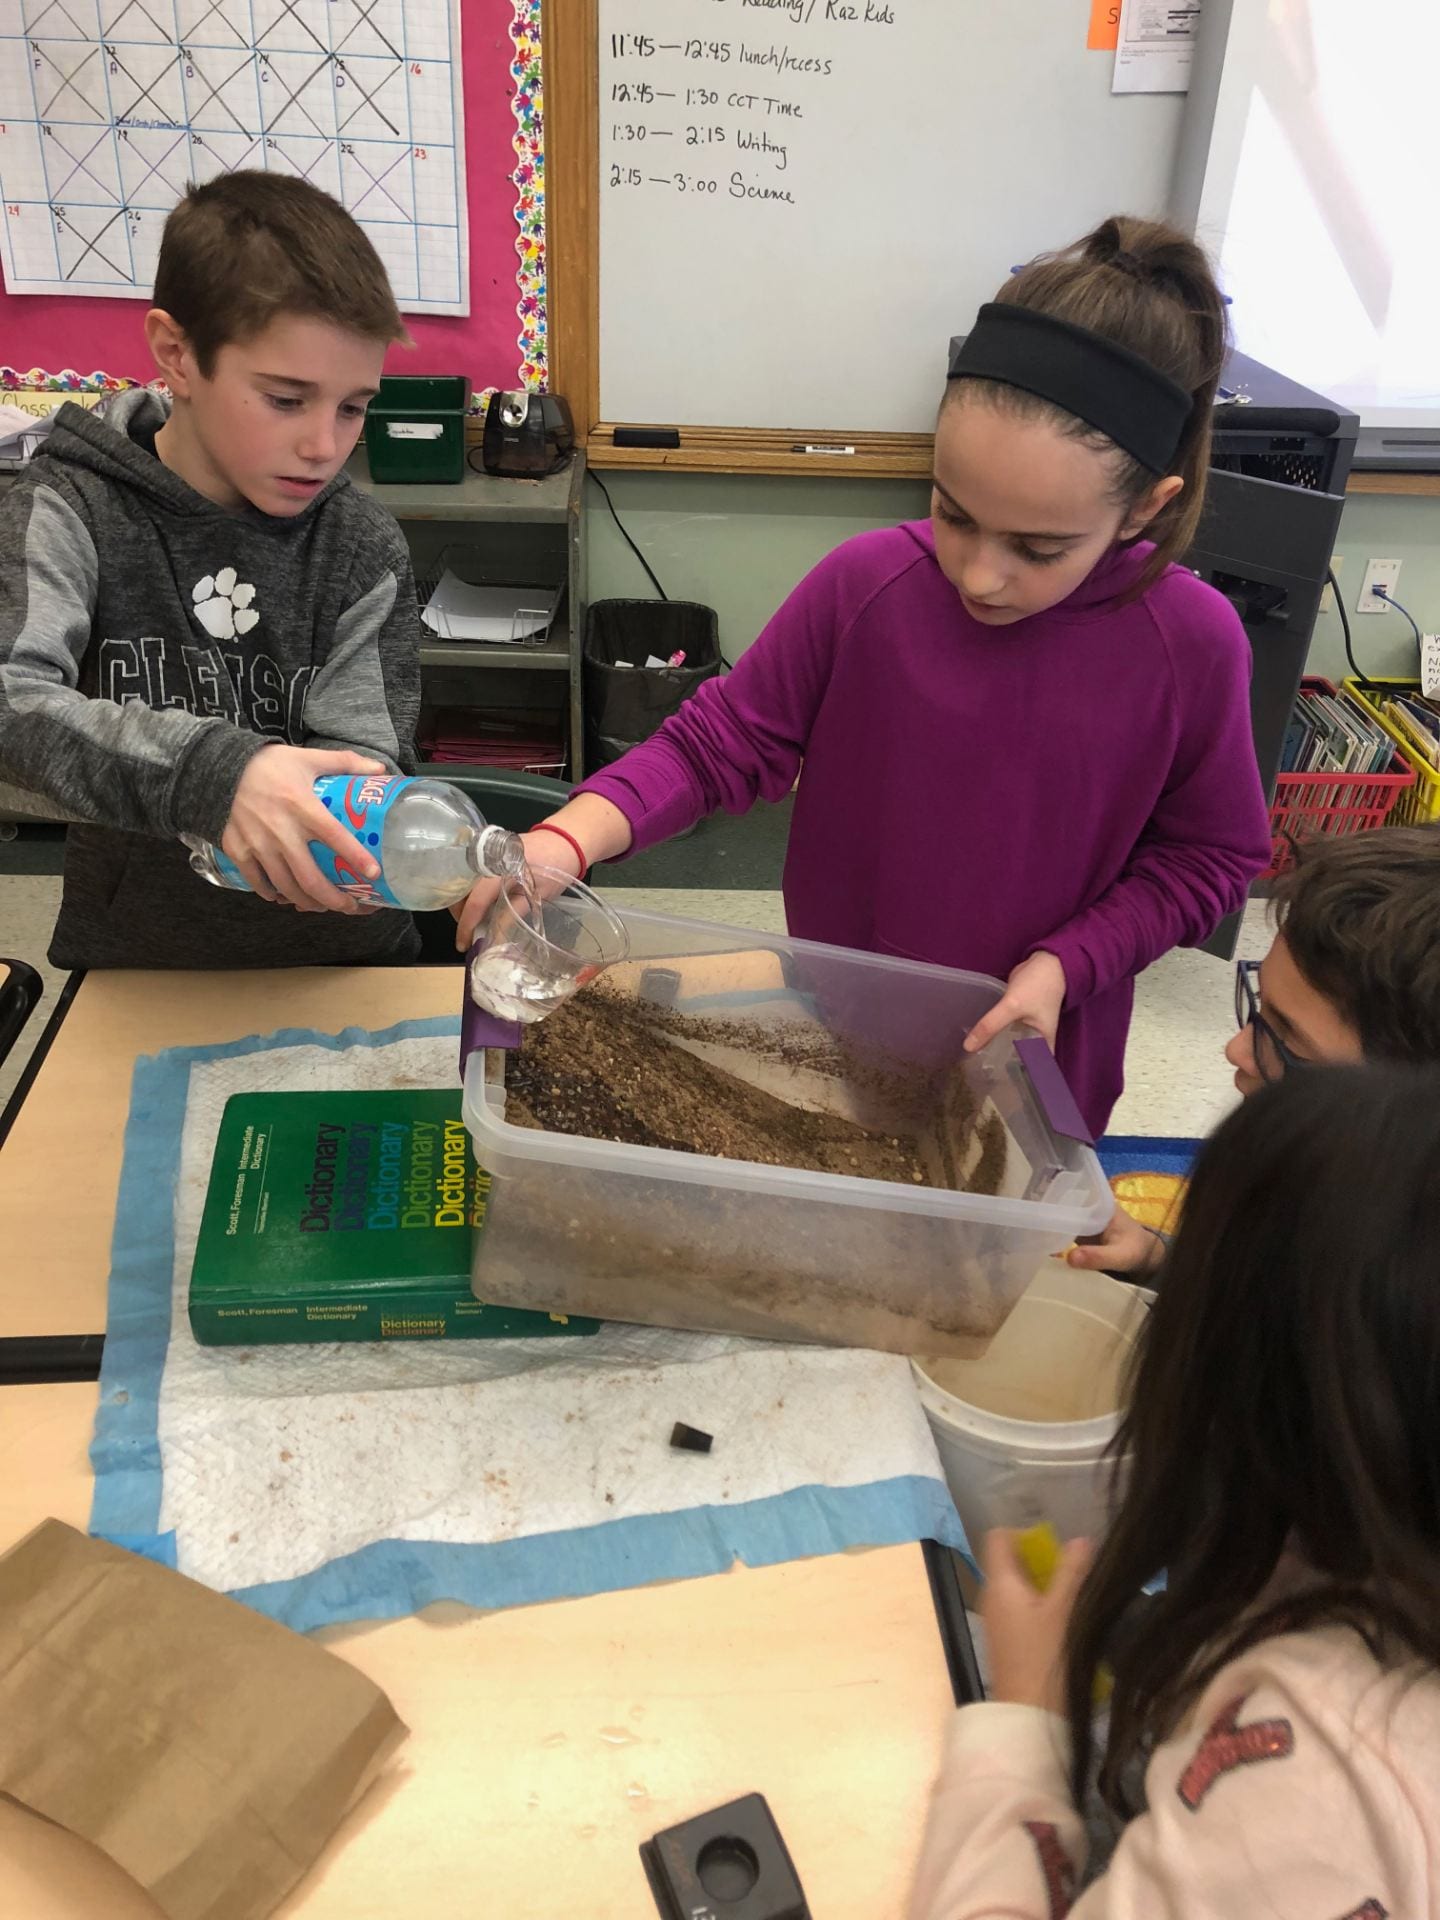
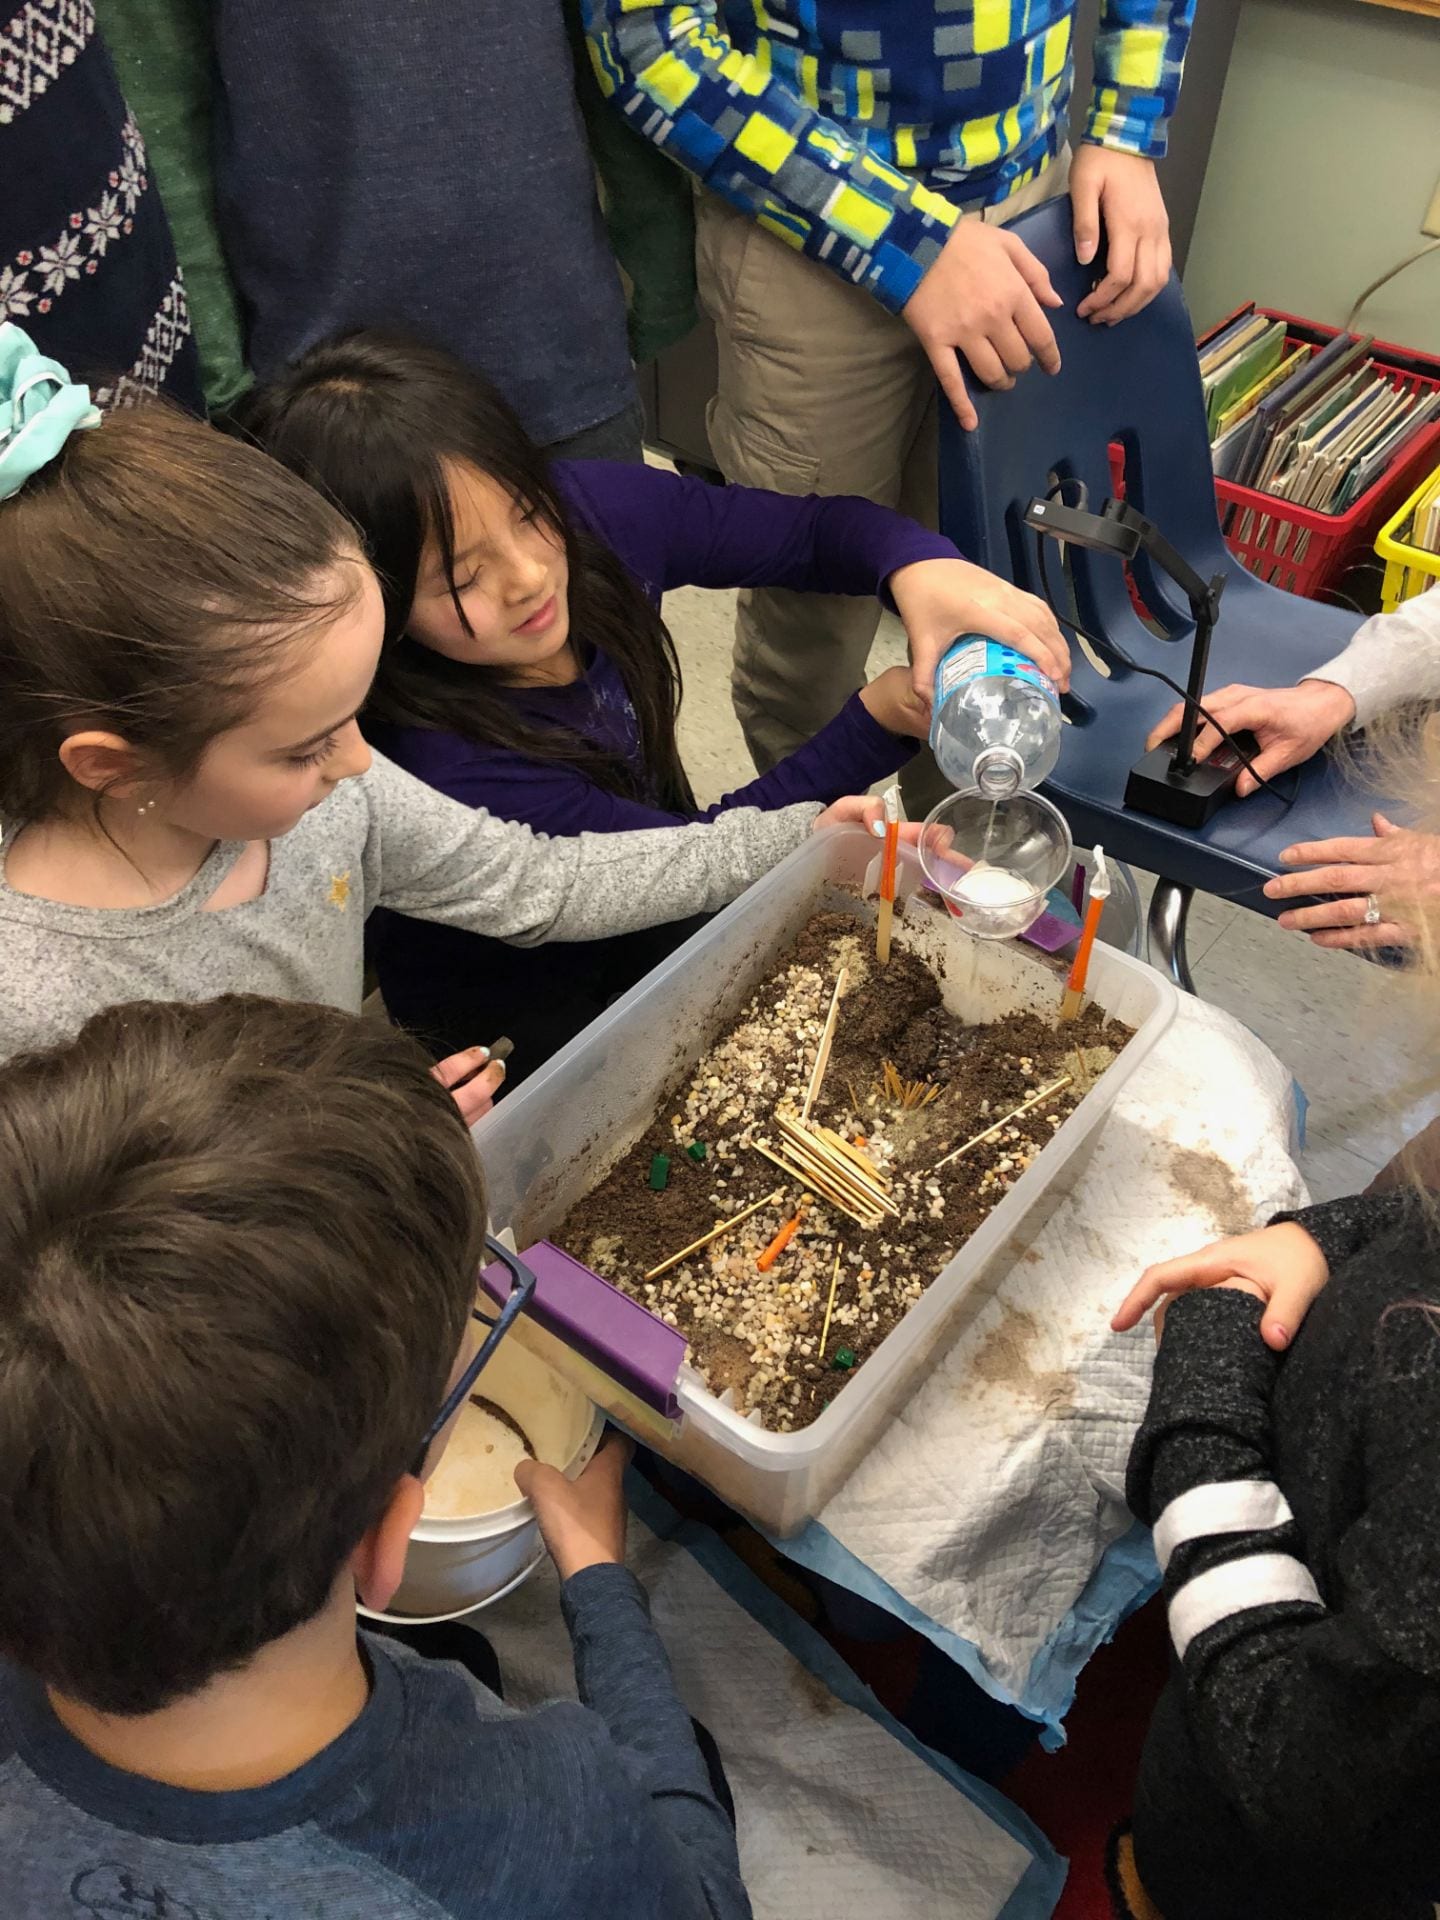
  1. Did your landscape function the way in which you predicted?

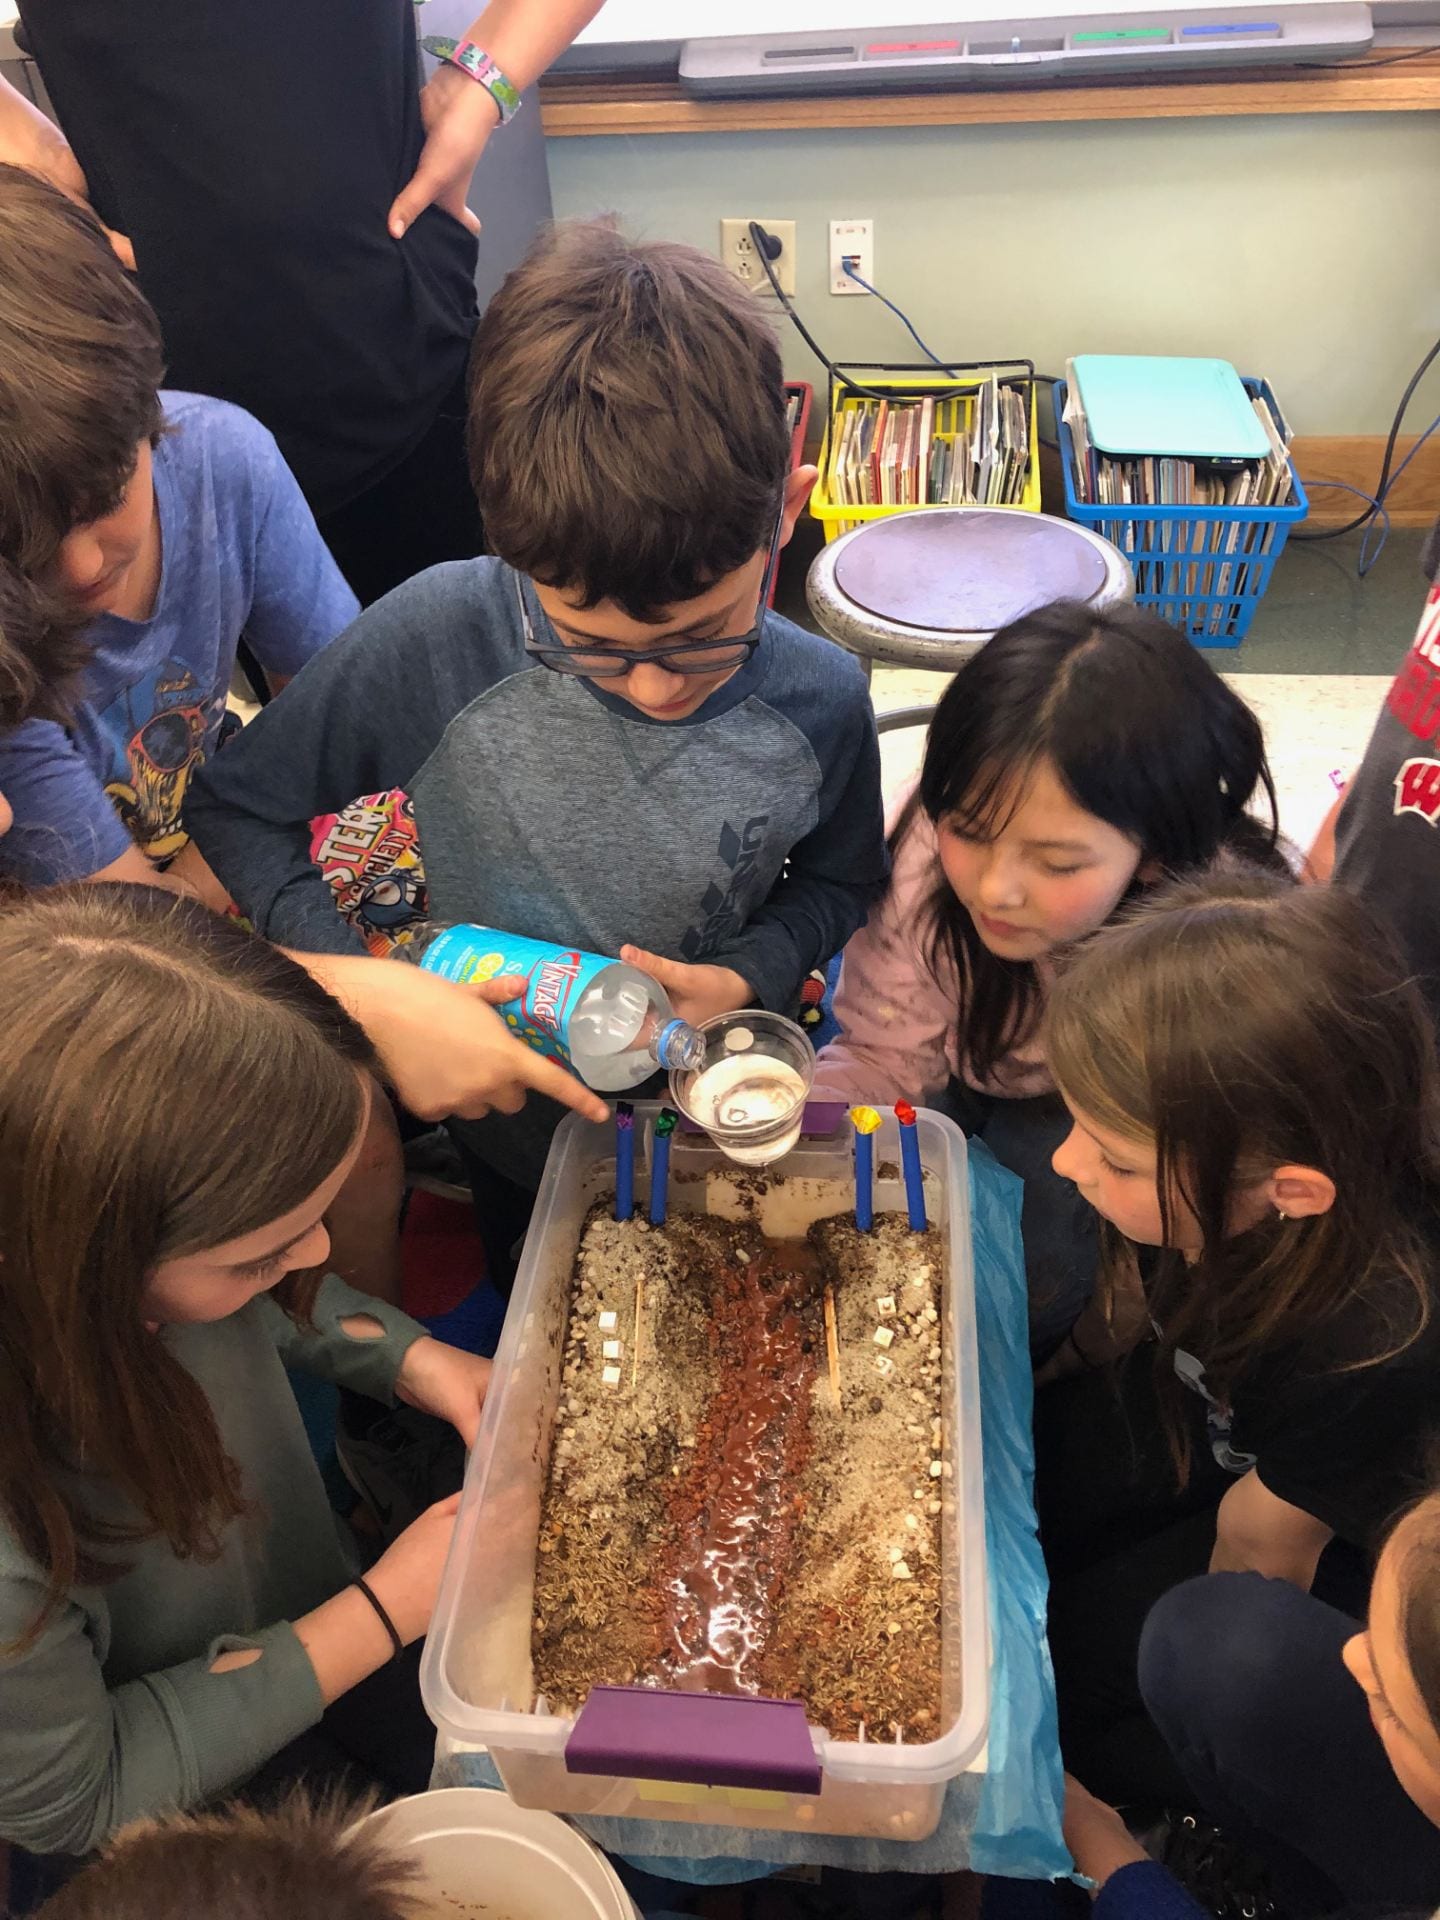
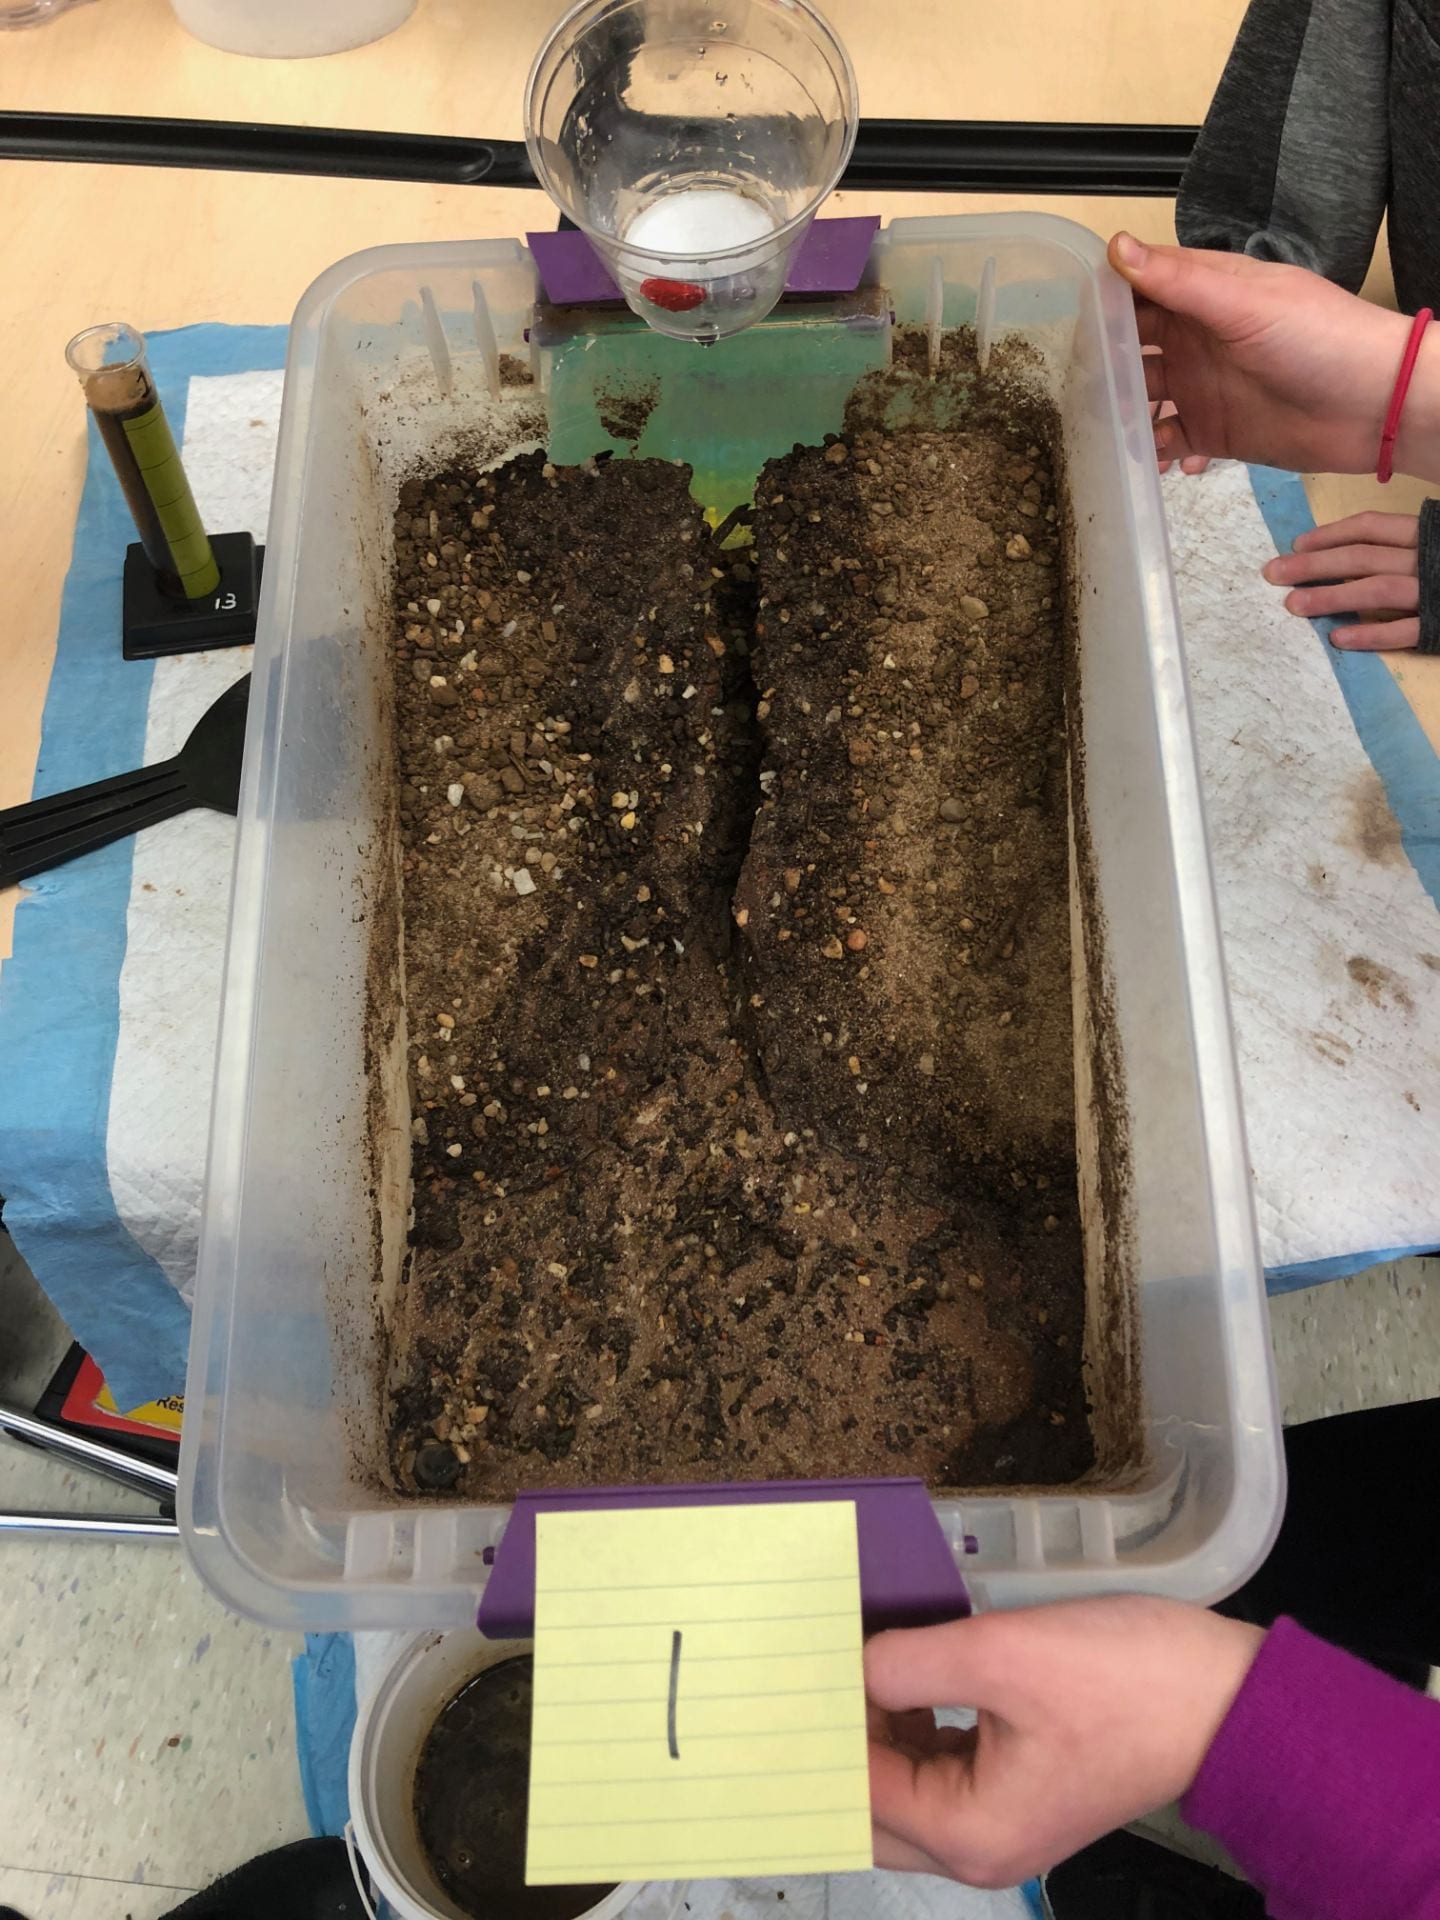
Yes it did. We think it functioned the way we predicted it to because we made the stream wide and deep.

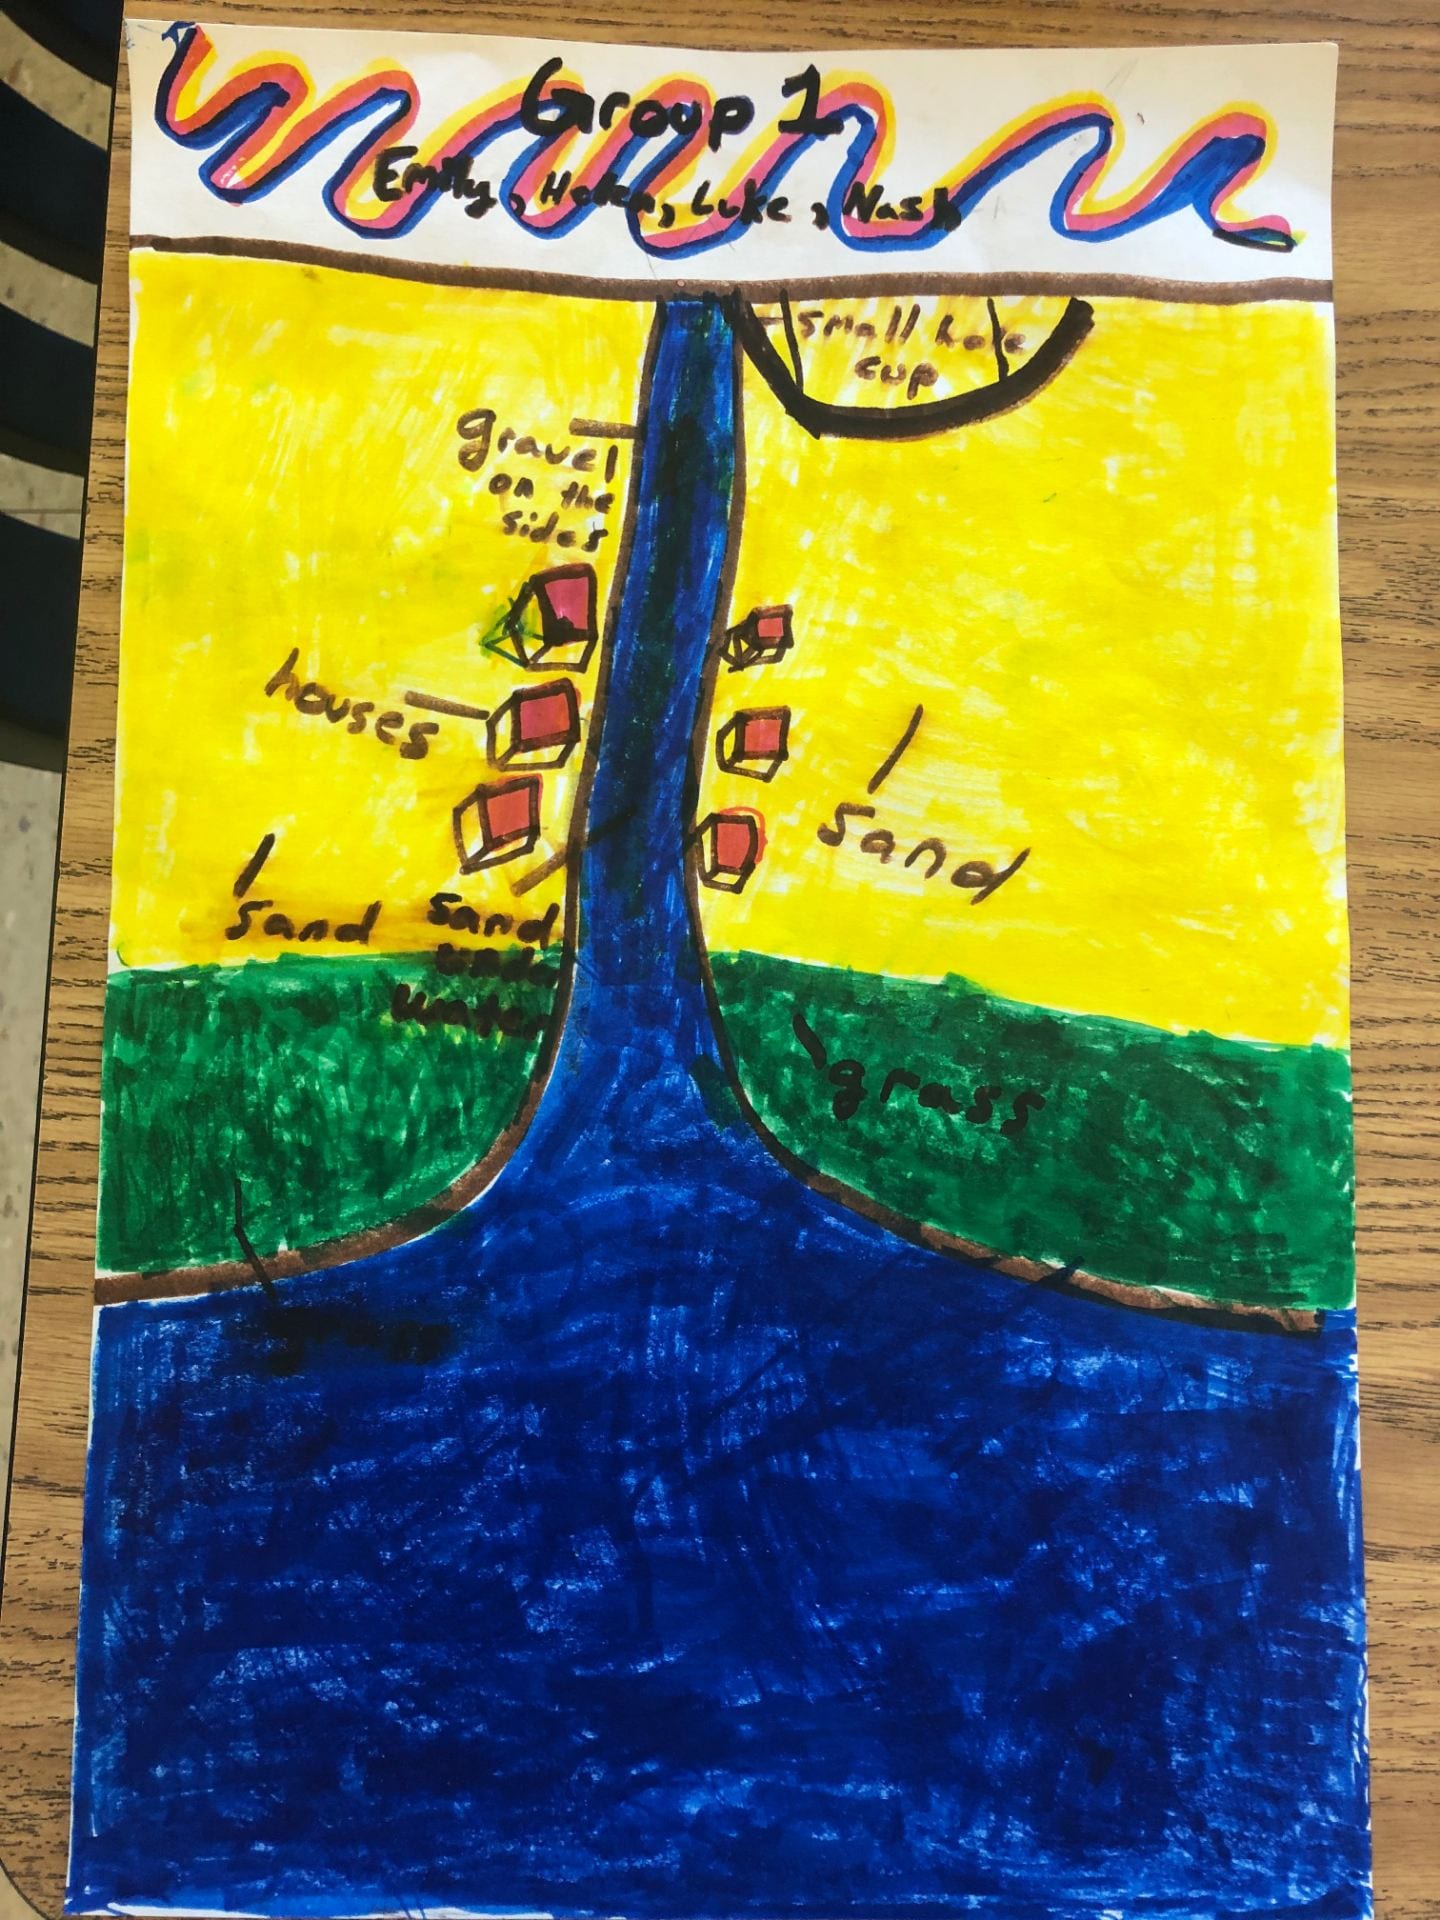
2. Consider your results, would you still locate your houses in the location you originally selected?

Yes

3. If you were to change your home site, where would you build the houses and why?

I would keep it the same

4. If you were to build your landscape again, what would you do differently?

I would ask for more time, and with that time I would use it to have more time for the grass to grow.

5. What have you seen outside of school that reminds you of something we studied in the unit? Explain your answer.

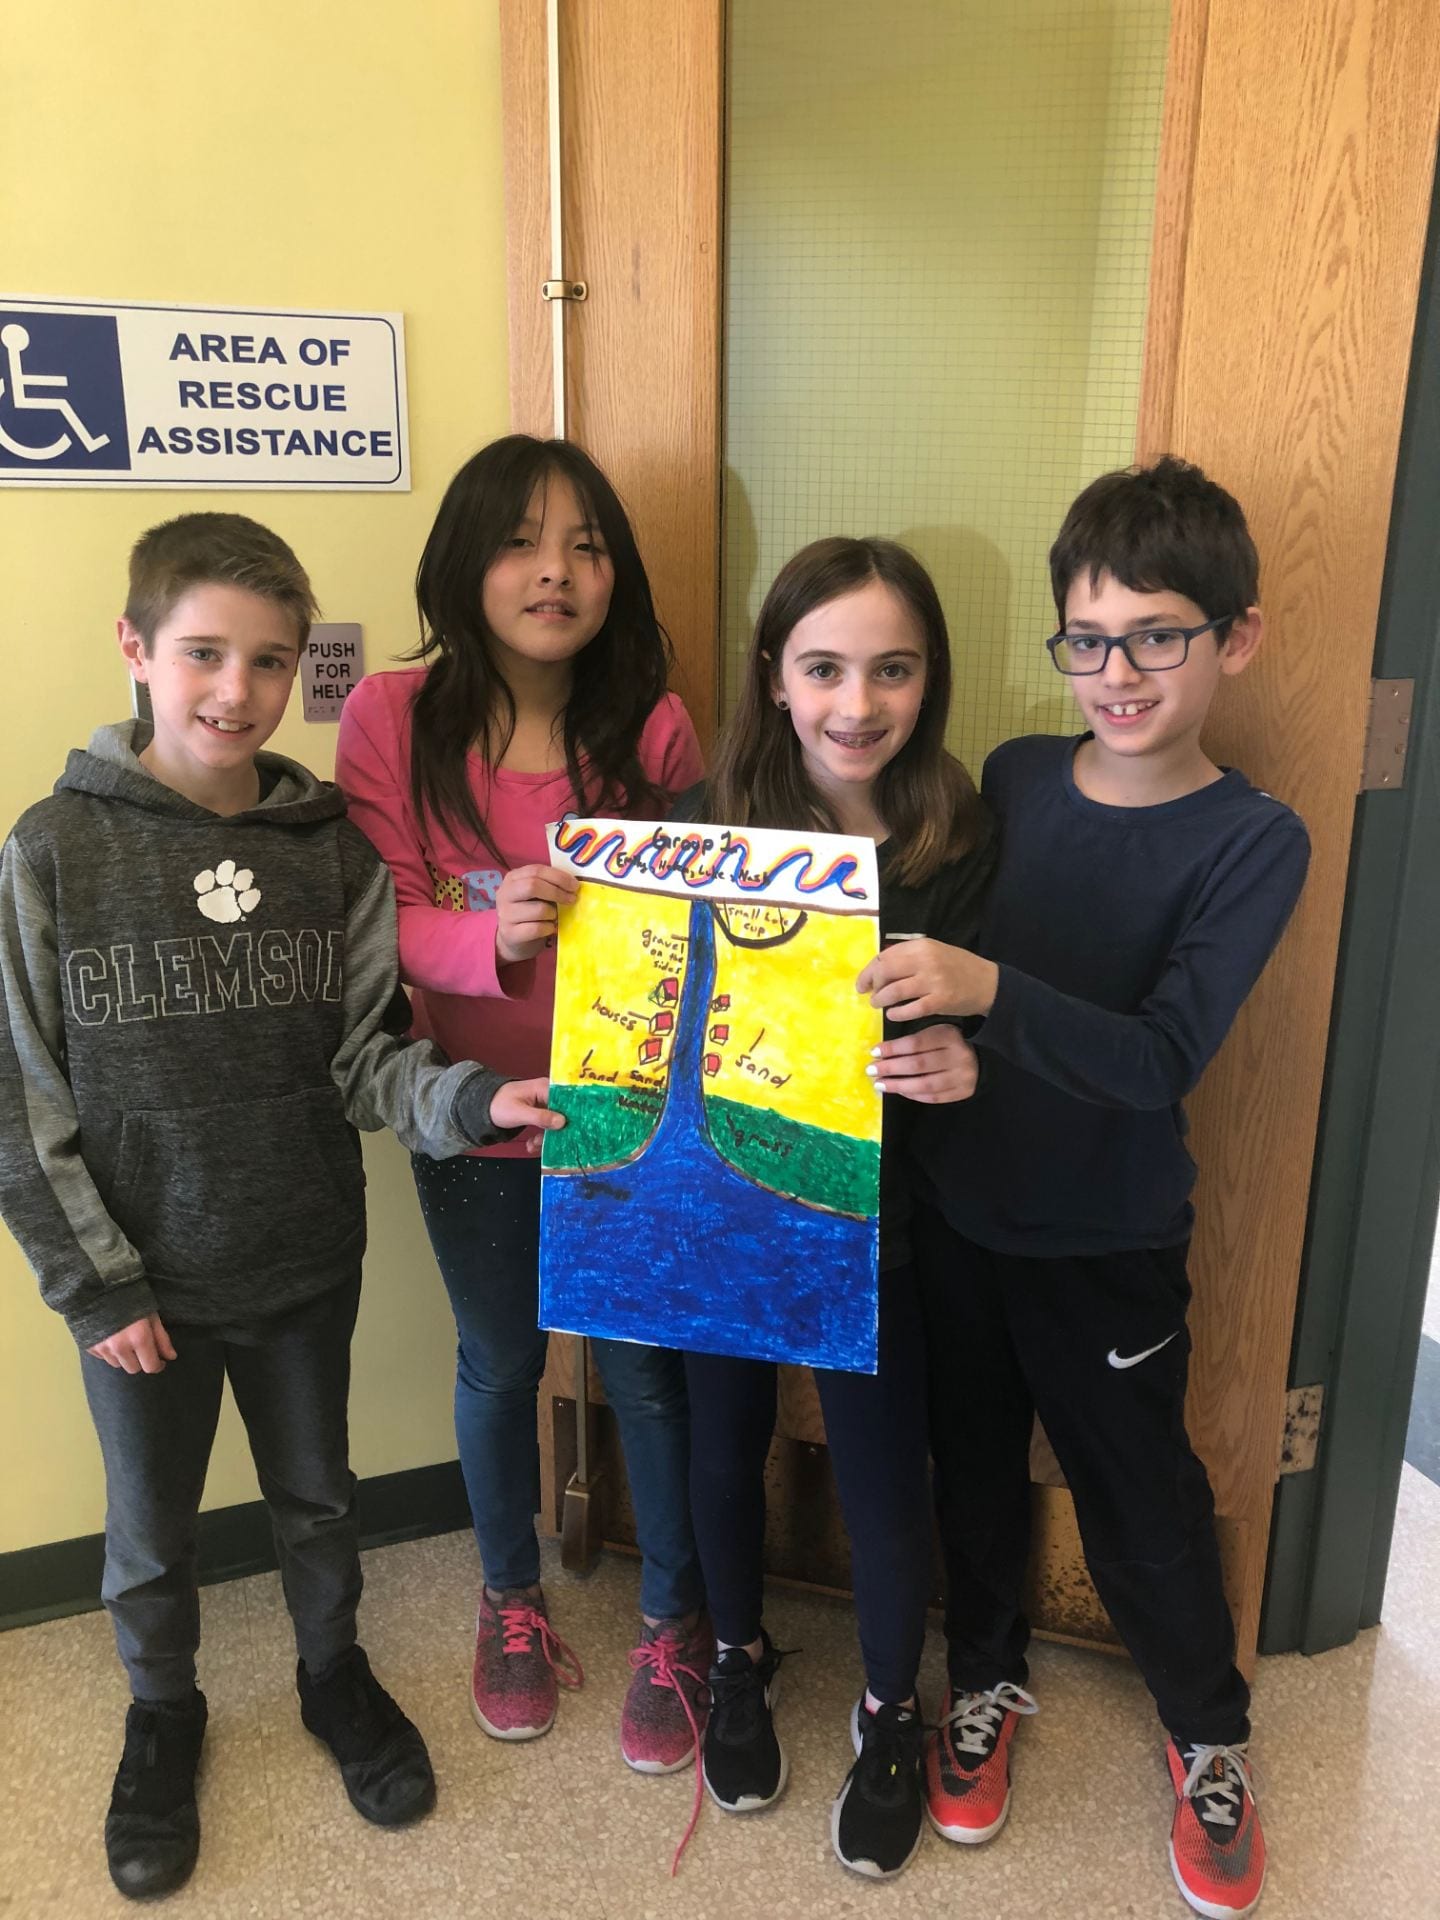
My grandparents’ house is on a lake, so it helped me get ideas of  what we should do in this lesson.

6. Briefly write about how factors like soil type, slope, vegetation and flooding affect where it would be safe to live and to built a home. Use what you have learned throughout this unit to explain your answers.

The vegetation (grass) will hold the soil, so there is less erosion.  Different soil types will do different things. For example, sand may absorb water wilt the water with gravel would go into the spaces in between. A flat land opposed to a slope will make the water flow slower.


Science Lesson #14

In this science lesson, my science group/table (Luke, Nash, Helen, and me) designed our landscape. In this landscape we’re required to design a landscape that will reduce the amount of erosion caused by the stream on the riverbanks, protect the homes from the running water, providing the houses with a view of the bay/stream, and make the landscape pleasing to the eye.

  • In our design, we used a blue hole cup (small hole cup) because the flow of water will be slower.


  • The materials that our group decided to use are gravel, plants (grass), and sand. We thought that the grass would help the dirt stay in place, the sand would absorb the water, and the gravel was for decoration.


  • Our idea for where to put the position and location of the homes were next to the bay/stream. We wanted the “owners” to have a good view.


Prediction:


  • We predict that the water will flow slow and straight down.


  • We hope the water flow won’t affect the home sides


  • We hope the land won’t flood


Science Lesson #13/ Lesson #12 and Lesson #13 Comparison


Lesson 13:


Today, my class and I grew our grass and used it to test “What would happen if we used grass in our science experiment?” The lesson was the same as lesson 12, but this time we planted grass.


  • How did plants affect the way water flowed on the sloped land?


Since the plants have roots, when the water flowed, the roots held back the soil. This caused for there to be less sedimentation in the sediment.


  • How did plants affect the way water eroded the soil?


The plants didn’t allow the water to erode the soil because the roots were holding on to the soil.


Lesson 12 and 13 Comparison:


  • Look at your two cylinders from lesson 12 and 13. What do you observe about the contents of the two cylinders?


The graduated cylinder from lesson 12 had more dirt in it, than in the graduated cylinder from lesson 13.


  • What conclusion can you make about how plants affect erosion and runoff?


The plants’ roots hold back the dirt which leads to less dirt in the sediment.


Science Lesson #12

Today, my class took down our dam from 1 week ago. Now, we are onto our 12!!!! Lesson. More like 14 because of lessons with part 1 and 2. In this lesson, we were going to do the same experiment as science lesson 5 blog but with a twist. In this lesson we used a dictionary to make the stream channel on a slope.


  • In what ways did the water change the sloped land?


In the stream channel, the land eroded and made a big canyon.


  • How did the sloped land affect the way the water moved?


I noticed that the water flowed faster with the sloped land.


  • How does slope of the land affect the amount of soil the water carries?


I think the slope of the land affected the amount of soil the water carried because the soil eroded and dropped in into water like an avalanche. The slope caused the soil to slide.


Science Lesson #11, Part 2


Two days ago, my table tested our dams from lesson 11 part 1. My group was the first team to start. Our dam and town were successful. The dam blocked the town from flooding.


Questions:


How did the dam affect the direction and flow of water?

The dam in our stream table affected the flow of water because of our straw under the dam. The straw under the dam directed the water into it, and under the dam to the bottom of the stream channel.


Did each dam produce the same results? Why or why not?


No. Not each dam produced the same results. From the placement of the dam, to the placement of the houses. They were all different.


Did the placement of your dam protect your town from flooding? Why or why not?

I think the placement of our dam protected the town from flooding. I think this happened because the dam was right before the houses.


Think about how the rocks and the hills affected the direction and flow of water. In what ways were the results with the dam the same? In what ways were they different?

The dam was the same to every team because it was built by stacking craft sticks on top of one and another. The dam was different because in each dam, the dam was placed in a different spot. Most, but not all, of the teams were successful.


If you were to design, build, and test your dam again, what would you do differently?

If I were to build my dam differently, I would keep it the same, but just for extra protection, I would make the dam a little higher.


Science Lesson #11, part 1

This afternoon, my class designed a way to prevent the water from flooding the town of Gaveo. The town of Gaveo is what we called the town we were working with.

In this lesson, the first step was to use a piece of paper to plan what we thought the best design was, so the town Gaveo will not overflow.

The materials that we used were 20 toothpicks, 15 craft sticks, a jumbo straw, gravel, and sand.

In my design, I chose to make the dam in front of the town. The toothpicks went in front of the houses, and the straw was cut in half and put in the middle of the stream channel.

Then, I was planning to put the gravel around the floodplain. Finally, my table came together and combined our ideas, to make one group idea.


Questions:


  1. Describe how your team came up with your idea.

My table talked about our designs. My table had about 4 ideas before coming to our conclusion. My idea included the dam before the town and the straw before the dam. In Nash’s idea he planned for the straw to be under the dam. To choose the final design, my table reviewed what would happen if we used one’s idea.

            2. Describe your design.

My table used all the materials. Our design looks like a hot wheels track. There is the dam, with a straw under it. My classmate Luke made straw decorations with the straw and the paper the straw was in. It doesn’t look like our original plan, but I think it will work as well.

            3. Predict how your design will work. 

I think the river will flow until it gets to the dam. Once it flows to the dam, the water will go down the straw.

           4. Rate how well everyone worked together.

Out of 5 stars, I would give my team a 4 stars. Everyone got along, except that one of my classmates Helen didn’t participate that much. For strategies, my table did one thing at a time. For example, Luke would put in the gravel, and I would put the sand in. We didn’t have any disagreements.

Science Lesson #10


         For today’s lesson, my class wanted to know, “How would the land affect the water?” To find this out, my class had our 10th experiment. In this lesson, my classmate made a slope out of dirt. In addition, my other classmates and I added 3 rocks and 1 to 2 hills. The hills were made out more dirt. By doing this, it represented how the land (the rocks and hills) changes the way the water flowed.

          1) How did the hills and rocks affect the direction and flow of water?

         The rocks and hills held  the water. The hills and rocks also redirected it around them. After the experiment, my table’s stream table had different paths in the slope as the river reached the middle of it.

          2) How was the path of the stream in this lesson different from the stream in lesson 6 and lesson 9?

         I think this lesson’s stream table was different from previous experiments because, in this lesson we had a smaller delta. In addition, this lesson had rocks and hills, unlike other lessons.

          3) Did the water affect the hills? If so, how?

         The water did not affect the hills. Instead, the water found its way around them.

          4) What human-made features on land, other than rocks and hills, might slow down or change the direction and flow of water? Describe possible negative and positive effects of these features.

         Some human-made features such as buildings and houses, can change the direction of the flow of water. Unfortunately, if the water overflows, these buildings or houses will be on the floodplain and experience a flood.

Science Lesson #9, Part 2


           To start off lesson 9, part 2, my table got back our results from lesson 6’s and lesson 9’s sediment (run-off water). With the two sediment results, my table discussed what was different and similar with the two sediments, and the water and soil in the sediments. With what my table discussed, we went onto a 3rd page of a science packet, that my class was working on. On the 3rd page, there was a picture of a graduated cylinder. With the graduated cylinder, my class had to color in the graduated cylinder to match where the water level was, now that the water sat for a weekend, and where the soil was at in the real graduated cylinder that held the sediment. We measured the water and soil in milliliters.


Questions:


1) What effects does a large amount of rapidly flowing water have on the amounts of soil that is eroded? What evidence in you stream table supports your conclusions?

I think that the more rapidly flowing water you have will cause more erosion, and you will have bigger canyons and valleys. I can support my conclusion because when I look back to lesson 6 and lesson 9, I can see that in lesson 9 there are bigger canyons.

2) Using you record sheet, compare the deltas formed in lesson 6 and 9. How are they different? How are they alike?

In lesson 9, the delta was smaller and of to the side as opposed to lesson 6, where the delta was bigger and was more centered. For how the lesson 6 and 9 delta’s are the same, I think that they are alike because they are both like a triangle shape.


3) How can rushing water alter land?

Rushing water can alter land by eroding the land.


Science Lesson #9, Part 1

This afternoon, my class had our 9th lesson in science. Today, my class used a second cup, the red cup. The red cup had a bigger hole in the bottom, compared to lesson 6. Nash was the water pourer, and I was the bucket holder. I had to kneel under the hole in the bottom of the stream table, while Nash poured the water into the red cup. Once Nash poured the last drop of the water into the cup, Helen squatted down to the hole in the stream table to catch 50 ml of run off water in a graduated cylinder. Lastly, my group got our packets back. In our packets we had to color what we saw in the stream table, and what we saw in the graduated cylinder.

Blog Questions


  • How did the water in today’s stream table change the land. Why do you think this happened?


The water made canyons in the land. I think this happened because the water eroded the land.


  • How were the changes in the land in today’s stream table different from those in lesson 6?


The cup we used in this lesson had a bigger hole in it as opposed to lesson 6. This made bigger canyons in this lesson compared to lesson 6.


  • How were the  changes in the land the same as in lesson 6?


In lesson 9 and lesson 6, you could see many parts of the river (delta, mouth, head, floodplain, etc.)


Science Lesson #7

Today was the 7th Time doing a science experiment. In this experiment, we wanted to model what a river is, and rivers’s parts. To do this we used our materials from previous experiments. I was the bulldozer. I had to bulldoze the soil from last experiment. Then, my friend Luke poured in the water through a cup with a hole in it. It flowed down the soil like a real river would. My group got to observe the different parts of a river. We noticed the head, mouth, delta, canyon, and stream channel. Lastly, our aide Ms. T helped my group put on a plastic wrap. My group got dry erase markers to draw what we see in the river model on top of the plastic wrap.

         1. Describe your group’s drawing. What does it look like? What does it look like? What parts of the river were you able to identify and label?

In my group’s drawing, we labeled and drew the stream channel, mouth, head and delta. It was hard to draw the canyon.

           2. What strategies did your group use to make the drawing easier to understand?

The strategy my group used was to look inside the model river and trace what we saw.

           3. How does this activity help you to understand the parts of a river?

It is a model of a real river (only not with every part of a real river).

          4. Compare and contrast your groups drawing to another group’s drawing.

I think other group’s drawings were more complex. They had lines everywhere in their drawing.