Reflection #2
Yay! We did it! We used 6 strip magnets, 3 short, 3 long. We placed the magnets on the side and the middle. It finally worked yesterday but it was hard work. Knowing the properties help a lot because you have to know that like poles repel and unlike poles attract. You also need to know how to increase the magnetic field by adding more magnets.
What failed along the way was on the first day it totally failed and nothing worked because the magnets were sticking together and there was a space beside the magnets. I learned from the mistake to keep the magnets away and prevent them from flipping over. I changed something by moving the track over so it touches the side.
I learned about the EDP. What we learned was that nothing is perfect on The first try. I also learned that the EDP never ends so we have to keep going. It also inspired to keep me going and not giving up so I succeed.
I also learned that teamwork is important because you can’t complete anything without teamwork.
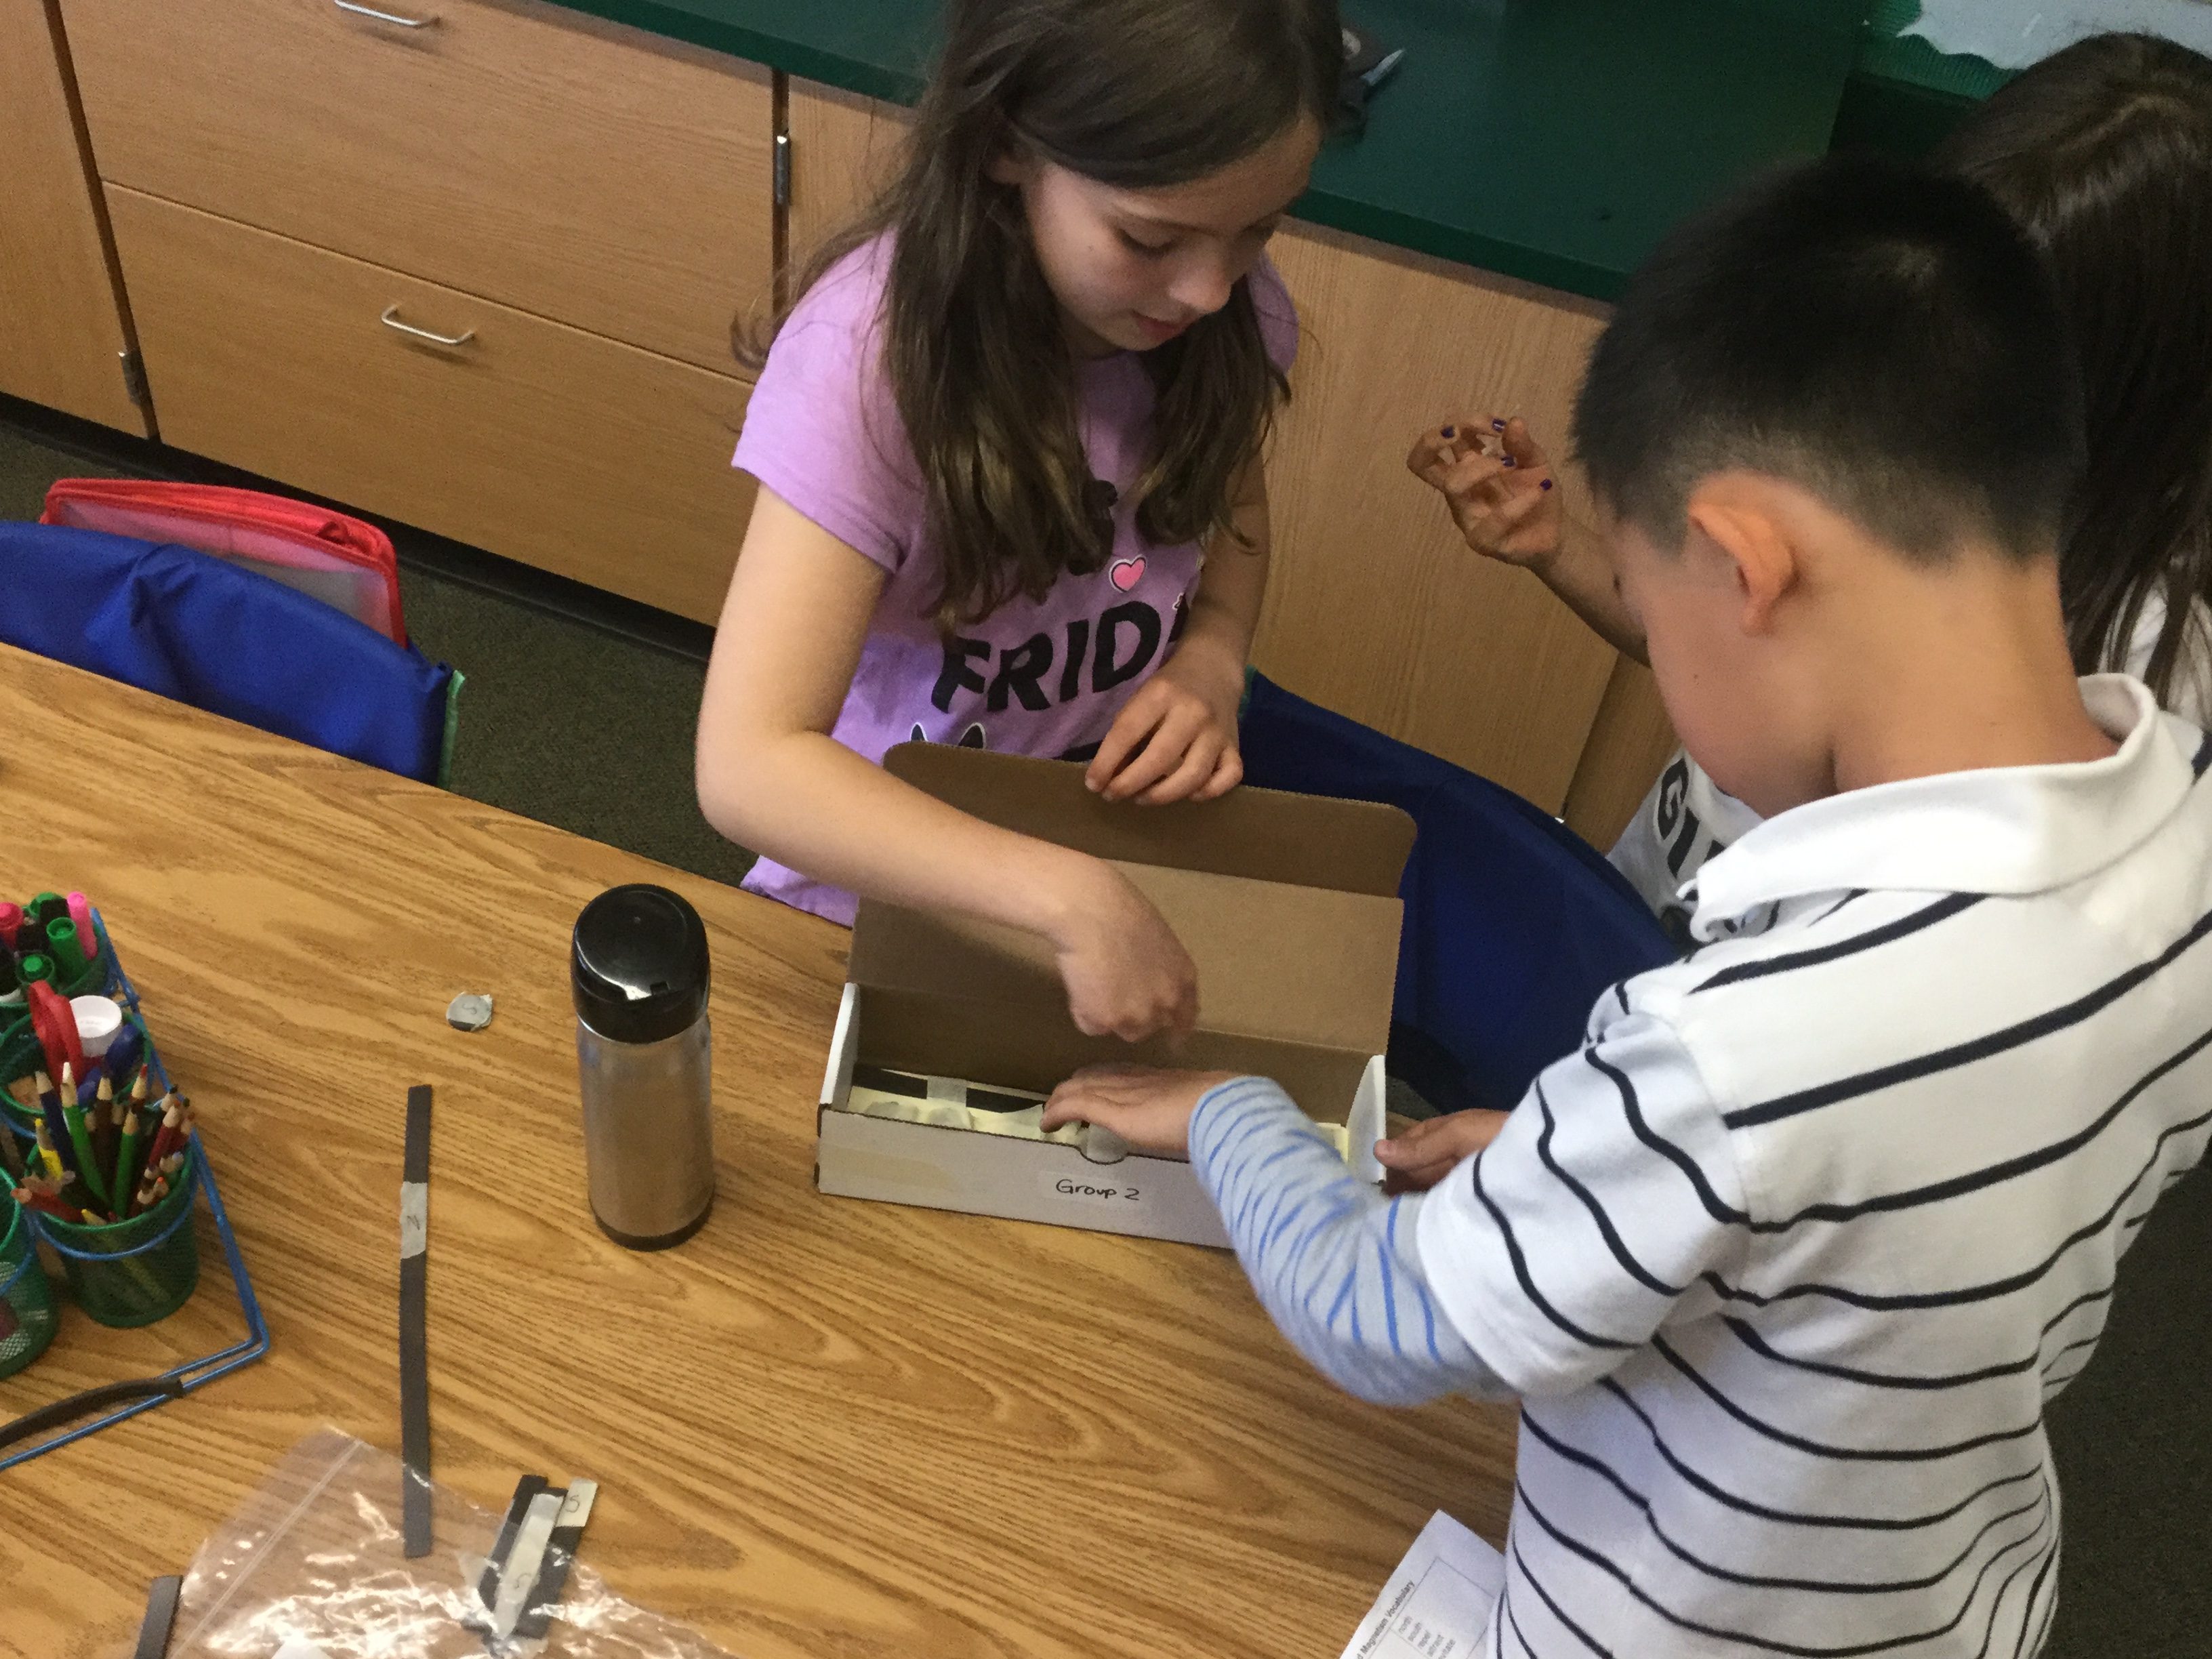
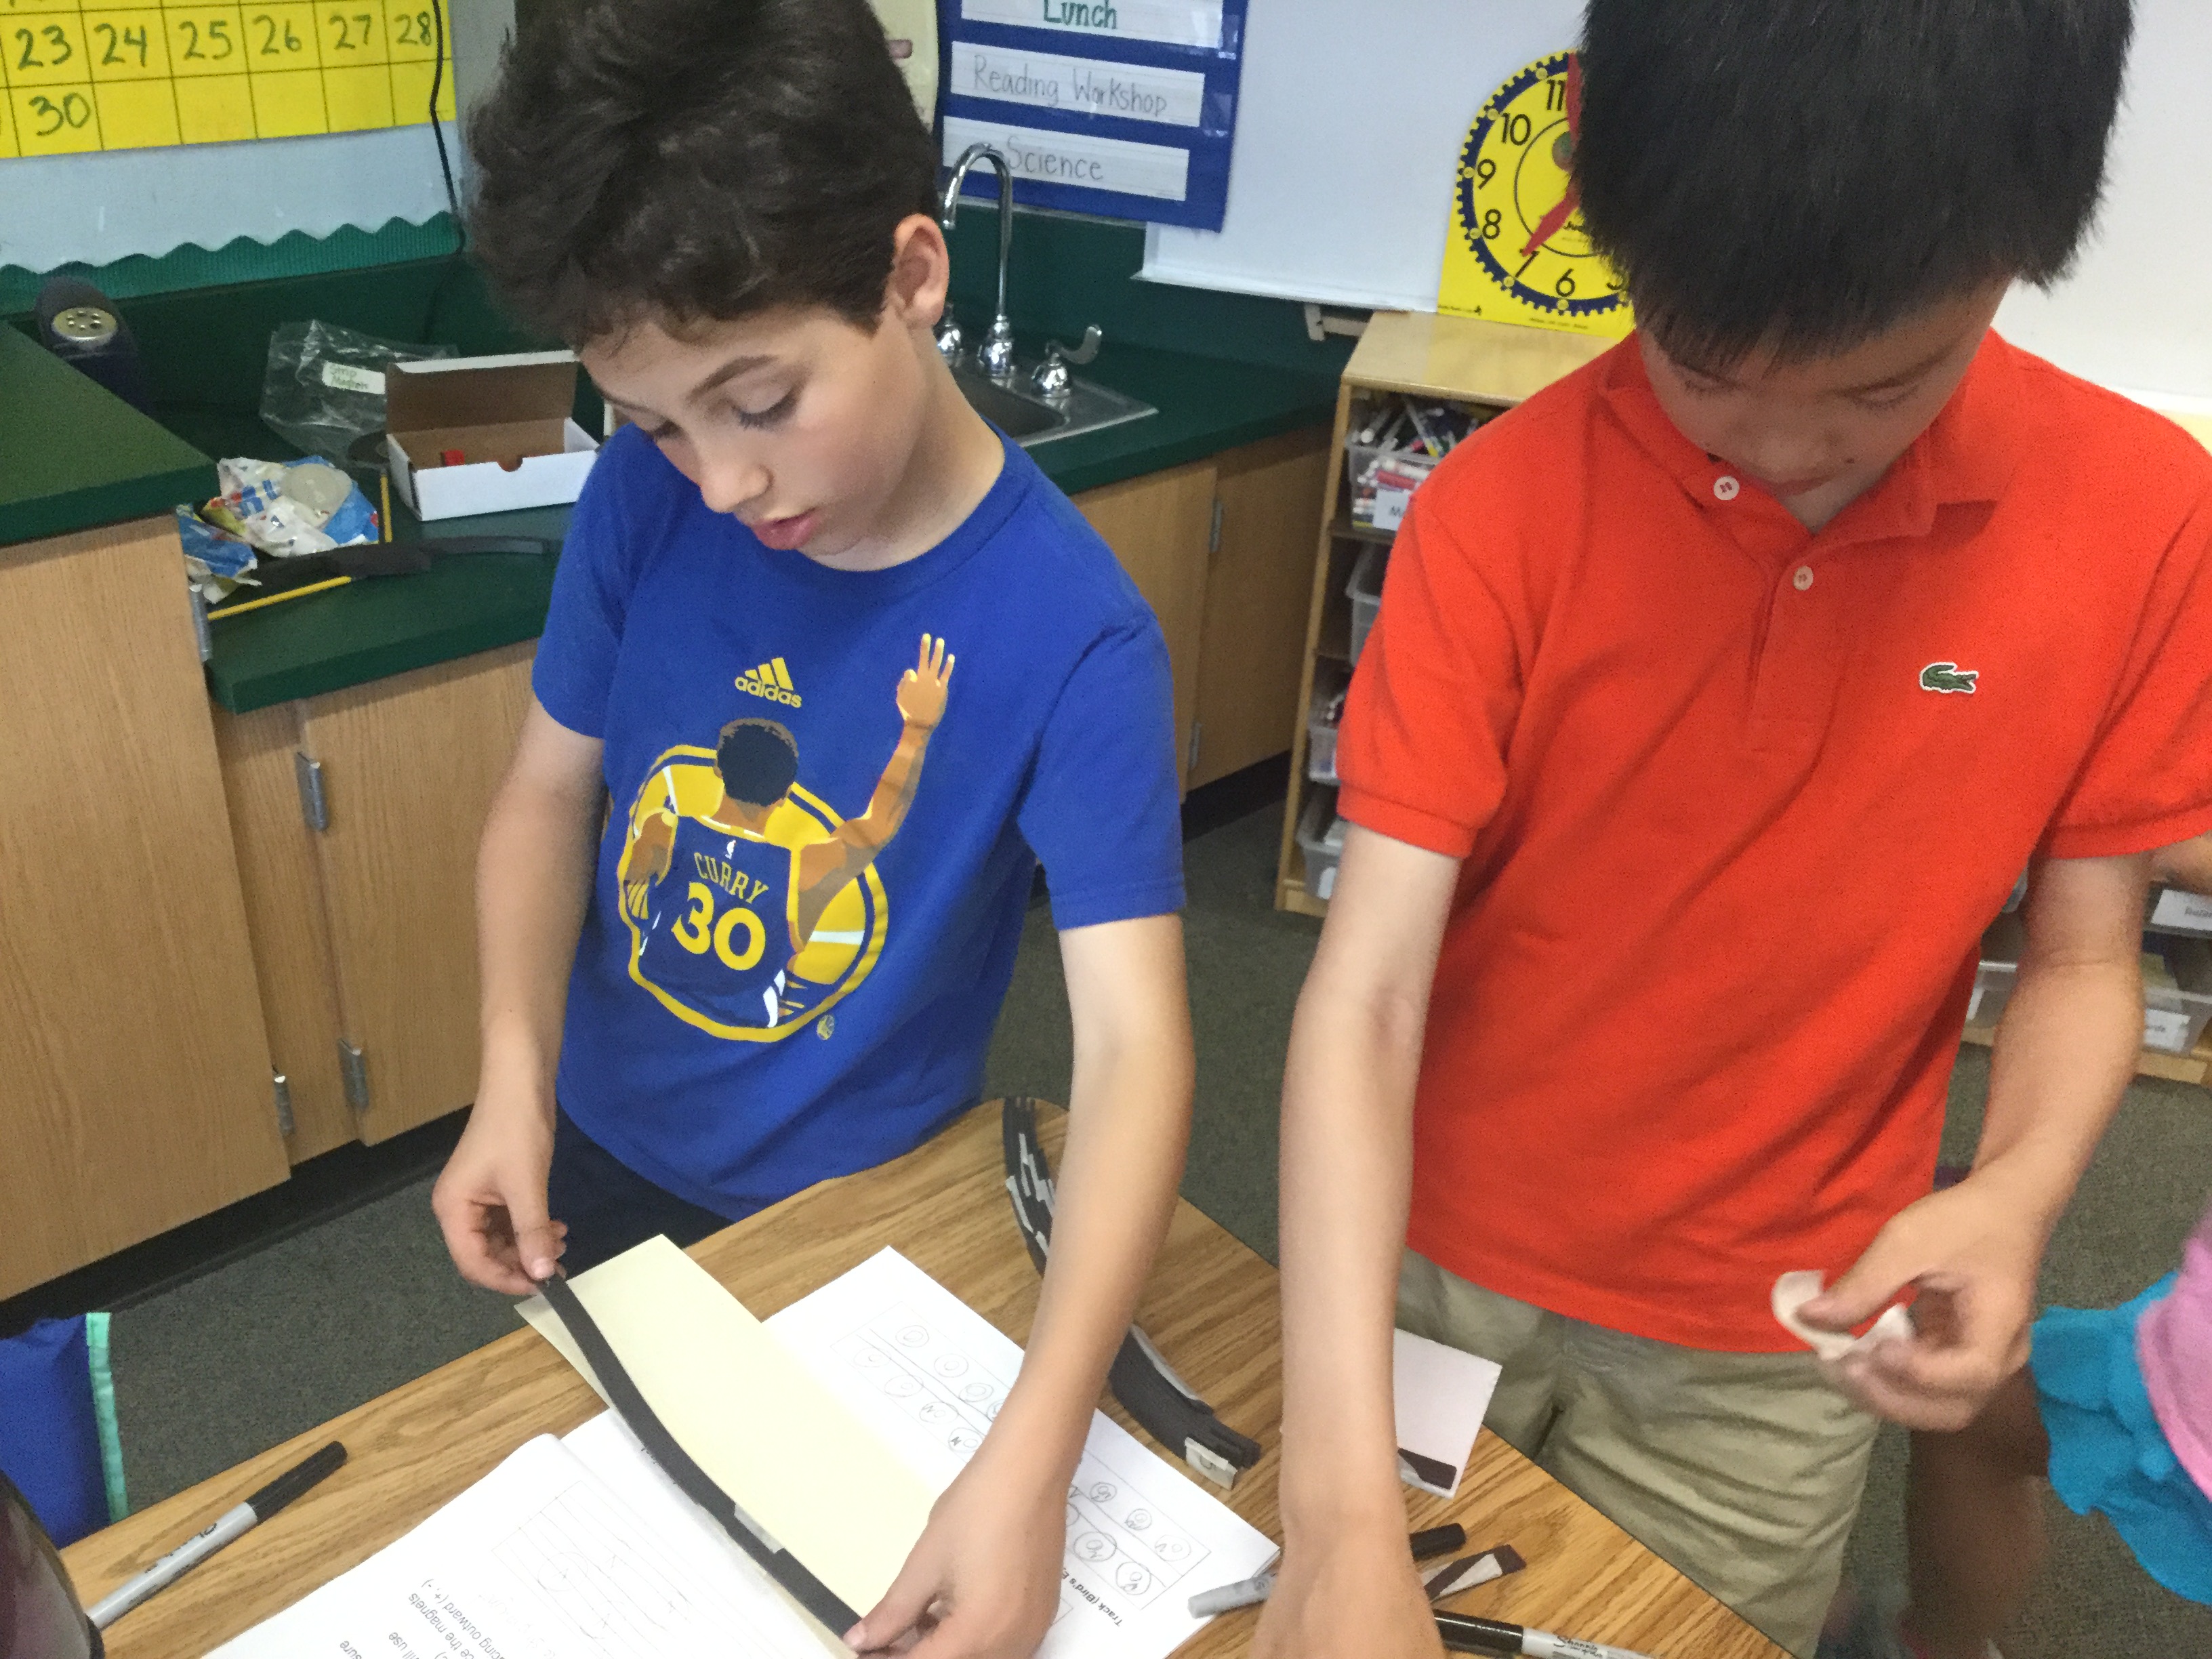
My team working towards success
This is the collage of our process
I love working on our maglev train!