Blog Post #7

In this blog post, I will be talking about the challenges and the easy parts of building a flashlight.

Challenges:

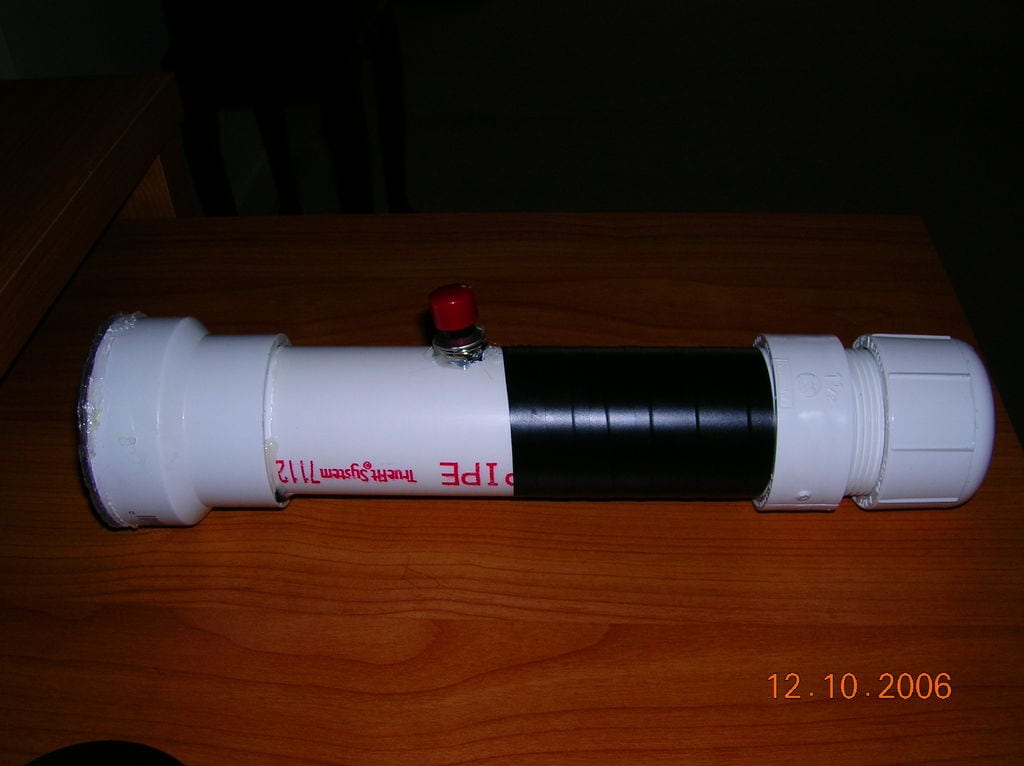
  1. Making the plan – I thought that making the plan was pretty hard because this was where the whole thing started and you had to make a lot of decisions about angles and circuits.
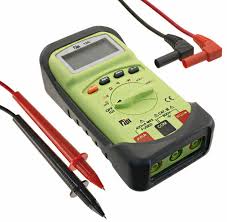
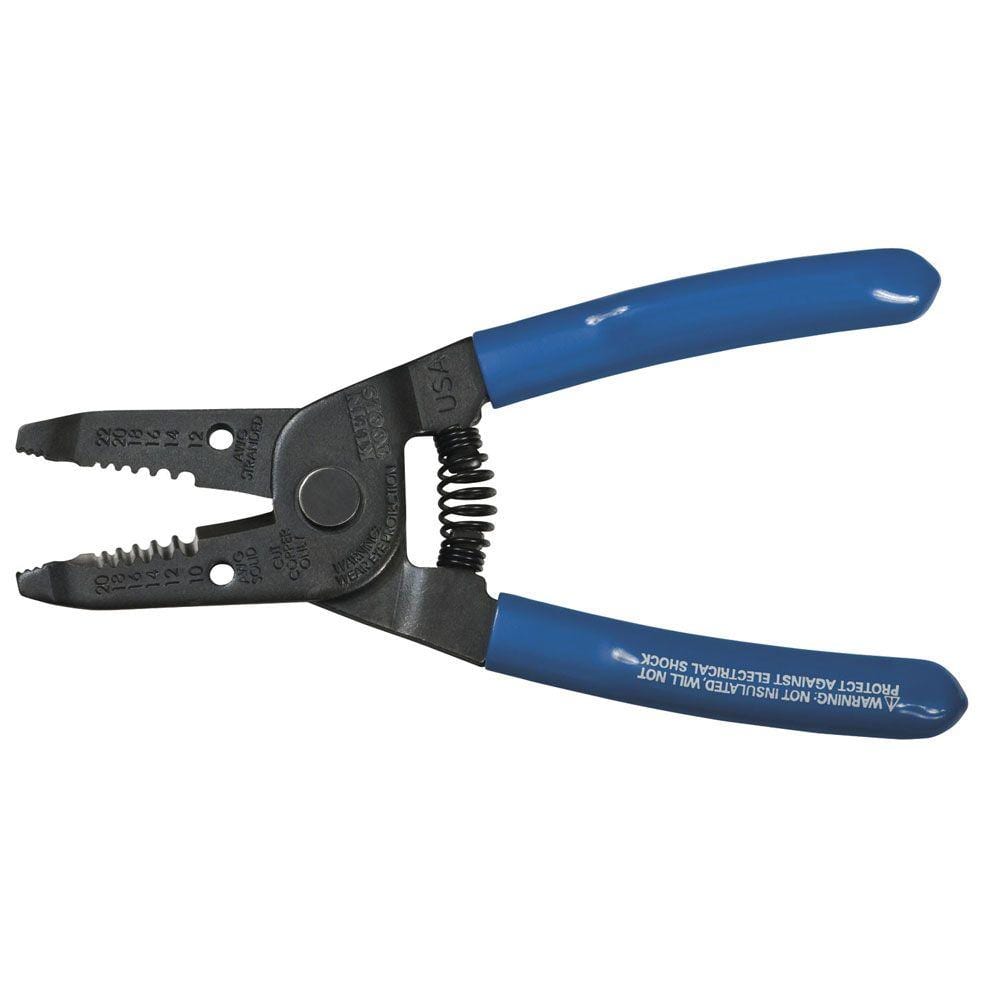
  2. Making the circuit – Making the circuit involved soldering, and I tend to get scared of heat being too close and soldering can melt hair. I made sure to stay well away from the soldering iron because if my hair got melted, I would never see the end of it.

Easy Parts

  1. Drilling holes – Drilling holes was very easy because there was not as much danger as soldering and I didn’t need as much precision as soldering.
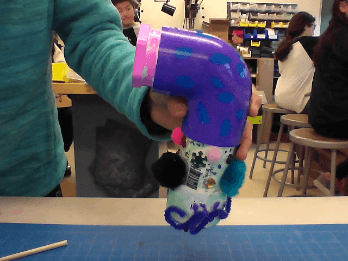
  2.  Decorating – I love decorating (as you could see in my last blog post) and I might have decorated too much, but I loved that it made flashlight building more fun than if we had to keep them all plain.

Thank you and see you in my next blog post! 😜

Blog Post #6

I have finally finished my flashlight! It took a lot of work to finally finish it, but here it is…

I am really happy and in the next blog post, I will talk about some of the challenges and things that were easy… Thank you! 😆

Blog Post #5

Today, we drilled holes into our flashlights. We drilled these holes with a drill press:

We also started decorating our flashlights with gems, Pom poms, and Sharpies. My flashlight’s plan was already drafted and I think that this helps me a lot because without the blueprint, I would be very disorganized and I do not think that when building a flashlight, this is good. I also think that I always had something to come back to if I couldn’t remember what I intended to do.

Blog Post #4

We are in hte middle of making flashlights! Mr.Calvert told us we had to make a blueprint for making the flashlights. The materials that are most likely going to be used are PVC pipes, wires, a switch, and an LED light. The flashlights are supposed to be waterproof. They are supposed to look like this:

I am very excited to do this and with a little bit of help, I will make a great flashlight! 😄

Blog Post #3

Today we built circuits and I thought it was really fun! here is a picture of my circuit:

The battery is connected to two wires. These wires are going to then connect to the switch and then there is another wire that will connect to the light bulb. Then, the light bulb would go on. I had a lot of fun and even though it took some help and a lot of time, I hope I will build a circuit later on! 😊


Technology – Post #2

Today we learned about circuits and how they work. I found this very interesting, especially when Mr.Calvert told us to go to www.nearpod.com for our daily “do now”. Nearpod is a website that Mr.Calvert introduced to us at the beginning of tech. This time, he gave us another link to a website which gave us a menu of things like batteries and wire. He wanted us to try to make a circuit before he explained it to us later on. WHat I found interesting about ht website was that we could build a circuit on the computers just like we could build a circuit in real life, just a lot easier and a little faster than building a circuit in real life.

We also learned a little bit about what we are going to be doing tomorrow. THere were things in the tray in the middle of our table like these:

We had also learned how to use wire cutters and this is what they looked like:

I think that I am going to enjoy building circuits  very much and hope to be doing it tomorrow on the thirtieth of November! 😜

Technology – Post #1

Hi! I am going to tell you about my first day in the tech room. It’s so amazing! There are lots of different tools in there, like the hot glue guns and the cabinets where all of the things are stored. The items that mostly caught my attention were the posters on the wall because they had quotes that were really interesting on them from different famous inventors. Here is one of the quotes I saw on the wall by Thomas Edison:

I found this quote inspirational and a lot of questions crossed my mind. For example, a big question was “What are all these things everywhere?!”. I was very confused at the beginning but I understood it better by the end of the class. I am definitely going to have a great quarter in tech! I’m so excited to learn more and have fun!


Blog Post #7 – The Capstone Share

I am thinking about the Capstone share right now as if it was the best thing in my whole entire life. When I looked back at the video of myself presenting, I noticed so many things that I could have made better. Here are some things that I thought were good in my presentation:

  • I engaged the audience
  • I didn’t talk too fast

Here are some things I did that I could have made better:

  • Speak WAY LOUDER!
  • Have a more confident voice

I loved doing this presentation because mostly, it gave me a chance to be a little more confident and be in front of an audience live instead of me on a video. I hope to do these types of presentations again some other time!

For the video of my presentation, here it is:

Blog Post #6 – The Final Product

My final product for Capstone. When it comes to this, I just need to stop and think about how far I’ve come. I’ve gotten through all this hard work on Capstone and I have finally done it. I have made my final product, all ready to go for presenting on the last week of school. This is what I did for my final Capstone product.


Some pros for the making of my final product are that I learned some techniques for the making of the script and slides. The final product of Capstone also allowed me to organize my time better than before. Some cons are that I really had to do a lot of things for a really long time like practicing my script and finding images for my slides. Also, it was HARD WORK! I didn’t really like the hard work but at the same time it pushed me to do better.


I think that the process went well and that I did a lot of hard work and it finally paid off!

Blog Post #5 – Site Visit

For Capstone, I had two site visits. One was at Kaufman Astoria Studios and the other was at a museum about film. It was really interesting to see everything. I found these sight visits by getting my interview who was an executive producer of movies and who had an office right in front of Kaufman Astoria Studios and looking with Mrs.Cooper (my teacher) and finding the museum. Here are some photos of the visit at the museum:


Museum:

Studio:

Some things I saw were:

  • The second biggest stage in New York
  • The set where the whole forty nine seasons were shot of Sesame Street – and the real snuffleupagus (a character from Sesame Street) and Big Bird’s nest
  • Lots of signs and examples of jobs in a movie and other things too like signs that explained some peoples’ jobs


I really think these were really good site visits and that I hope to have that much fun again!