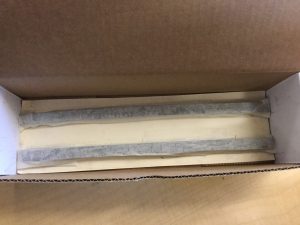
Our first track design was the track used 11 magnets, 3 strip. 8 rings. For our vehicle we used 7 Magnets altogether. 2 strip magnets and 5 ring magnets. 2 on the edges and the 5 ring magnets in between.
One of our problems was our vehicle keep on tilting to both sides, back and forth. So we had to align our magnets to one centimeter away from the edge of the paper. So we did that a centimeter away form the edge of the paper for the track and vehicle so it would be equal and not tilt. Another problem was that the disk magnets did not work at all. We tried and it didn’t levitate as high as the final and second one.
Our final design was simple it had 2 magnets on each edge. On the vehicle it had 1 magnet on both edges like the track. But only with 2 strip magnets altogether on the vehicle. Altogether strip magnets on the track was 4. So in all we had 6 strip magnets for our final design.
Our thoughts and feelings were basic. We were sad/mad when I tried putting ring magnets on top of the vehicle, I thought it would levitate higher. We were happy when it all aligned right. It was surprising for me because I thought the second time we did the maglev train (Maglev Post #2) was kind of better than this time to be honest.
This is a birds eye view, google drawing for our maglev train.


