Category: 6th Grade

Ending 6th Grade Tech

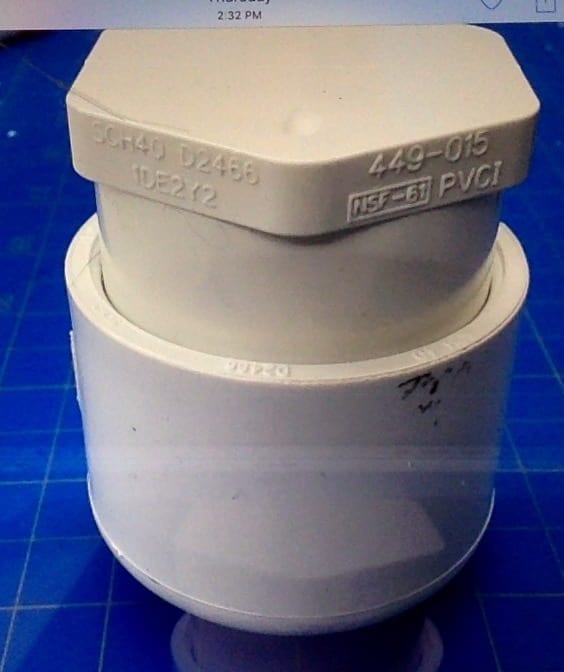
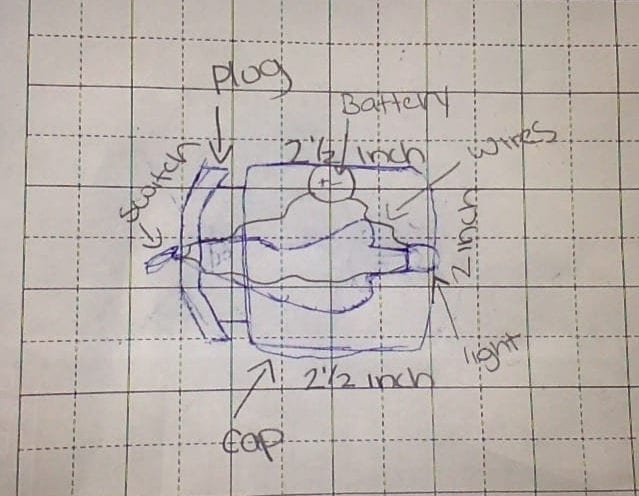
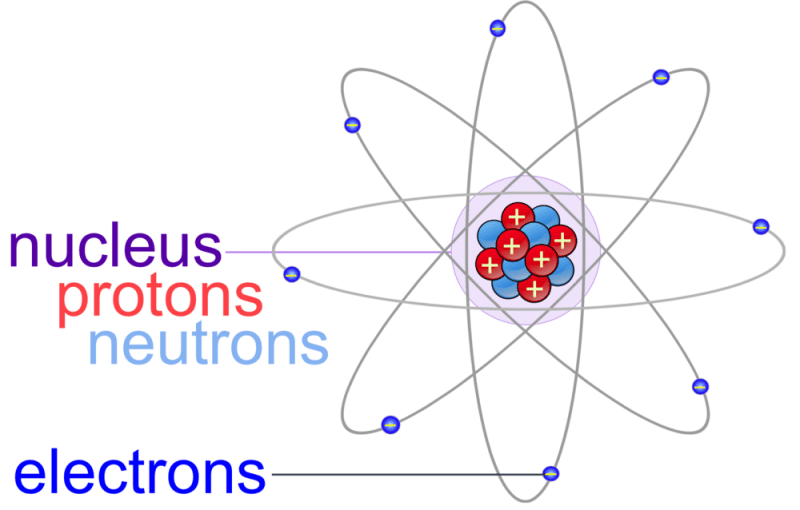
I am so upset to finish technology class. This class has been so fun. I’ve learned so many things about atoms, sautering, automata’s, flash lights, circuits, and even little things that have taught me so much.

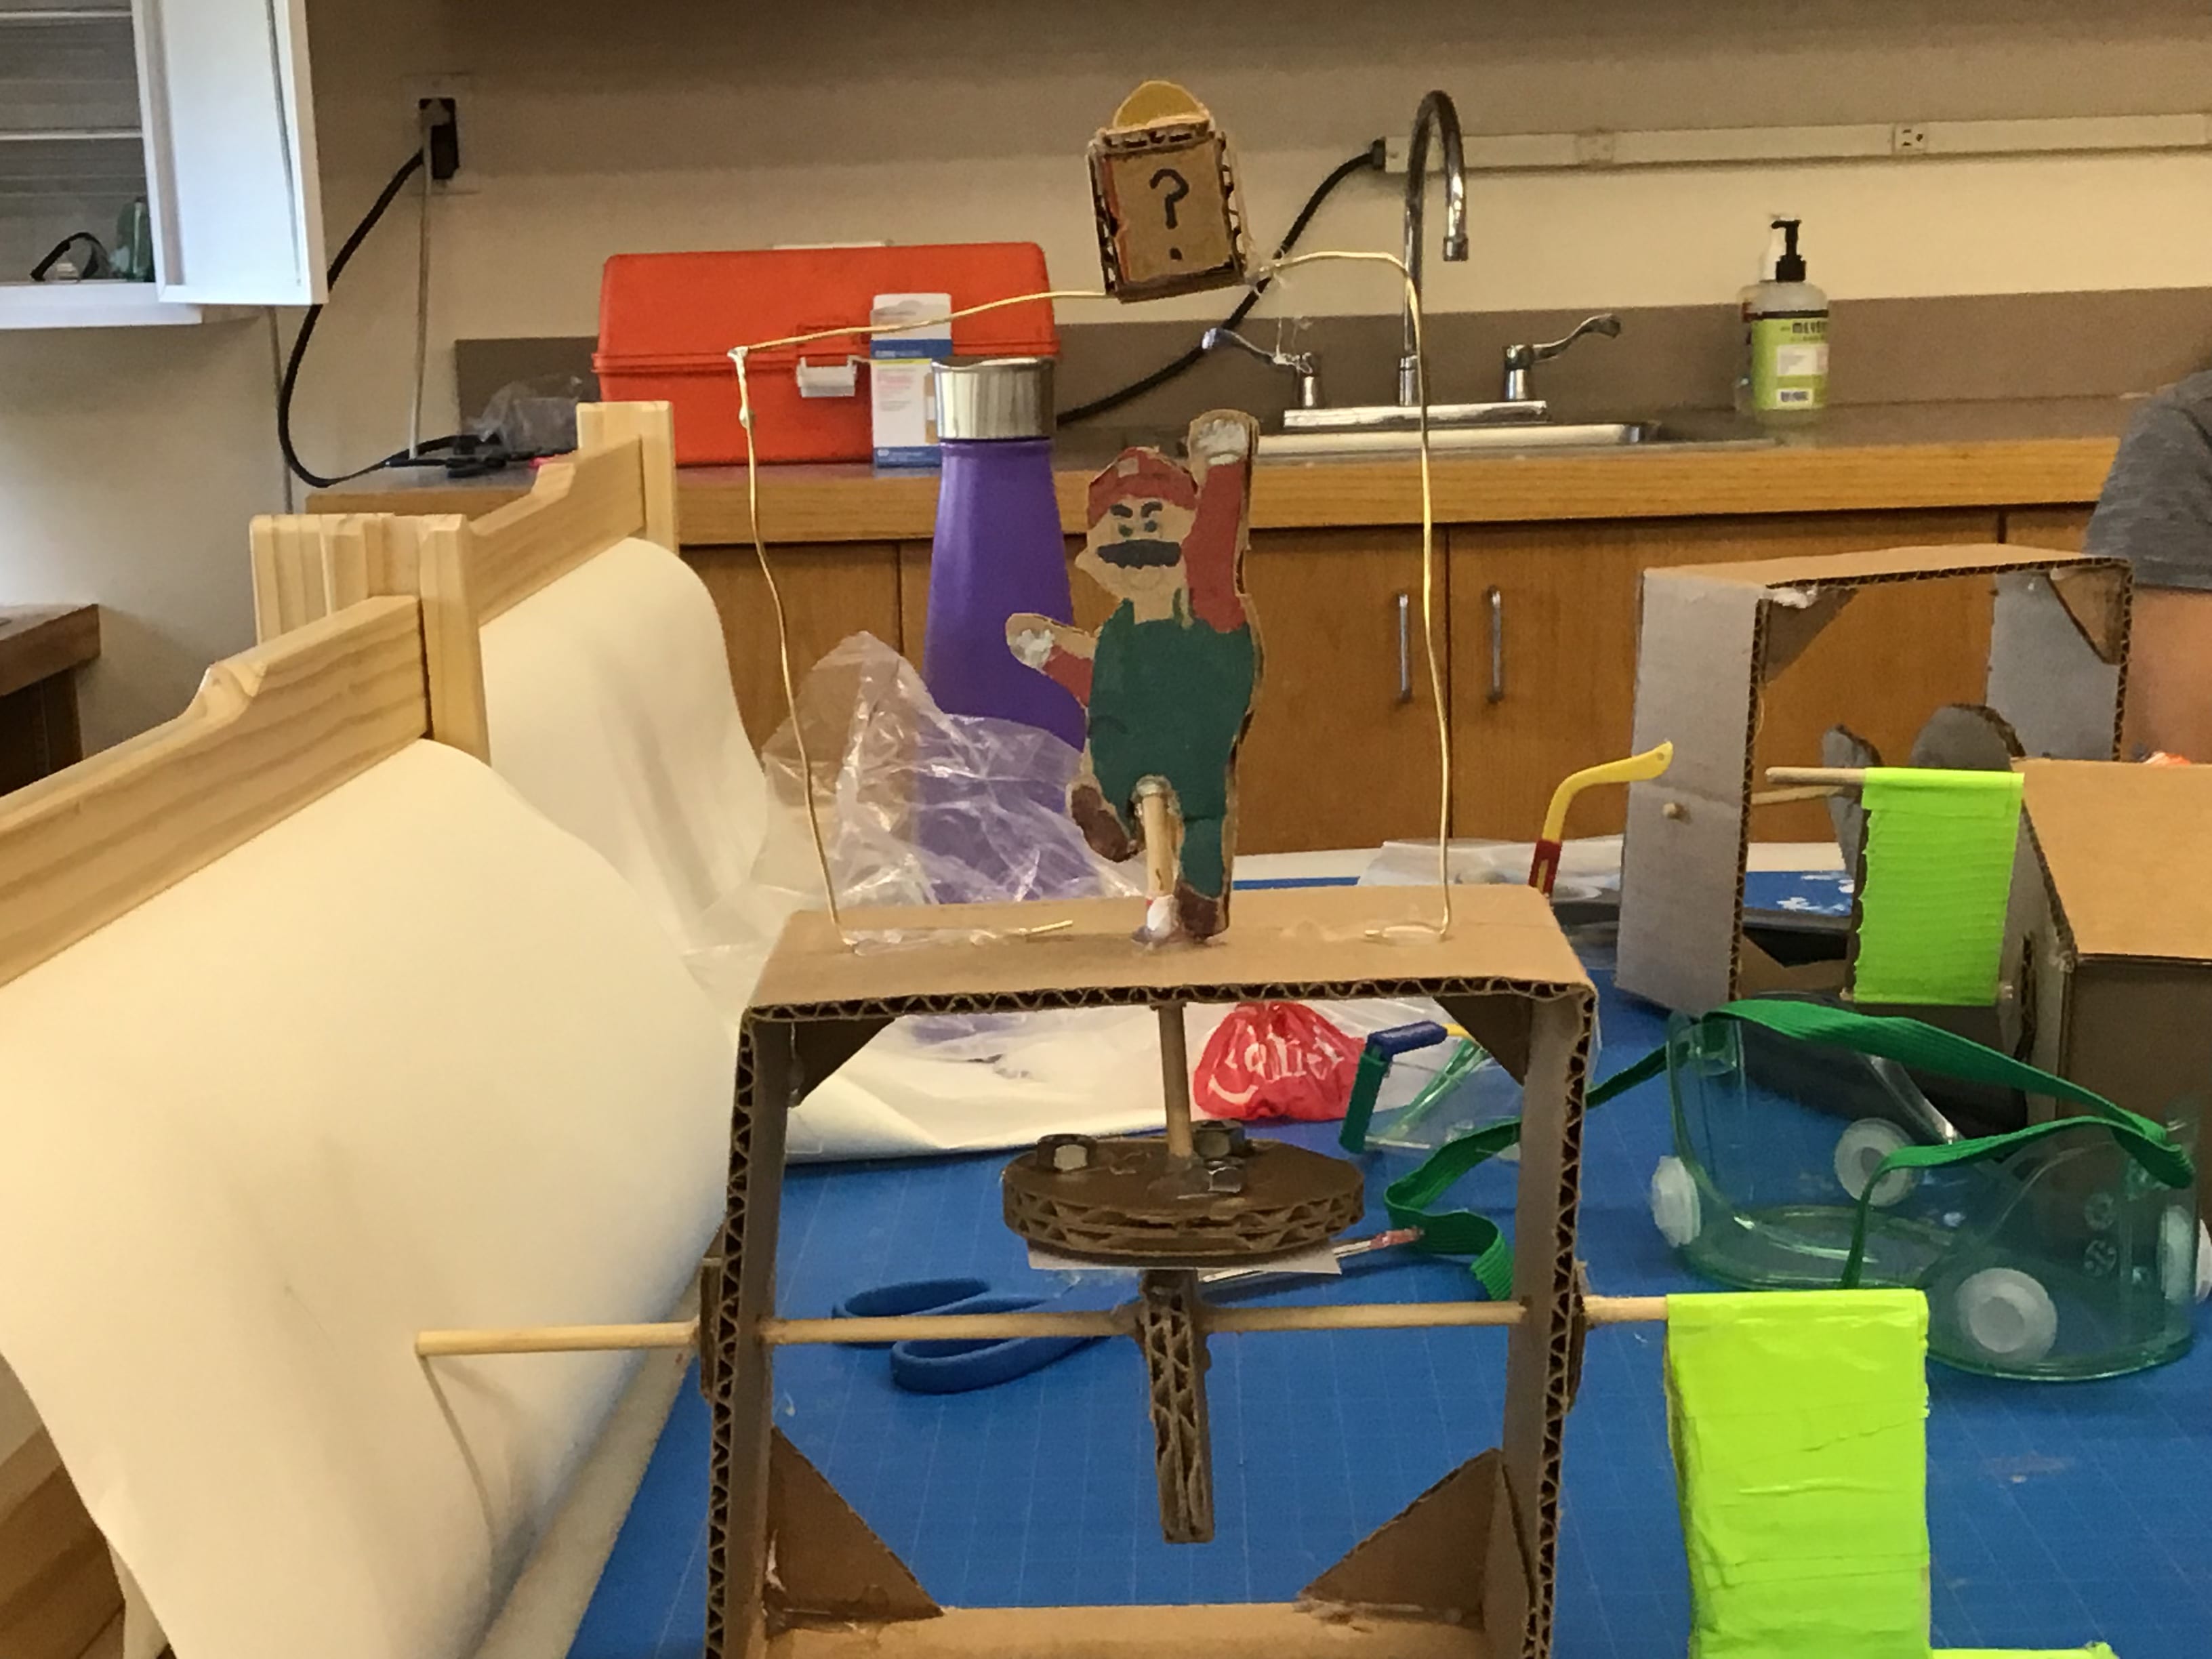
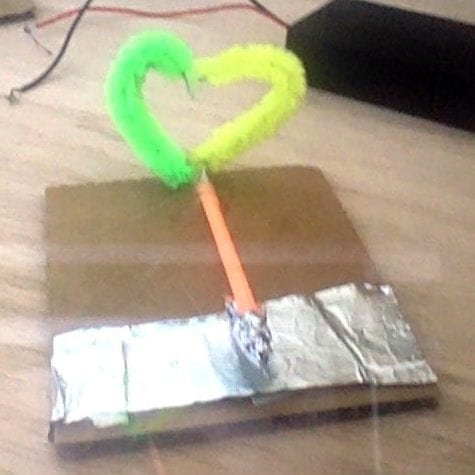
I really enjoyed all of he projects and my favorite one was building an automata. I liked this one because I got to use my creativity with how I will build it and what I want my automata to do. Although this wasn’t a project, I really liked doing the breakouts because I love figuring out clues and stuff like that.

Overall I thought that technology was really fun and while I am reall excited for my next quarterly, I will miss technology a lot.

Building my Automata

Now that I have gathered all of my materials I have finally started building my automata.

Building my automata wasn’t that hard. As long as I went step by step carefully my automata will come out great. Some parts were a little hard because when something wasn’t working, I didn’t know what caused it. Which means I didn’t know how to solve the problem. When this happened I asked my teacher and he explained it to me.

Overall my automata took around one week to build. It was really fun to make and I loved deciding what our automata was going to do. Here is my final automata.

Thinking of an Automata Idea

In class we have started a new project. We will be making an automata! Automata’s are moving mechanical devices. We were aloud to pick what we wanted our automata to do. I did something similar to this.

For my design I wanted to do the Mario punching the box and the coin coming out of it. I then realized that the coin part would be too complicated so I then decided to just have the coin half way sticking out of the box. My design would be much bigger then this and it would be most made out of cardboard.

After I came up with my design I had to start building it!

Water Proof Flashlight Part 2

After I handed in my diagram, I could finally step by step collect my materials and start building. First I need to get my cap and my plug. Then we had to drill holes in them using these machines.

After that we then had to get the battery, switch, and light and sauter them all together. We had to be very careful by making sure that you sauter the positive to the positive, and the negative to the negative.

After I sautered I had to put it in my design, and then turn off the switch and finally color! this was my favorite part of the project!

I thought that this project was really fun because I got to be creative with my designing. I also thought that this project was cool how to light bulb turns on by the wires and everything connecting.

Water Proof Flashlight

In class we have started a new project where we have to make waterproof flashlights. This project was inspired by in 2018 when the Thailand soccer boys got stuck in a cave after practice for a lot of days. It was really dark in that cave, so we decided to make flashlights “for them.” You could make any design you want as long as the flashlight works. I decided to make a design that looks like this. It has the plug that goes right into the cap.

I first had to make a diagram showing what it would look like and what materials I would have to use. I would have to use a ruler to draw all of my materials. The materials I had to use was a l.e.d. light, battery, cap, plug, switch, and three wires. My wires were going to be five inches each. Here is my diagram.

Switches

Lately in late September to early October, in technology class, we have been working on switches for a new game. We have to make three different switches and they had to work in three different ways. Switches only work if tinfoil touches tinfoil. So if you had no tinfoil, than your switch wouldn’t work.

My three different switches work in three different ways. My three ways are shown down below. For the first switch, you have to push the straw against the tinfoil. For the second switch you have to take the two poles and push them together. For the final switch, you have to push down on the straw to make it touch the tinfoil.

In order to make these switches work, you have to connect alligator clips, a bread board, wires, LED lights, and batteries. Once you have everything set up the right way then you are ready to start the game!

Soldering

In class we have been making solder people. We have to use wire to make whatever type of person we wanted to. We could make a soccer player, tennis player, and more. First we used a five inch metal wire and twist it around this stick to make a head, connected to a pair of legs. Then I cut another piece of wire for the arms. And finally, I made another circle for my soccer ball, since I was making a soccer player.

Next, we had to solder all of these pieces of wire together. This is the soldering machine that we used.

As you can see there are two different clips. You put a different piece of wire on each clip, and connect them the way you want it to look when they become one person. Then you use a soldering iron and put it on the metal parts, where the two pieces connect. If the soldering iron isn’t hot, then it won’t work.

This is what a soldering iron looks like.

After you connect all of your pieces together, then you have a solder person!

Circuits

In class on September 21, we learned how to make an electrical circuit. The materials that we used was a light bulb, a switch, batteries, wires, and an alligator clip. We had to connect all of the materials together and then we turn on the light switch to make the bulb light up.

Here is a photo of something similar to what we did in class.

Image result for circuits

As you can see we couldn’t leave any materials out without something to connect to, so our circuit is one big circle. And if you have an open circuit, the light bulb will never light up.

Atoms

On September 13th in technology class, we learned about atoms and how small they were. We also learned about protons, neutrons, electrons, and the nucleus. We learned that the nucleus is in the center of the atoms.  The electrons (negative) float around the nucleus. Protons are the positive part of the nucleus. Then there is the neutrons, they are neutral. They are not positive or negative.

We also learned some fun facts about atoms too. For example if you want to see an atom the size of a grapefruit, you have to make the grapefruit the size of the earth. Also the nucleus in the atom is so small that if you want to see it the size of a blueberry, you have to make the blueberry the size of a football stadium.

Here is a diagram about the nucleus, protons, neutrons, and electrons.

Starting 6th Grade Tech

3 days ago is when I started my first day of middle school. I had many different classes of different academics, such as english, science, social studies, and math. And I also had one quarterly, which was technology!

I was really excited when I got my schedule because I was really looking forward to start tech.

So far we haven’t started a real project but let me talk about some fun things that we have been doing in technology the past few days. On September 5th, we did a fun activity where we had to take different shaped pieces of wood and then we would have to make a tower out of them by copying a certain decision on the smart board. It was also fun because we had to use our brains to think about which size/shaped pieces of wood would be best for the tower.

On September 6th, we got to customize our blogs for school. I really like doing this because I can be creative with my backgrounds, what theme I am going to use and more. It was also fun helping other kids design their blog too.

All of these fun activities is just the start to a great/fun class and I can’t wait to start learning more in technology!