Posts from experience and class activities
After sanding all the faces and edges of my wood, I had to glue everything together. First I would have to glue the sides together.
First, I had to put a small amount of glue in a line on the edge of my wood. Then I smudged it around with my finger so it was all evenly spread out. After I let it sit for a little bit, I took the other side and attached it. Then I put some masking tape on to keep it together. Then I glued the other two sides to the ones I just glued. If some of the glue seeped out, I took a wet paper towel to wipe it. Next, I had to put my four sided frame in a vise. I used cardboard as bumpers so the vise wouldn’t dent my wood.

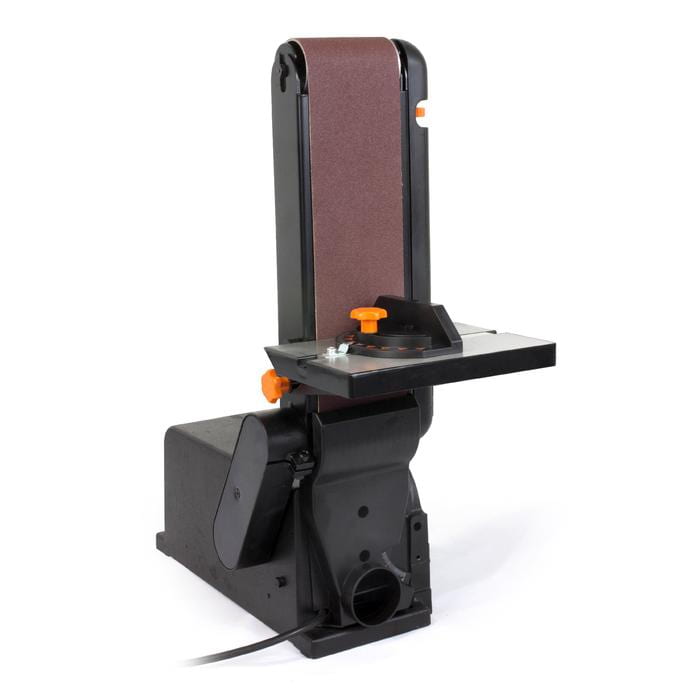
After my wood dried the next day, I had to use the belt sander to sand the edges. It is a very powerful sander. After I sanded, I had to glue on my top and bottom. I did the same process where I put glue on the four edges and glue the wood on top. Then I put my box in a vise again with the cardboard bumpers.

The next day, I had to use the belt sander again to sand. After I did that, I used the palm sander to do some finish sanding. Since my box is so big, I couldn’t use the belt sander for sanding some of the edges and I had to use the palm sander instead. At first the sandpaper wasn’t rough enough to smooth the edges completely, but then I changed it to a new one and it worked. After I used the heavy sandpaper, I used the finer one to do some touch-ups. Then I was ready to stain.