Monthly Archives: October 2019
Gluing and Belt Sanding
After sanding all the faces and edges of my wood, I had to glue everything together. First I would have to glue the sides together.
First, I had to put a small amount of glue in a line on the edge of my wood. Then I smudged it around with my finger so it was all evenly spread out. After I let it sit for a little bit, I took the other side and attached it. Then I put some masking tape on to keep it together. Then I glued the other two sides to the ones I just glued. If some of the glue seeped out, I took a wet paper towel to wipe it. Next, I had to put my four sided frame in a vise. I used cardboard as bumpers so the vise wouldn’t dent my wood.

After my wood dried the next day, I had to use the belt sander to sand the edges. It is a very powerful sander. After I sanded, I had to glue on my top and bottom. I did the same process where I put glue on the four edges and glue the wood on top. Then I put my box in a vise again with the cardboard bumpers.
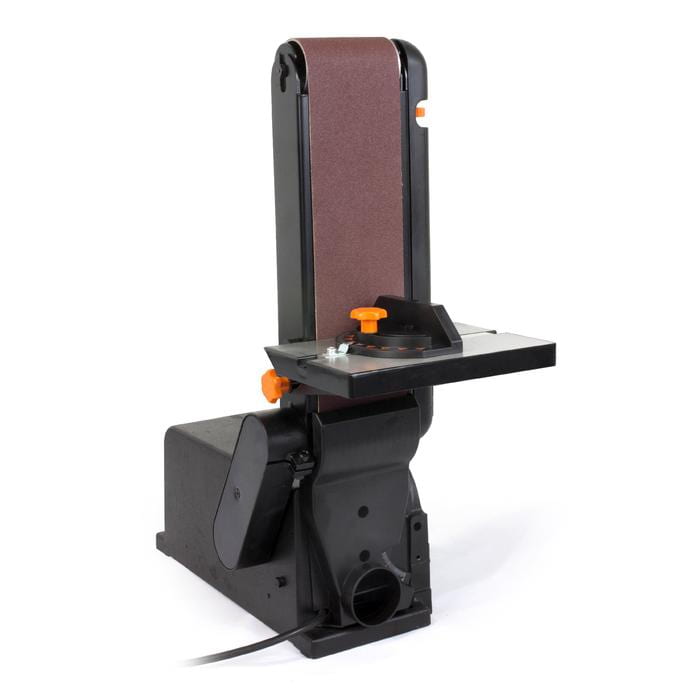
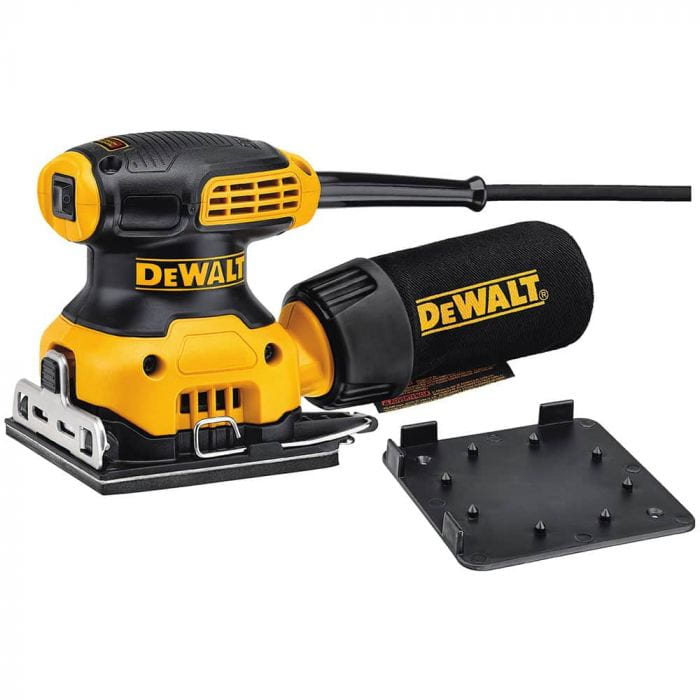
The next day, I had to use the belt sander again to sand. After I did that, I used the palm sander to do some finish sanding. Since my box is so big, I couldn’t use the belt sander for sanding some of the edges and I had to use the palm sander instead. At first the sandpaper wasn’t rough enough to smooth the edges completely, but then I changed it to a new one and it worked. After I used the heavy sandpaper, I used the finer one to do some touch-ups. Then I was ready to stain.
Sanding
After finishing all my cuts, I had to sand my wood. The cutting left some splintery edges that I needed to sand. I had to use a sanding board for the edges and sanding blocks for the face.
To use the sanding boards, I had to rub the edge or end of my wood against the sandpaper that was stapled to a board. I would go back and forth about 36 times on each edge.
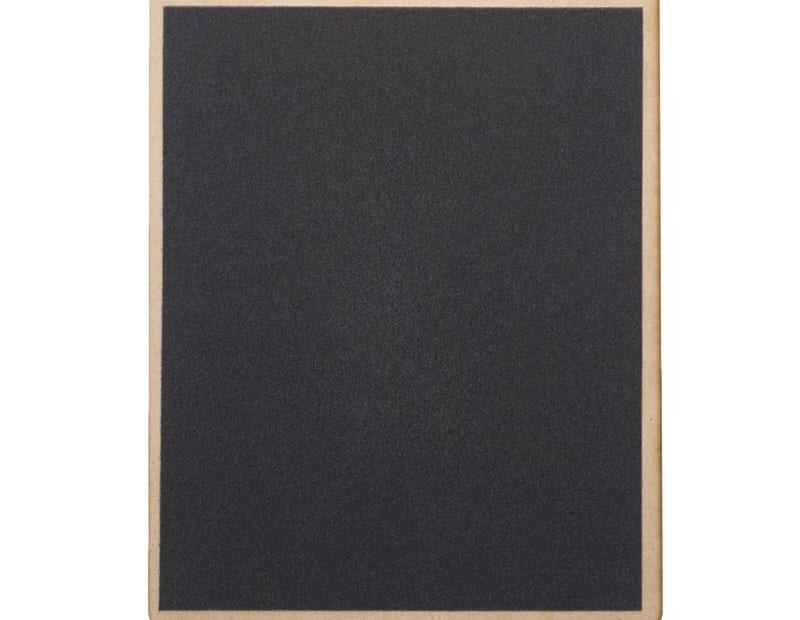
After sanding all my edges until they are nice and smooth, I had to use the sanding blocks to smooth out the faces. I had to take a piece of sand paper and rap it around a block. Then I would back and forth on my wood. It was very important to only sand parallel to the grain. I didn’t want and scratches messing it up.

Cutting My Wood
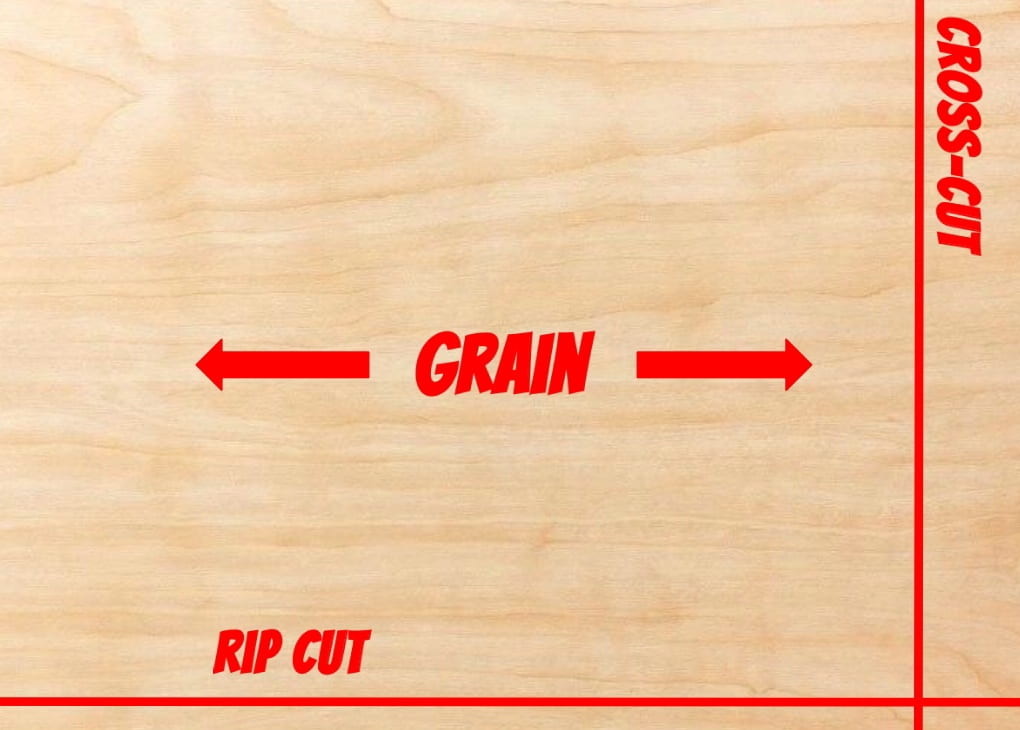
After I measured my wood, it was time to cut. First I would do my cross cuts, which were perpendicular to the grain. For this, I used the box saw.
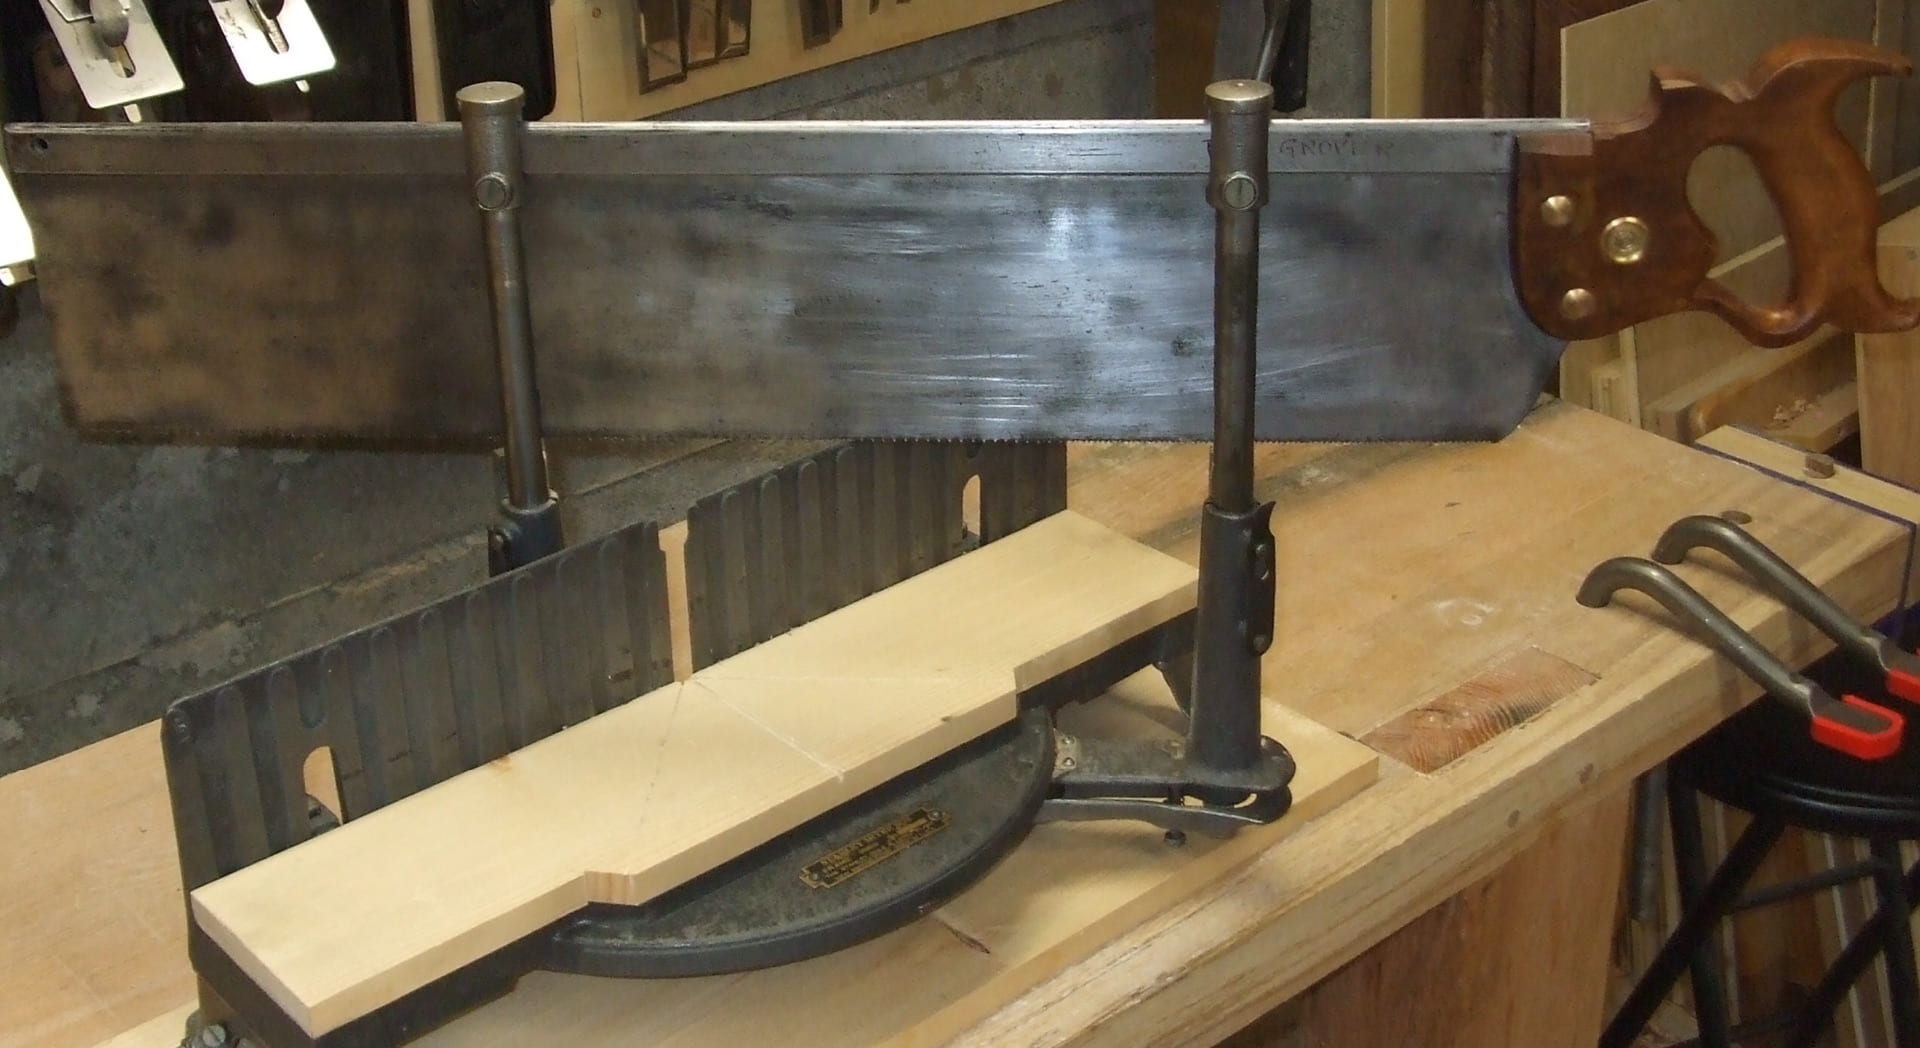
The first step was to lift up the saw and carefully slide my wood under. The teeth of the saw should rest right on the line. Then I would use a bumper to put on top of my wood. Then I would clamp it down. The bumper keeps dents out of the wood. When cutting, I had to keep the saw level and I had to go back and forth.
After cross-cutting, I had to rip cut. Rip cuts were parallel to the grain. For this, I used the band saw.
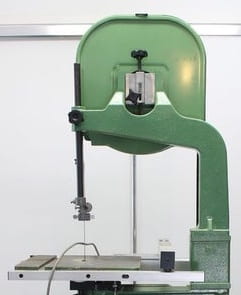
You had to be very careful because the blade was very sharp and moving really fast. To cut, I had to line the blade up with my line. Then I turned on the machine and pushed the wood through the blade. I was careful not to have my fingers near it, and when I got close, I used a pusher tool/scrap piece to push the wood through.
Box Project Reflection
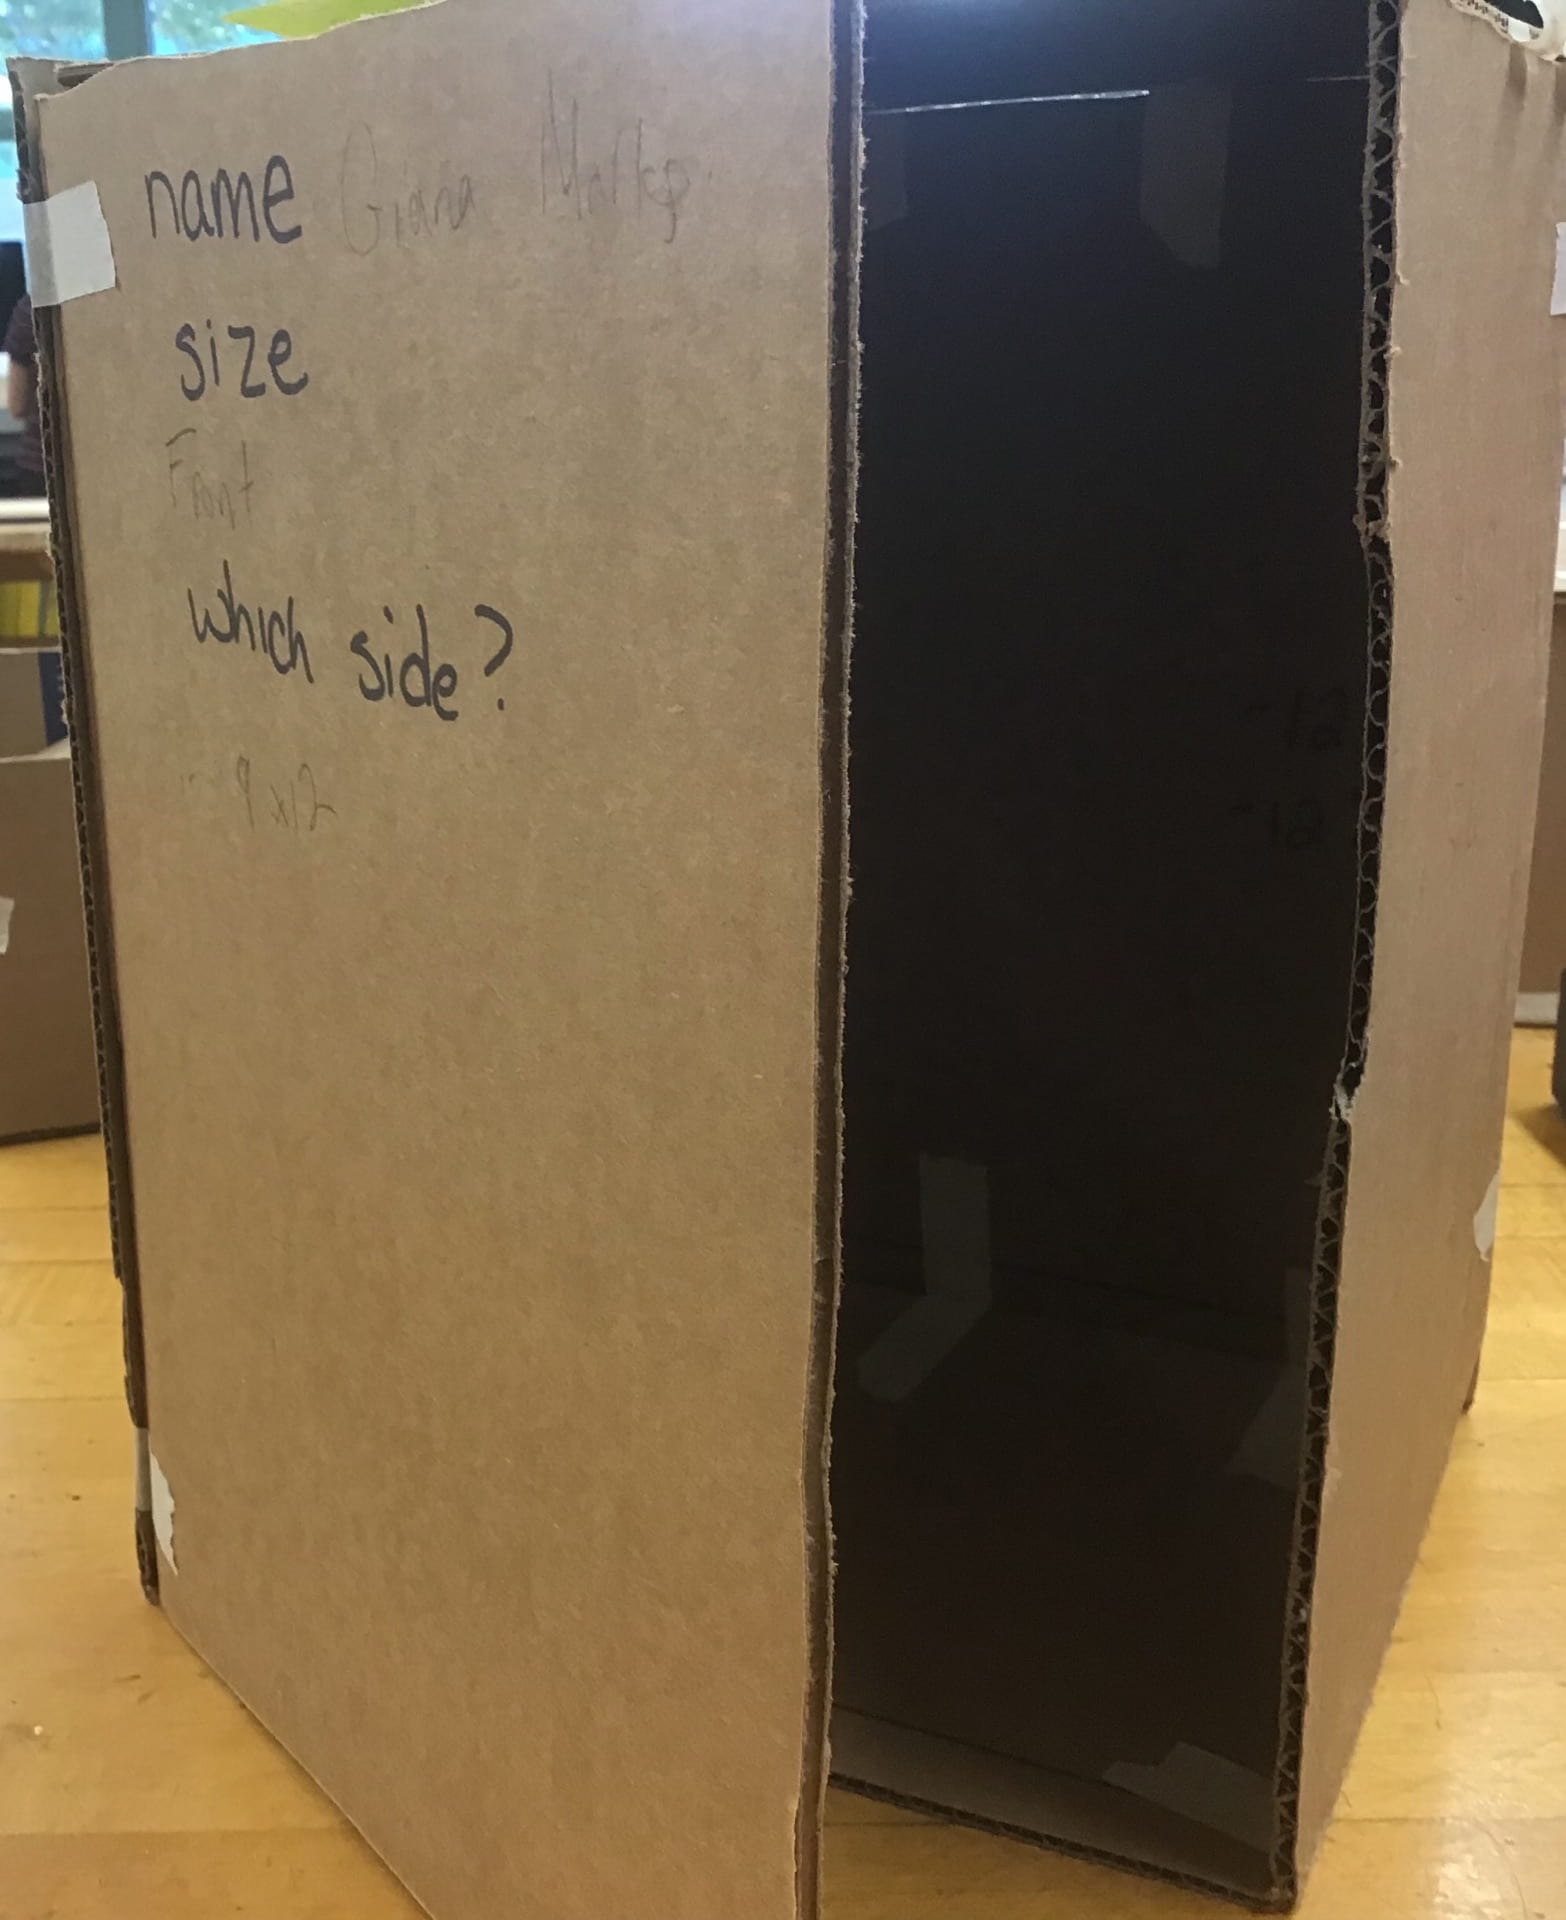
Making the cardboard model helped me because I could then have an idea just how big it was going to be and if I wanted to change anything, which I did. Instead of the lid being on top, I wanted it to be on the front like a door. I also used it to compare my wood so I knew I wasn’t totally off.

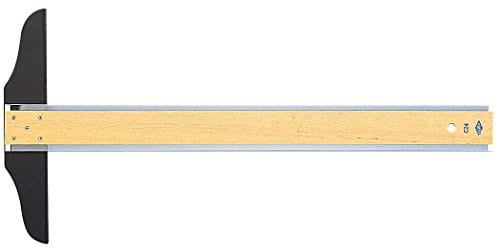
I thought that using all the different tools was challenging, but very helpful. The t-squares were a bit hard to use because it was hard to check all of the angles where there was no where for it to hang. The rulers weren’t too hard to use. The box saws were a little tricky at first, but then I got the hang of it and I could make a very clean cut. The band saw was a little scary, so I’ll see how it turns out when I use it to rip the sides of my board.
While I was measuring, I faced some challenges. Every time I thought I measured the lines and the angles, I measured again and it turned out to be off by a lot. I had to re-measure many times to just get even one line right.
It was also a bit hard to cut the wood because it always got caught and it got hard to push back and forth. It was so satisfying when I finally cut it and the saw drops.
Out of everything, I think that measuring was the most frustrating thing.
My next steps are to cross cut my last two boards and to rip the sides of three of my boards. Then I will sand, glue, etc., but that will be later.
Measuring
After I got my wood, I had to measure. To find the perpendicular edges on by boards, I had to use a t-square. That perpendicular edge would be the one that I use. I also had to use the t-square to draw my perpendicular lines. I would put my ruler on top of it and trace a line that was the right length.
Getting My Wood
Now that I finished my model, it was time to conference and get my wood. My measurements would have to change a bit because the width of the board was 1/2 inch. Instead of 2 12×9 boards, 2 8×9 boards, and 2 8×12 boards, I would get 2 12×9 boards, 2 7×8 boards, and 2 7×12 boards. My wood plank was going to be very big.
